We may earn a commission from links on this page, at no extra cost to you.
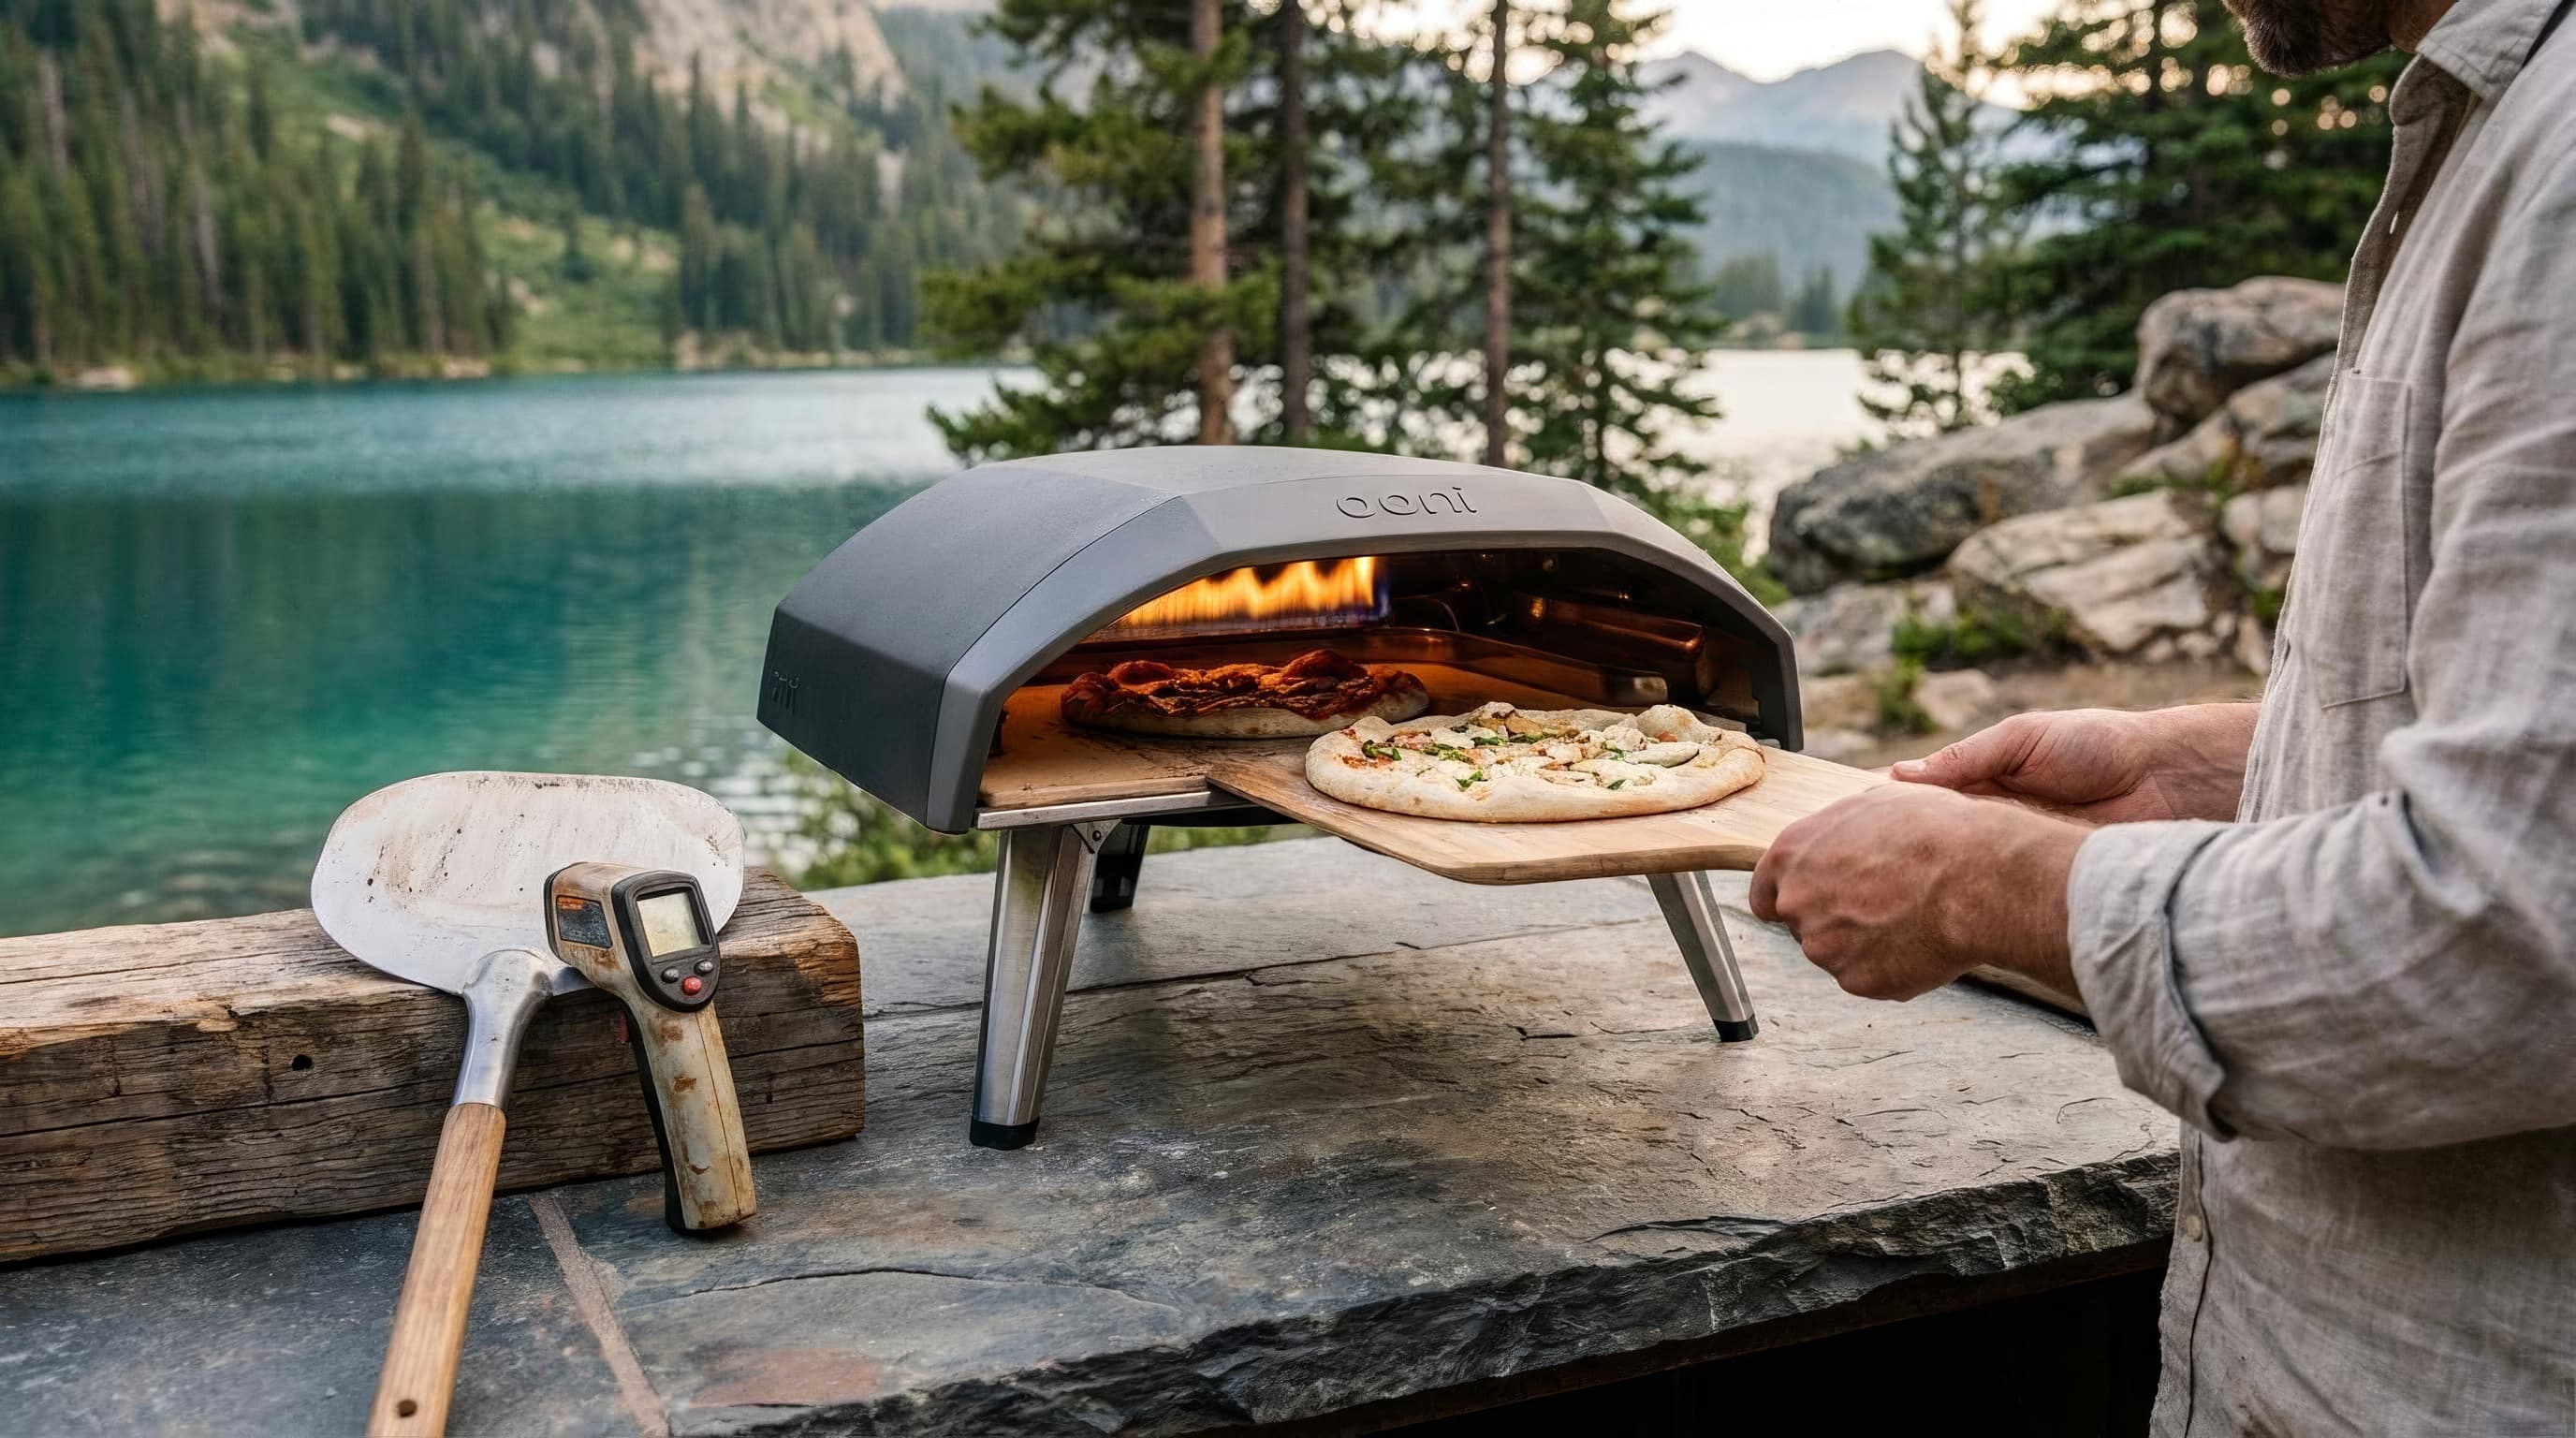
Your first outdoor-oven pizza should be small, lightly topped, and made after the stone is genuinely hot. The common failure is not a weak oven. It is launching onto a cool floor with too much wet food, then leaving the pizza still while the flame burns one side.
1. Set up the surface and clearances
Follow the manual for the exact oven. Combustion models belong outdoors, away from walls, low branches, railings, and anything that can melt or burn. The surface must be stable, level, and heat-safe. Route propane hoses where feet and hot tools cannot cross them, and leak-check connections according to the manufacturer.
For an electric outdoor oven, confirm the circuit can support the appliance and keep every connection dry. Do not use a light indoor extension cord to place a 1,760 W oven farther into the garden.
Keep children and pets outside the cook's movement path. A turning peel, hot door, and 900 F chamber create hazards several feet beyond the oven body.
2. Prepare everything before lighting
Once the oven is hot, pizza moves quickly. Have these in place:
- Stretched dough rounds, covered and separated
- Toppings drained, cut, and within reach
- Launching peel
- Turning peel
- Infrared thermometer
- Heat-resistant gloves
- A board or tray for finished pizza
- A safe place for hot tools
Use less topping than feels generous. Fresh mozzarella should be drained. Sauce should be thin enough to spread but not pool. Heavy, wet toppings slow the center while the exposed rim races ahead.
3. Preheat the stone, not only the air
Light the oven according to its manual and let the entire chamber come up to temperature. The flame can look ready while the stone remains cool.
Check several points with an infrared thermometer: center, rear, left, and right. The hottest reading is not the target. You want the launch zone ready and the spread predictable. For a fast thin pizza, many ovens work well once the center of the stone is roughly 700 to 800 F; follow the model and dough maker's guidance and adjust from there.
An electric oven at 600 to 700 F uses a longer bake. A pellet oven may need a strong established flame plus extra time for the floor. Maximum temperature is not a command to launch at the highest possible number.
4. Build on the peel quickly
Stretch the dough on the counter, not on the peel. Move the opened round to a lightly floured peel only when every topping is ready.
Wood peels are forgiving because dough sticks to them less readily. A perforated metal launch peel sheds loose flour but requires a confident, quick build. Whichever you use:
- Dust lightly with flour or a flour-semolina blend
- Place the dough on the peel
- Add a thin layer of sauce and sparse toppings
- Shake the peel gently
- Fix any stuck point before approaching the oven
If the pizza does not move on the peel before launch, it will not become less stuck near the flame. Lift the edge and blow a small pocket of air underneath or add a pinch of flour at the stuck point.
5. Launch low and straight
Bring the peel close to the stone without touching the oven mouth. Use a short forward motion followed by a quicker pull backward, letting the leading edge of the dough contact the stone and anchor the rest.
Do not throw the pizza deep into the hottest corner. Aim for a centered position with enough room to turn. In a larger 16-inch oven, use the space. In a 12-inch oven, a 10 to 11-inch first pizza leaves useful margin.
If toppings slide forward, the stop was too abrupt or the dough spent too long on the peel. Make the next pizza smaller and lighter rather than adding more launch flour, which burns on the stone.
6. Turn as soon as the rim can hold itself
The flame-facing side cooks first. Watch for the near edge of the rim to puff and the far edge to take color. Once the base has set enough to release, slide the turning peel underneath and rotate the pizza about a quarter turn.
Early, smaller turns are safer than waiting for one side to look finished. Check the bottom as you turn. If the top is coloring while the base stays pale, lower the flame and allow more stone recovery. If the base burns before the cheese melts, the floor is too hot for the dough or the top heat is too low.
The first pizza is a calibration. Note stone temperature, flame position, and bake time, then change one variable for pizza two.
7. Recover the stone between pizzas
Remove stray toppings and loose char after the pizza comes out. Do not wipe a hot cordierite stone with water.
Measure the center again. Cold dough may have pulled the stone down by 50 F or more. A gas oven can recover with the burner raised; a pellet oven may need fuel and a stable flame; an electric oven needs time with the door closed. Launching early creates a pale base and forces a longer bake that overcooks the top.
This pause is also when you stretch and top the next pizza. Do not let a completed pizza sit on the launch peel while the stone catches up.
8. Cool and clean without damaging the stone
Shut down fuel or power according to the manual. Let the oven and stone cool completely. Brush dry debris from the cordierite stone; do not soak it, use soap, or pour water onto a hot surface. Thermal shock can crack it, and porous stone holds moisture.
Wipe the exterior only after it is cool. Empty cold ash into a suitable container for a wood or pellet model. Cover or store the oven once dry.
The first-pizza sequence
Prepare first
Dough, toppings, tools, thermometer, and landing board are ready before ignition.
Heat the floor
Measure the center of the stone rather than trusting the flame or air dial.
Build fast
Stretch off the peel, top lightly, and shake before walking to the oven.
Turn early
Rotate once the base releases; do not wait for the flame side to finish.
Recover
Recheck stone temperature and let it rebuild before pizza two.
Frequently asked questions
What temperature should an outdoor pizza oven be?
Match the temperature to the dough and style. Fast Neapolitan-style pizza often uses a stone around 700 to 800 F with strong top heat, while New York and pan styles bake longer at lower settings. Measure the stone surface with an infrared thermometer rather than relying only on chamber temperature.
Why does my pizza stick to the peel?
The dough is too wet, it sat on the peel too long, or the peel was not dusted correctly. Stretch on the counter, transfer only when toppings are ready, use a light flour or flour-semolina dusting, top quickly, and shake before launch. Too much flour solves sticking by creating a layer that burns bitter on the stone.
Why is the top burned but the bottom pale?
The flame is too strong relative to the stone, or the floor lost heat after the previous pizza. Lower the flame before launch, let the stone recover, and use an infrared thermometer on the center. A heavy or wet topping load can also force the pizza to remain under top heat too long.
Can I wash a pizza stone with water?
Avoid soaking cordierite and never apply water while the stone is hot. Let it cool, scrape or brush dry residue, and let high heat burn off organic marks during a later preheat. Follow the exact oven manual because removable stones and care instructions differ.
How long should I preheat an outdoor pizza oven?
Until the stone reaches the temperature your pizza style needs. A manufacturer may quote 15 to 20 minutes, but weather, fuel, stone mass, and the selected flame affect real preheat time. Use the clock as a reminder to begin checking, not as proof the floor is ready.
Still choosing hardware? Start with the best outdoor pizza ovens or the complete buying guide.
Recommended gear
Our current top picks from the Best outdoor pizza ovens: 5 picks from $120 to $500 guide, if you are ready to buy.
OONI
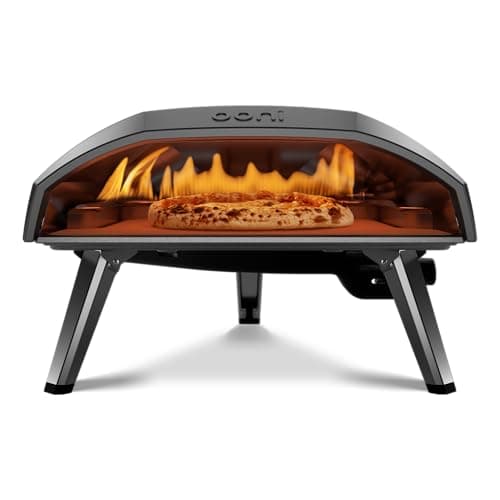
Ooni Koda 16
- Fuel
- Propane gas
- Maximum pizza
- 16 in
- Maximum heat
- Up to 950 F
- Unboxed size
- 25 x 23.2 x 14.7 in
- Weight
- 40.1 lb
- Stone
- 0.6 in cordierite
The roomy gas oven for people who want to make full 16-inch pizzas without fighting a small mouth. It is large and heavy for a portable oven, but the working space and L-shaped flame make it the easiest all-round choice for a family patio.
- A 16-inch stone leaves real room to launch, turn, and retrieve a pizza
- L-shaped gas burner covers more of the chamber than a narrow rear flame
- The 25 by 23.2 inch footprint needs a deep, sturdy outdoor counter
GOZNEY
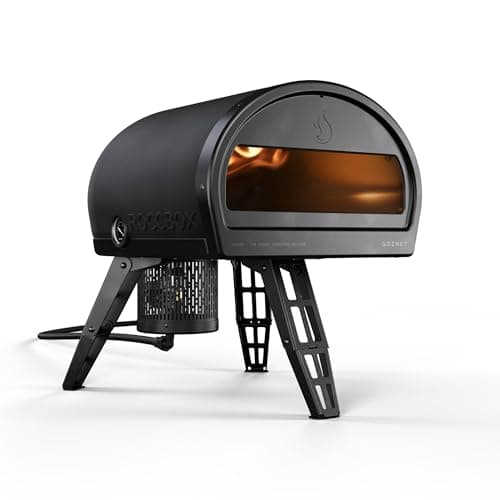
Gozney Roccbox
- Fuel
- Propane; optional wood burner
- Maximum pizza
- 12 in
- Maximum heat
- Up to 950 F
- Assembled size
- 18.5 x 16.1 x 21.2 in
- Weight
- 44 lb
- Thermometer
- Built-in underfloor dial
A compact oven built like a commercial appliance, with dense insulation and a thick stone floor that recover heat well between pizzas. The body travels, but its 44 lb weight makes it better for serious cooks than casual picnics.
- Excellent heat retention supports consistent back-to-back cooking
- Retractable legs and detachable burner make a dense oven easier to store
- The 11.9 inch mouth caps practical pizza size near 12 inches
SOLO STOVE
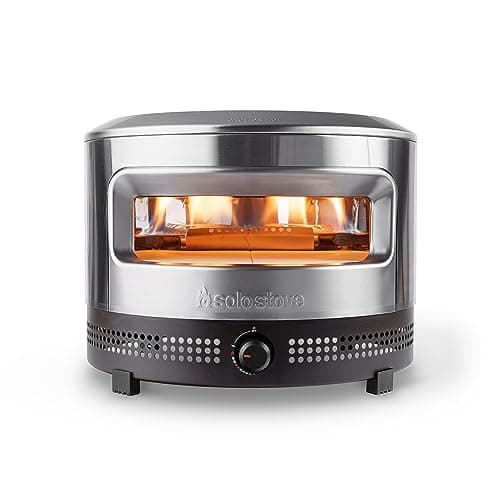
Solo Stove Pi Prime
- Fuel
- Propane gas
- Maximum pizza
- 12 in
- Maximum heat
- Over 950 F
- Size
- 20.5 in diameter x 15.5 in high
- Weight
- 30 lb
- Opening
- 13 x 3.5 in
The low-friction first pizza oven: connect propane, turn one dial, and work through a broad 13-inch mouth. Its round stainless body is compact and the lifetime warranty is unusually strong, though it stays in the 12-inch pizza class.
- One-dial propane setup is easy to learn and repeat
- Wide panoramic opening makes launches and turns less intimidating
- Limited to roughly 12-inch pizzas despite a fairly broad exterior diameter
See all picks in Best outdoor pizza ovens: 5 picks from $120 to $500
Related guides
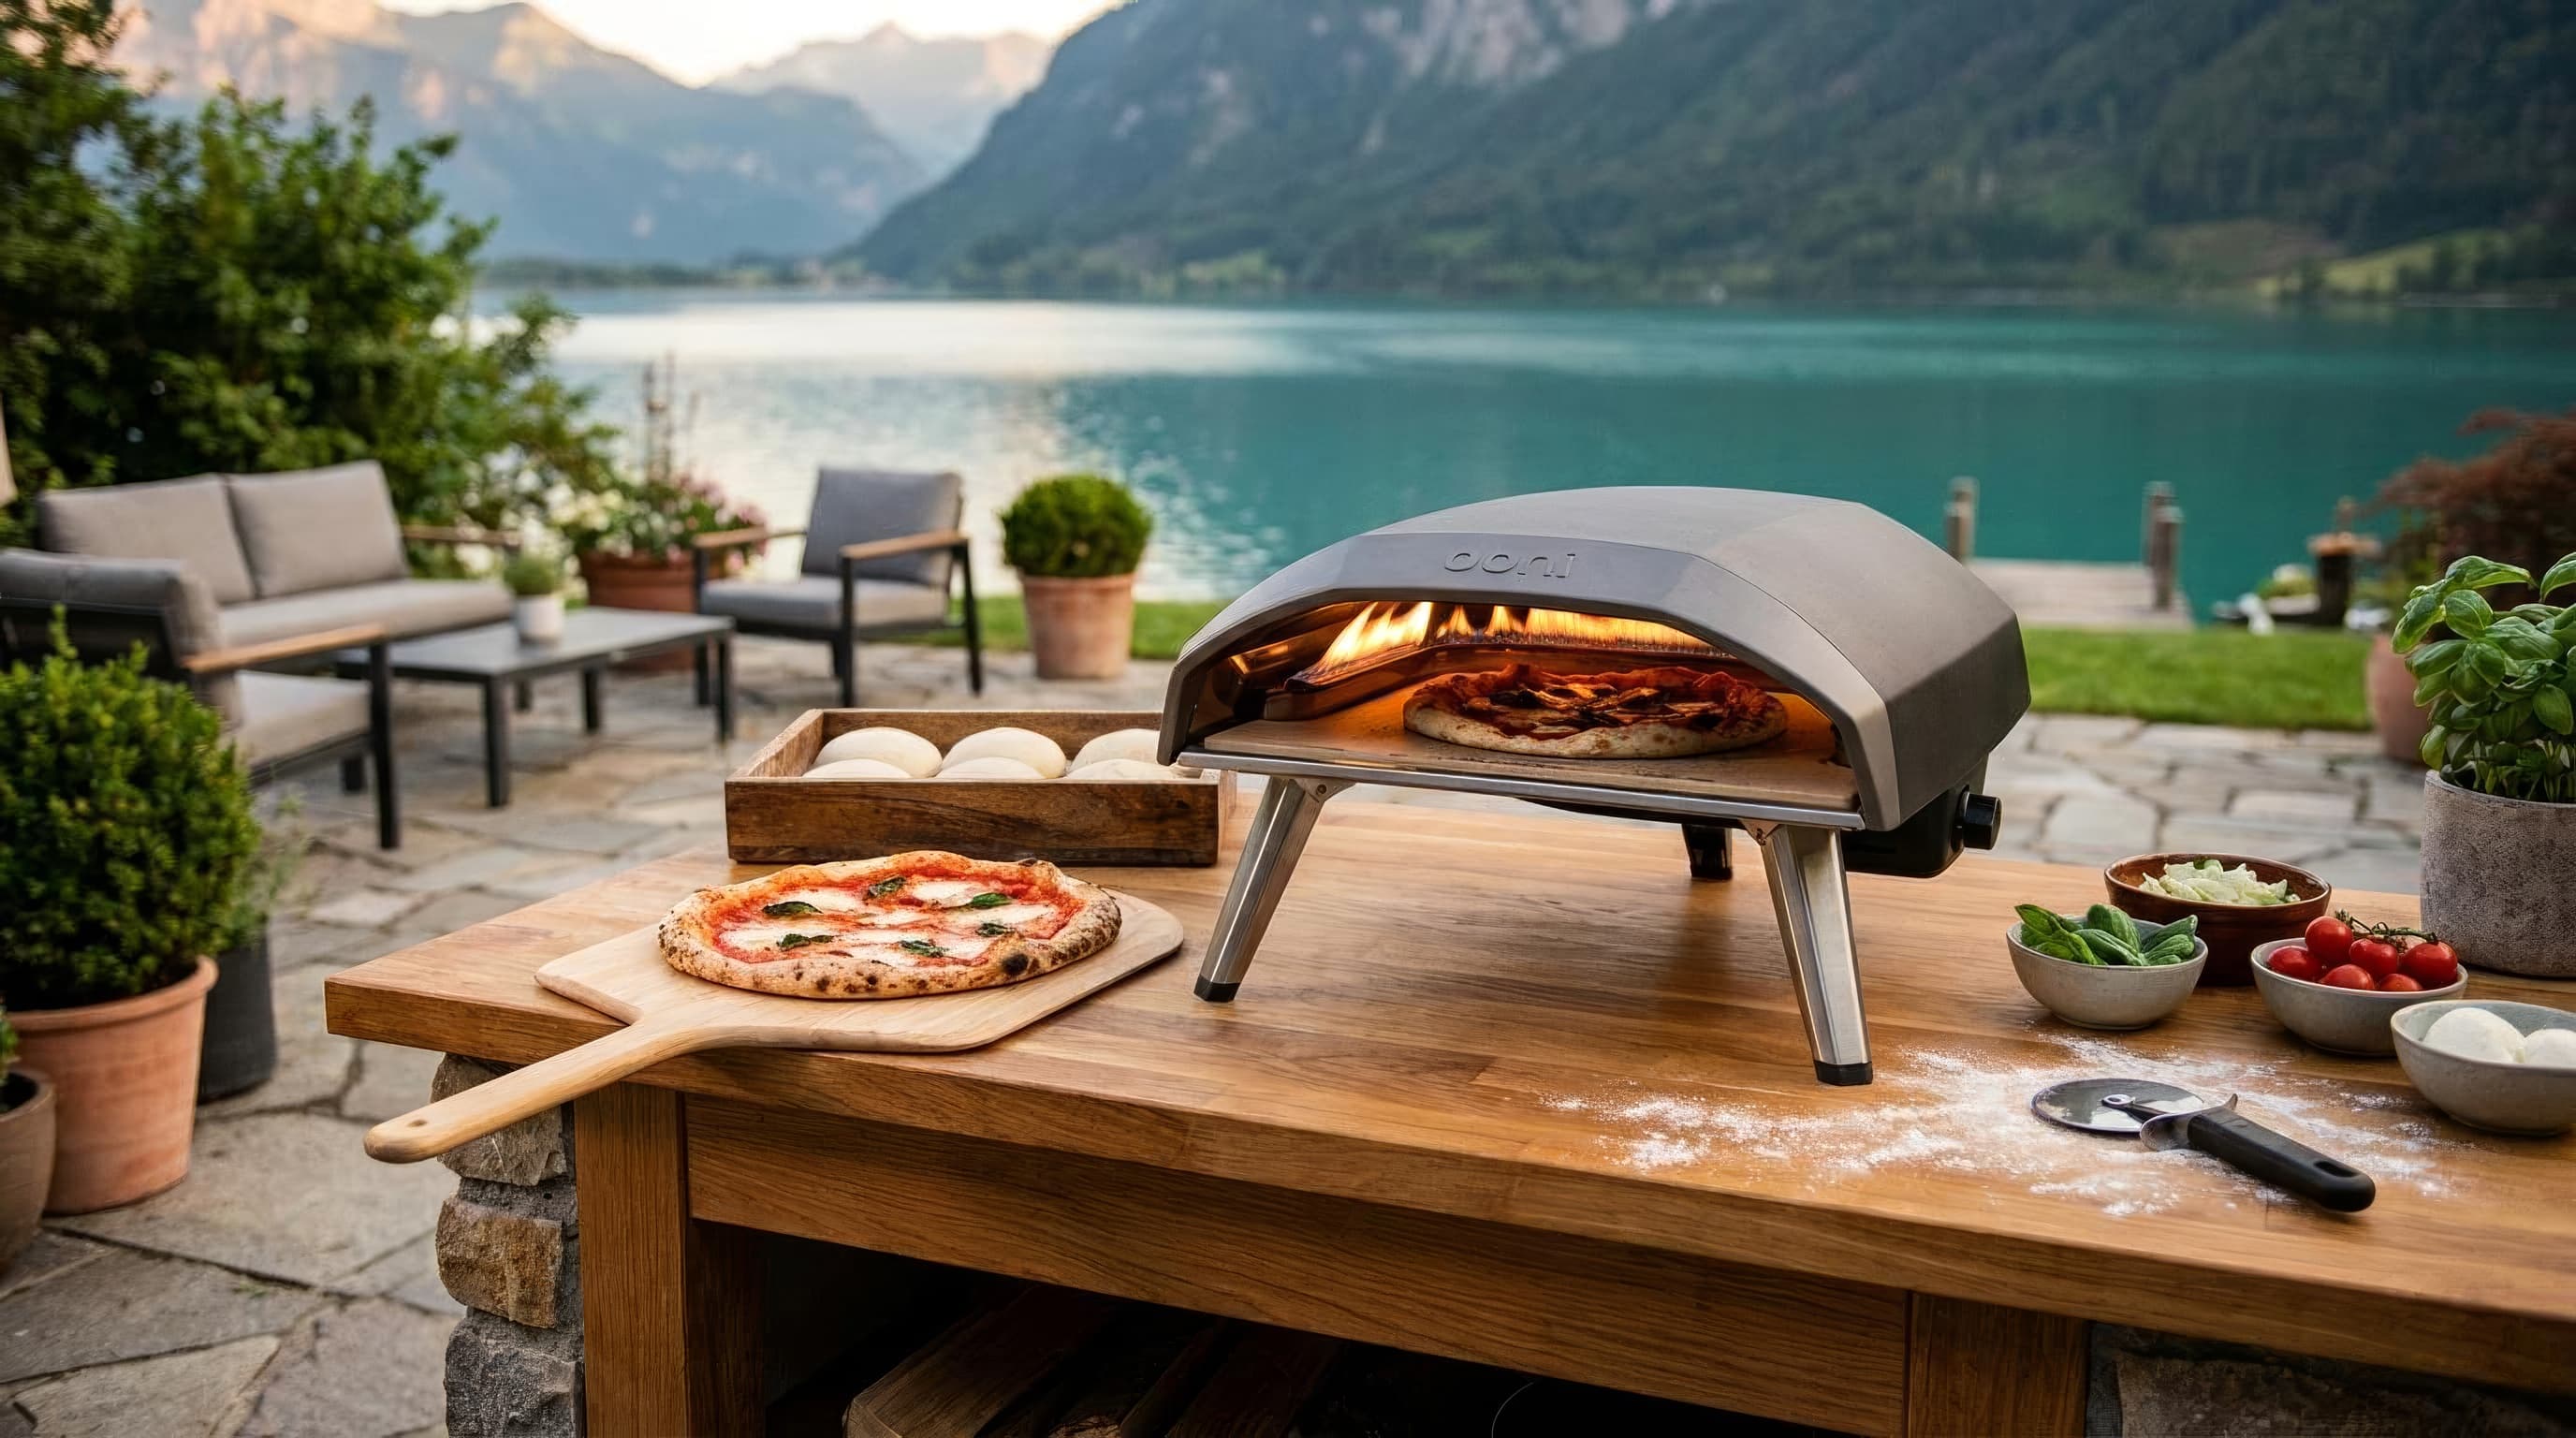
Buying guide
Best outdoor pizza ovens: 5 picks from $120 to $500
Five outdoor pizza ovens for large pies, repeatable heat, simple gas, electric control, or a low-cost live fire. Current models and honest tradeoffs.
Read guide
Field guide
How to choose an outdoor pizza oven
Choose by usable stone size, fuel, counter depth, heat recovery, and storage weight. A practical buying guide before you spend $120 to $500.
Read guide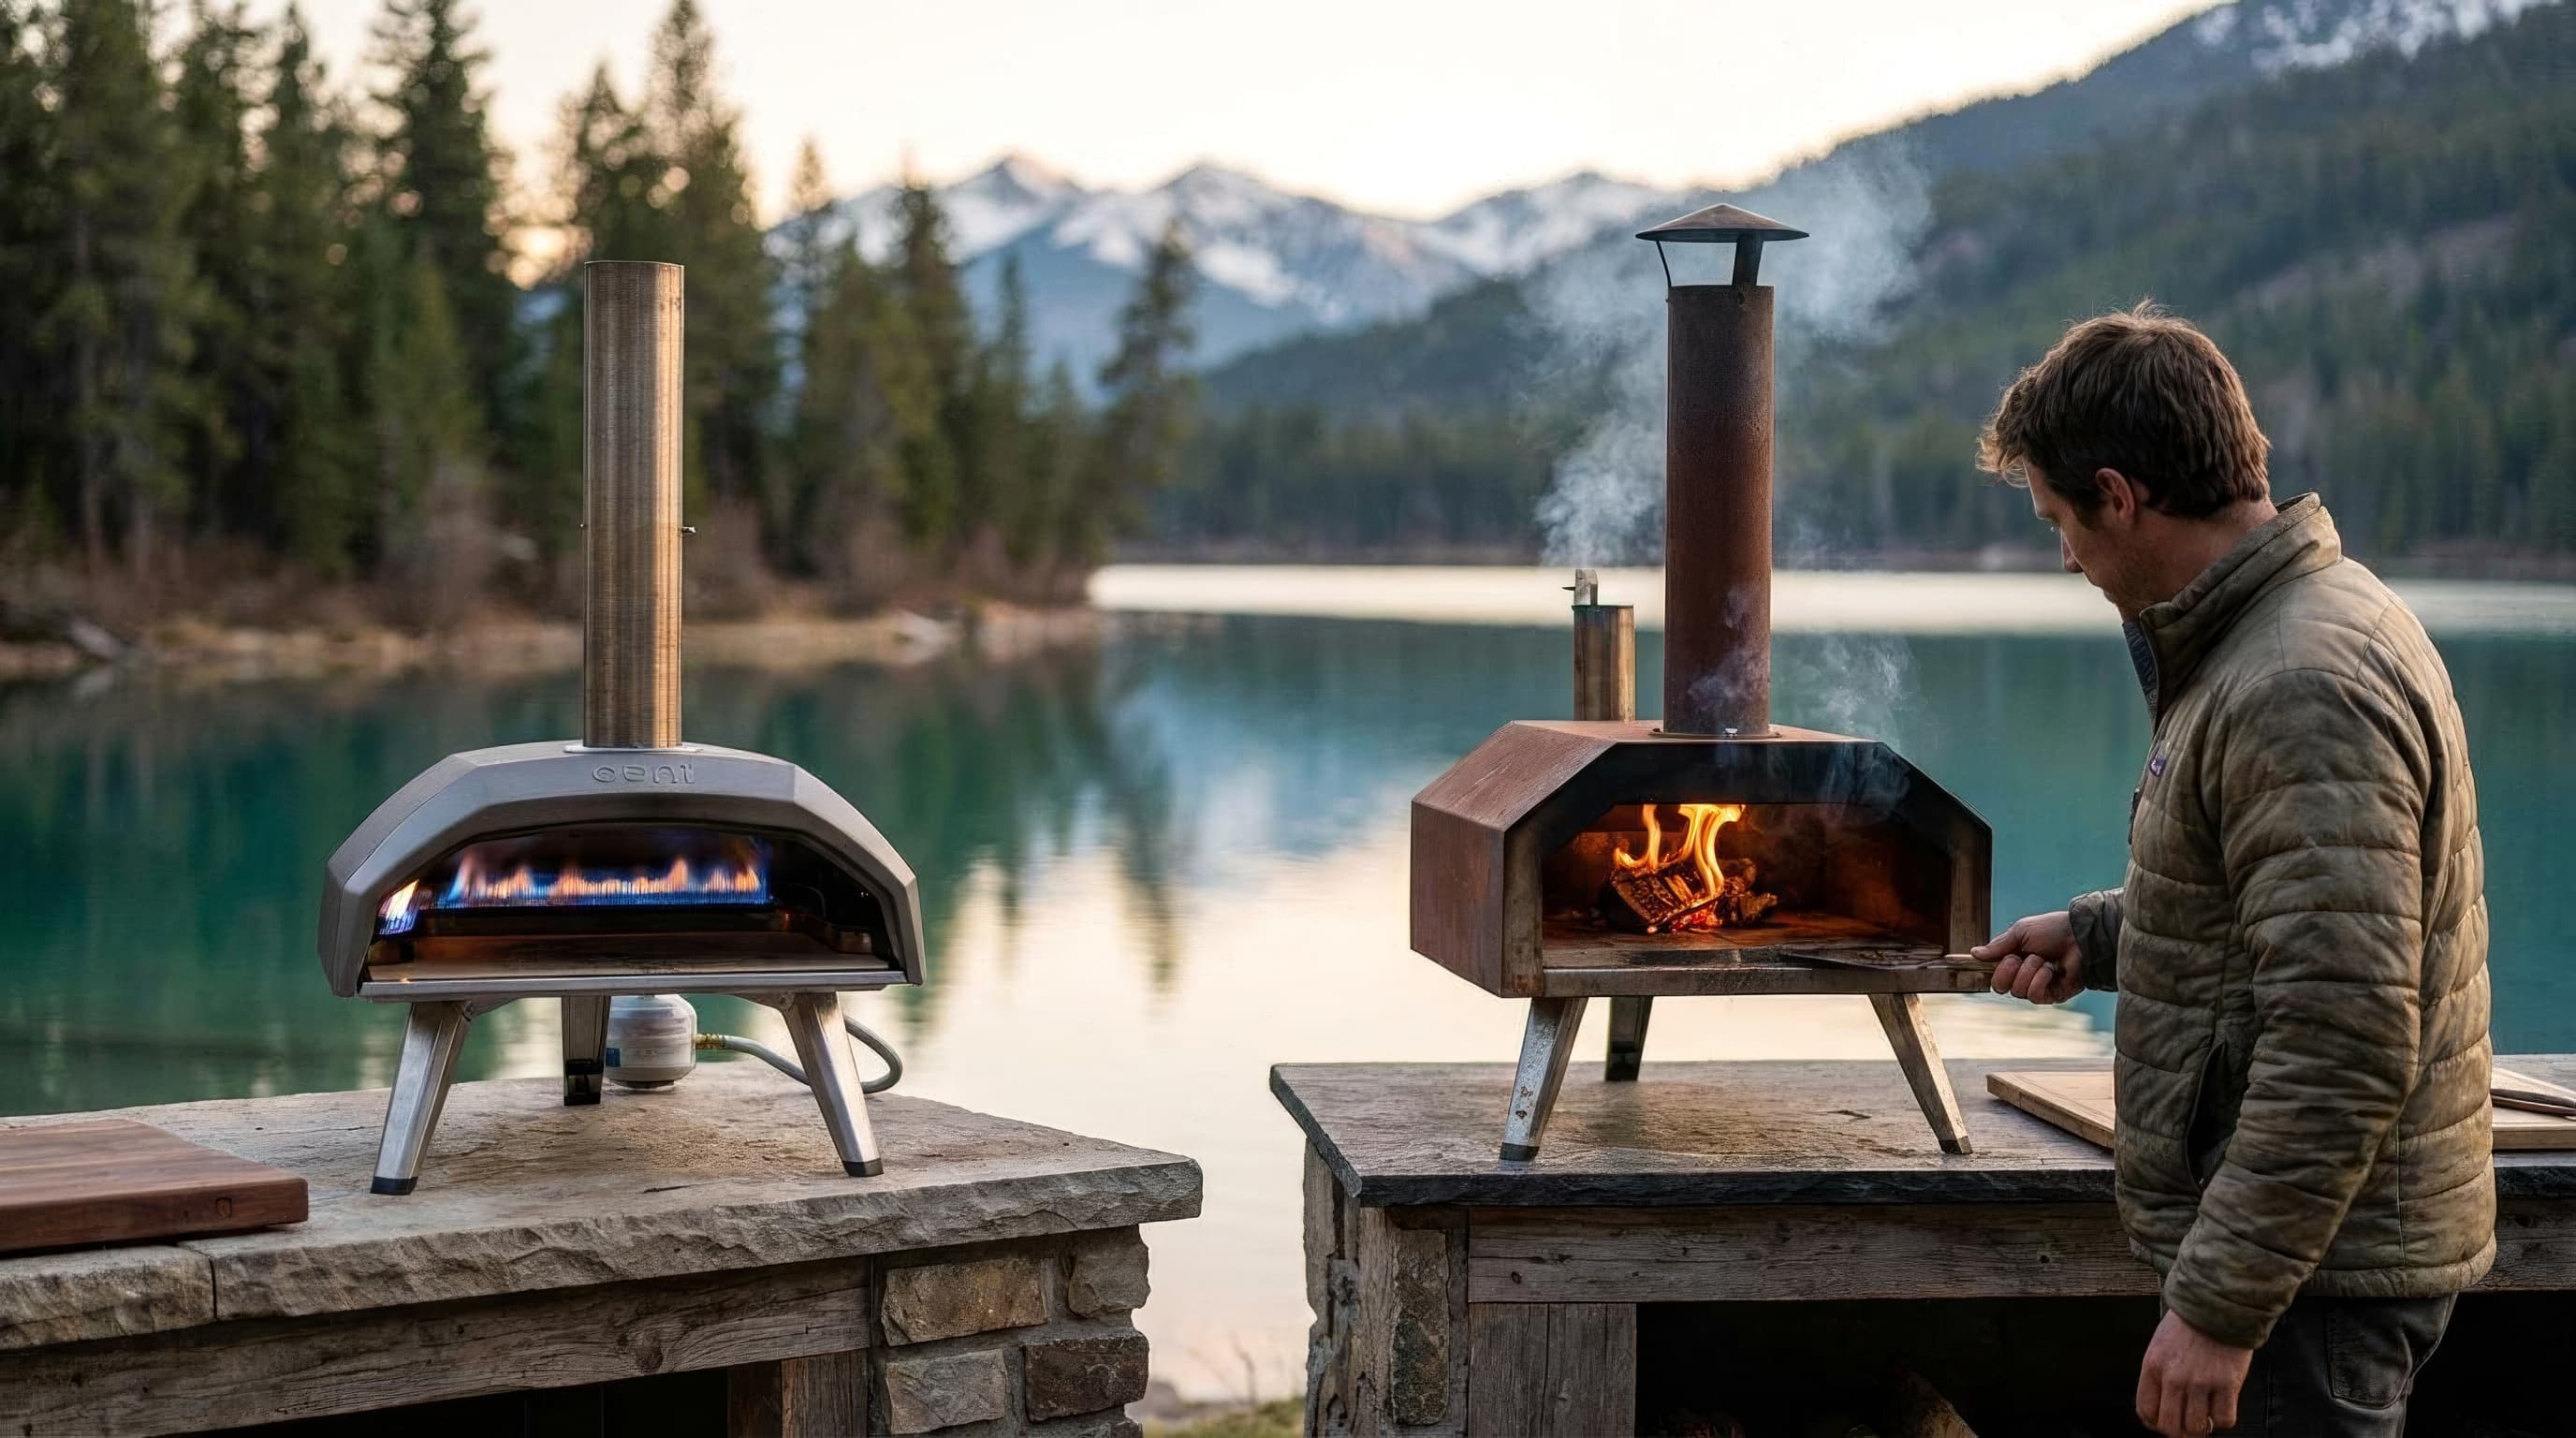
Comparison
Gas vs wood pizza ovens: which should you buy?
Gas wins on repeatability and frequency. Wood wins on process and live-fire character. Compare heat, flavor, recovery, cost, and cleanup.
Read guide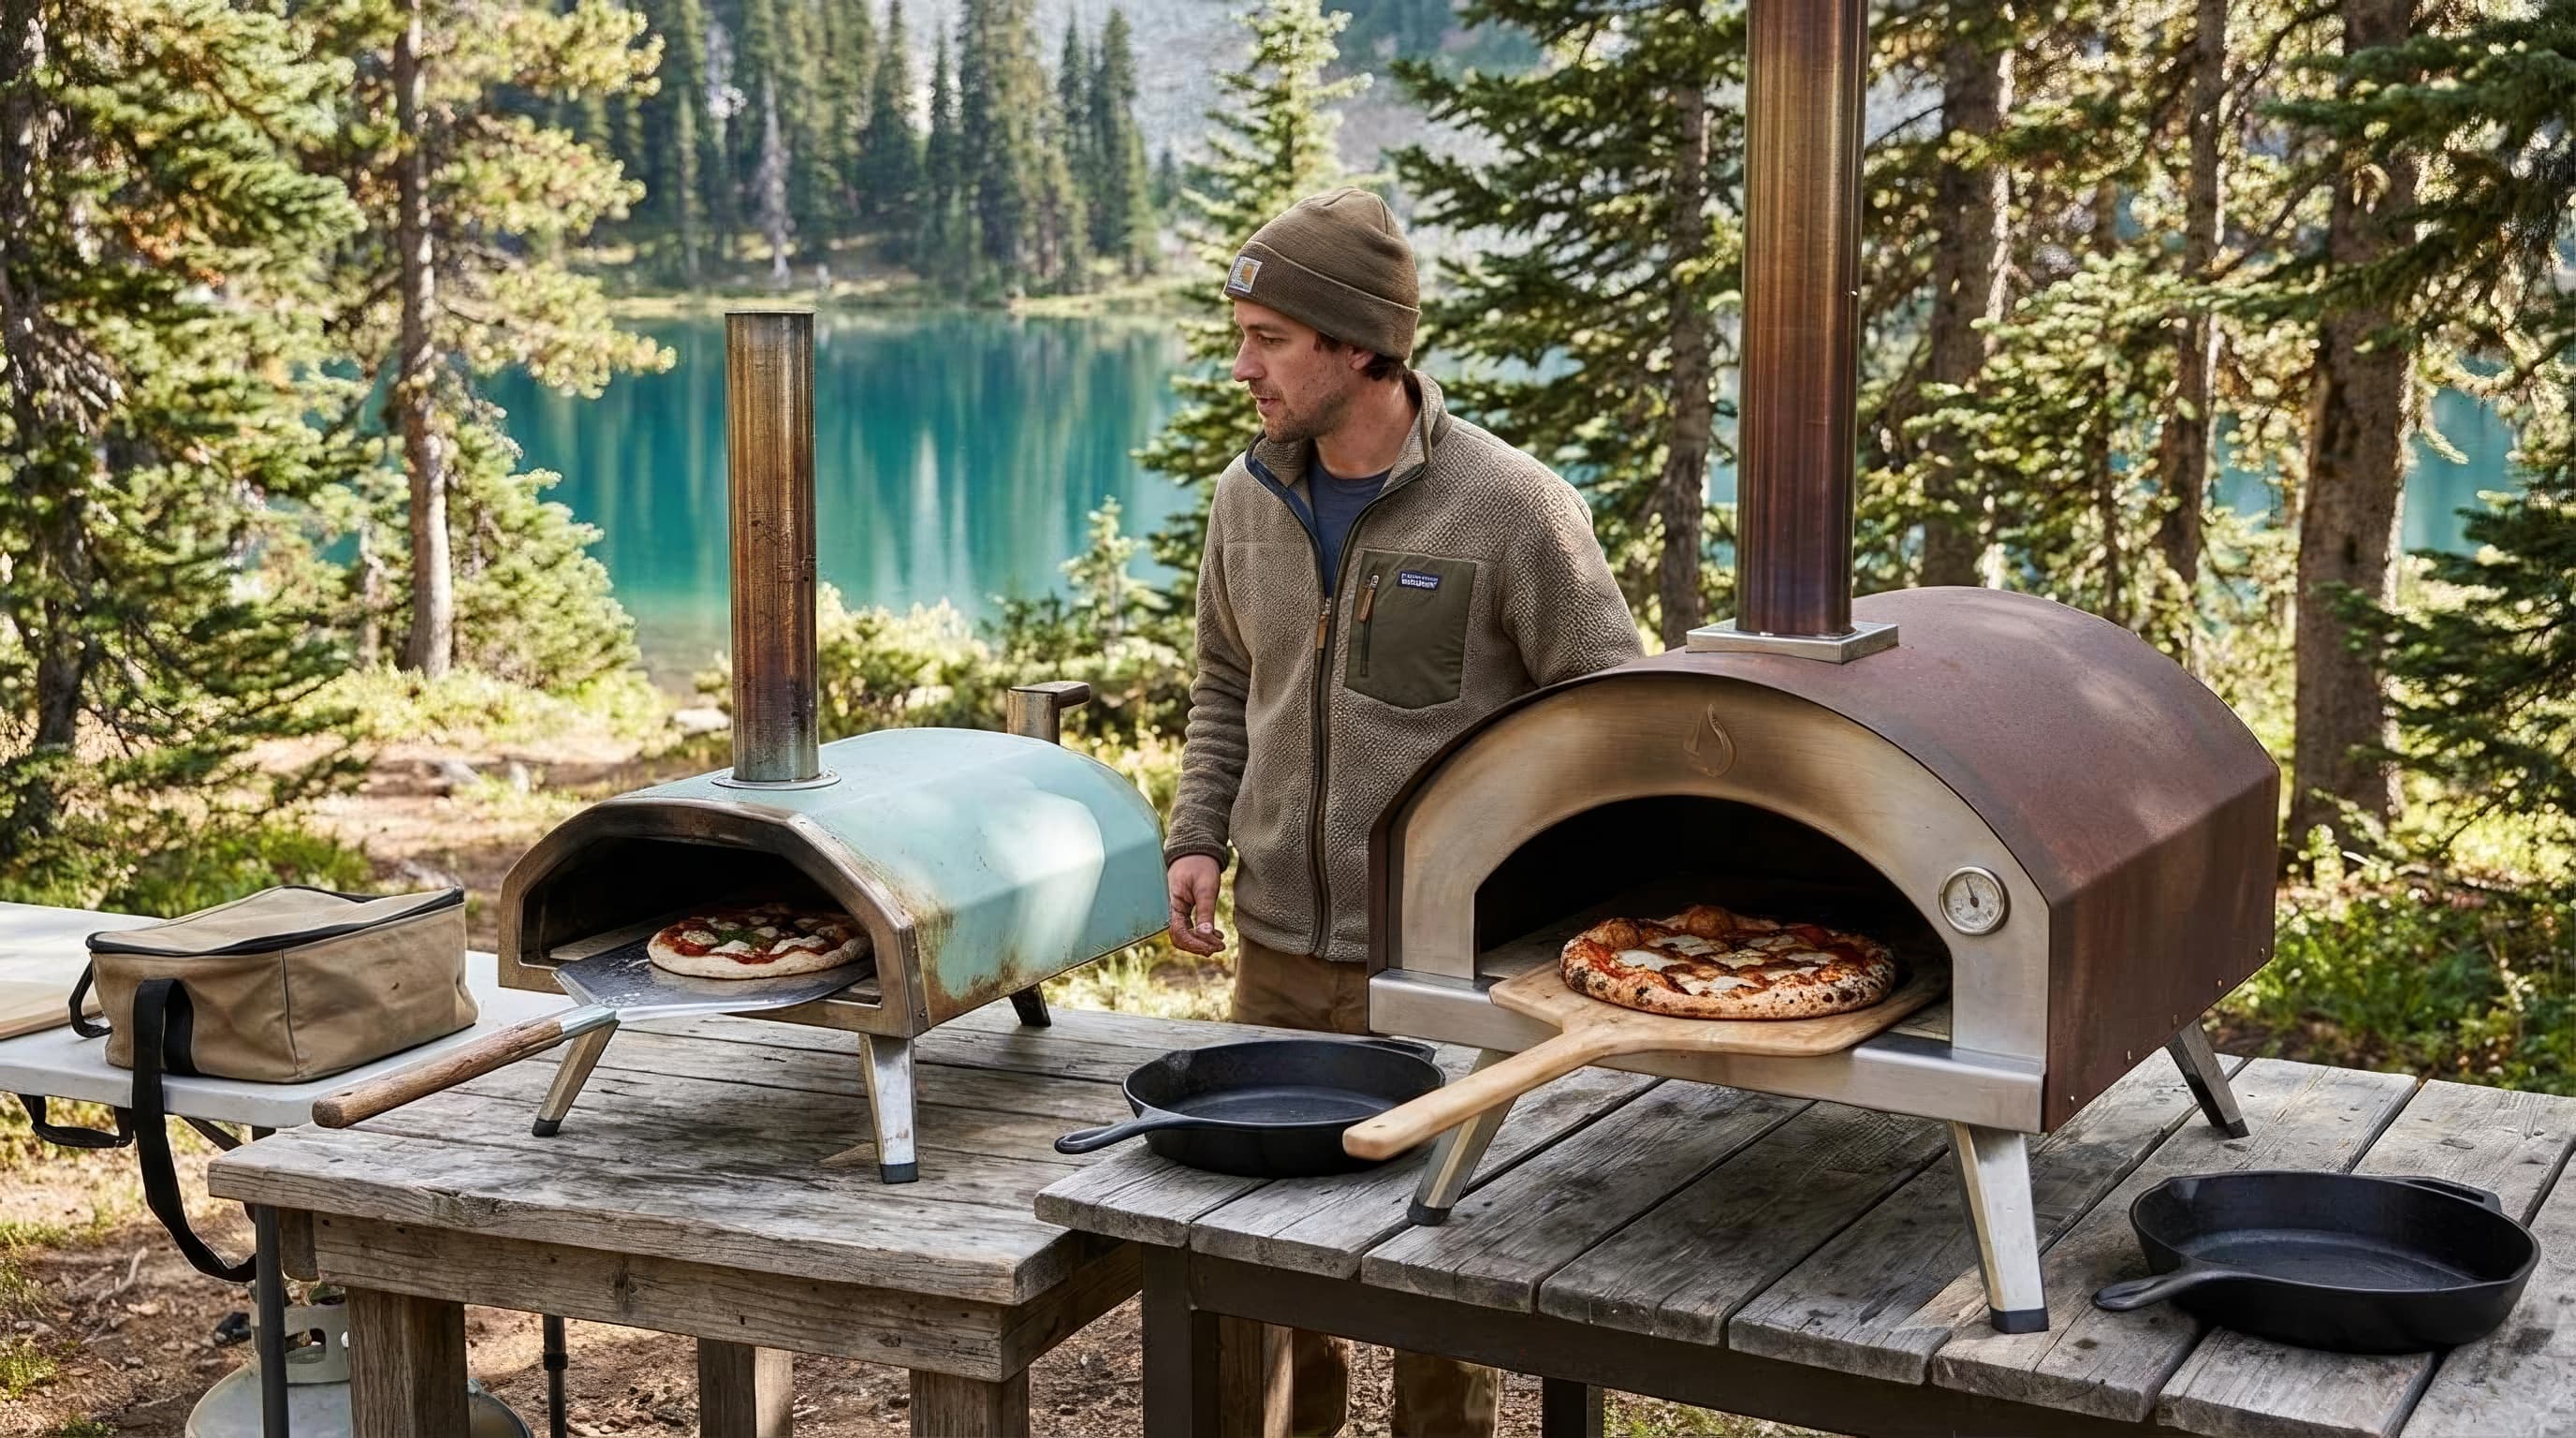
Field guide
What size pizza oven do you need? 12 vs 16 inches
A 12-inch oven suits personal pizzas and compact storage. A 16-inch oven gives 78% more pizza area and far more room to launch and turn.
Read guideResearched, not personally tested: picks come from specs, verified-owner reviews, and expert sources, scored into the Kit Score. As an Amazon Associate I earn from qualifying purchases. We may earn a commission from links here, at no extra cost to you. How we research →