We may earn a commission from links on this page, at no extra cost to you.
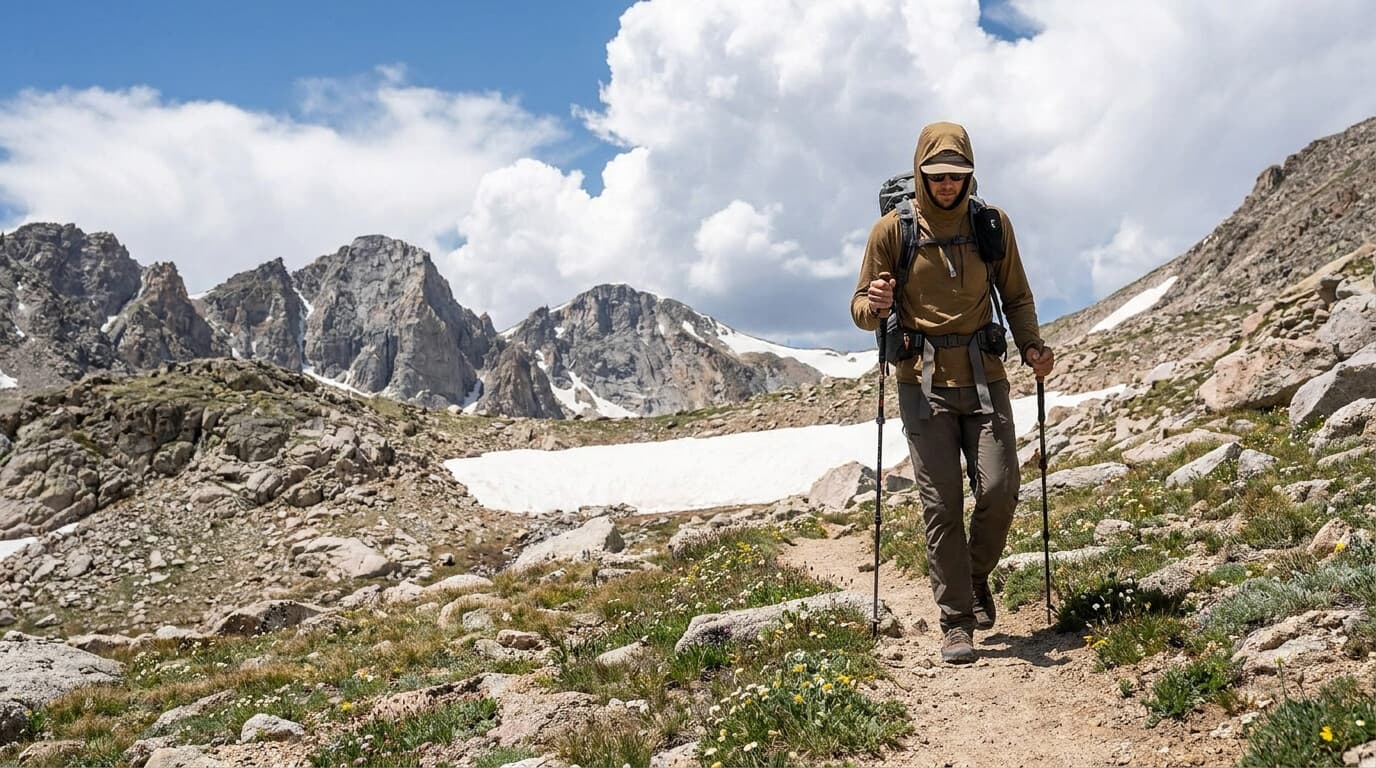
Altitude changes the physics of a hike. UV intensity climbs roughly 10 percent for every 1,000 meters you ascend, thunderstorms build on a near-daily summer schedule, and the gap between a sunny noon and a windy ridge can span 30 degrees. The gear list for Rocky Mountain, Grand Teton, Great Basin, and Colorado's 14er country is really a list of countermeasures to those three facts.
For the trip-planning side, the Rockies national parks overview, the Colorado parks shortlist, and the Grand Teton vs Rocky Mountain comparison cover where this gear actually gets used.
UV at altitude: the math nobody does
The 10-percent-per-1,000-meters figure comes from the World Health Organization, and it compounds with two multipliers. The thinner atmosphere filters less UV to begin with, and above treeline there is no shade, so exposure is continuous. Run the numbers for a Rocky Mountain trailhead at 2,900 meters (9,500 feet): UV runs roughly 25 to 30 percent stronger than at sea level before you take a step, and a 14er summit pushes past 40 percent. Snowfields bounce most of that dose back up at your face, which is how hikers burn the underside of their chin and inside their nostrils.
The counter-system:
- A hooded UPF sun shirt as the base of the kit, covering arms, neck, and ears without reapplication; the sun shirt roundup ranks the field and what UPF ratings mean decodes the label. Above treeline a hooded shirt beats a hat in wind, and most hikers run both.
- Real sunglasses, category 3 lenses minimum, polarized for snow travel. High-altitude light off snow can cause photokeratitis (sunburned corneas) in a single afternoon.
- SPF lip balm on a leash. Lips have almost no melanin and take the reflected dose from below; a balm clipped to the shoulder strap gets used, one in the pack lid does not. Reapply hourly above treeline, which sounds excessive until the first trip where you skip it.
- Sunscreen for the gaps: nose, cheekbones, hands, and that chin underside near snow.
Afternoon thunderstorms: the schedule is the safety gear
Summer in the Rockies runs on a convection clock: clear mornings, clouds building by late morning, and lightning over the high ground through the afternoon. Rocky Mountain and the Tetons see this pattern most July and August days, and above treeline you are the tallest object in the circuit.
The protocol is scheduling first, gear second:
- Start early. On summit routes and above-treeline traverses, trailhead at or before first light, with a plan that puts you off the high point by noon.
- Set a hard turnaround time and honor it regardless of how close the summit looks. Storms build faster than the final half mile hikes.
- Watch the sky actively. Cumulus towers that grow vertically before 11 a.m. are the signal to compress the day.
- If caught: descend immediately, get off ridgelines and away from lone trees, spread the group out, and crouch on your pack pads if strikes are close. Tents and cave mouths are not protection.
The gear half of the protocol is simple: a rain shell lives in the pack every single day, no exceptions for a perfect forecast, because a high-country storm manufactures itself from local convection rather than arriving on a front. A packable shell like the Marmot PreCip Eco weighs ten ounces and doubles as the wind layer; the rain jacket roundup covers alternatives up and down the price range.
Layering for a 30-degree day
A typical July day on a Colorado 14er runs from the low 40s at a dawn trailhead through 70s in the valley sun to 40s again, with wind, on the summit ridge. Hail is a normal July occurrence. No single outfit covers that span; a three-piece system does:
- Base layer: the same UPF sun hoodie doing the UV work doubles as the wicking layer.
- Midlayer: a fleece or light puffy for the cold ends of the day and every stop above treeline. Down earns its keep at altitude where the air stays dry; the down vs synthetic comparison and down jacket roundup cover the choice.
- Shell: the always-packed rain jacket handles wind, rain, and hail in one slot.
Add a warm hat and light gloves even in August; summit wind chill in the 30s is routine. The discipline that makes the system work is venting early and adding layers at every stop, covered in the cold-weather layering guide.
Hydration and appetite: altitude lies to you
Altitude dehydrates through three channels at once: humidity is low so sweat evaporates unnoticed, respiration rate climbs and each breath exhales moisture, and the acclimatization process itself increases fluid turnover. Meanwhile altitude suppresses both thirst and appetite, so the body's gauges under-read exactly when demand rises.
The fix is drinking and eating on schedule rather than on sensation. A reservoir makes scheduled sipping frictionless because the hose is at your collarbone: a 3-liter option like the CamelBak Crux 3L covers a full above-treeline day, and the hydration bladder roundup compares valves and fill systems. Plan on roughly half a liter per hour of climbing, more in wind, and the hiking water calculator will tune the number to your route. Eat something small every hour whether or not you feel hungry; simple carbs digest most easily when appetite is suppressed, and bonking at 12,000 feet is a much bigger problem than bonking at 2,000.
Dehydration also amplifies acute mountain sickness symptoms, so the water schedule is altitude-illness prevention as much as performance.
Sleeping high: the first-night strategy
The classic mistake in Rockies trip planning is flying from sea level and sleeping at 9,000 feet the same night. Acute mountain sickness (headache, nausea, broken sleep) hits a large share of visitors who skip acclimatization, and it can flatten the first two days of a trip.
The strategy that works is staged ascent. Spend the first night lower: Denver or Boulder (5,300 feet) before Rocky Mountain's 8,000-foot-plus campgrounds, Jackson (6,200 feet) before Teton backcountry. Climb high during the day, sleep low the first nights, and move sleeping elevation up gradually, ideally no more than about 1,500 feet of sleeping-altitude gain per night above 8,000 feet. Alcohol the first night works against you; water and an easy day work for you.
Nights at altitude are also genuinely cold in midsummer. High campgrounds in these parks drop into the 30s in July, so the sleep kit is shoulder-season kit: a bag rated to at least freezing (see how temperature ratings work) on a pad with an R-value around 3 or higher (R-value guide).
Trekking poles: bought for the way down
Ascending, poles help with rhythm and balance. Descending is where they earn the pack space: high-altitude trails lose thousands of feet over rocky, loose ground, and poles offload meaningful stress from the knees per stride while catching the small slips before they become falls. Over a 3,000-foot descent off a 14er, that is thousands of load cycles absorbed.
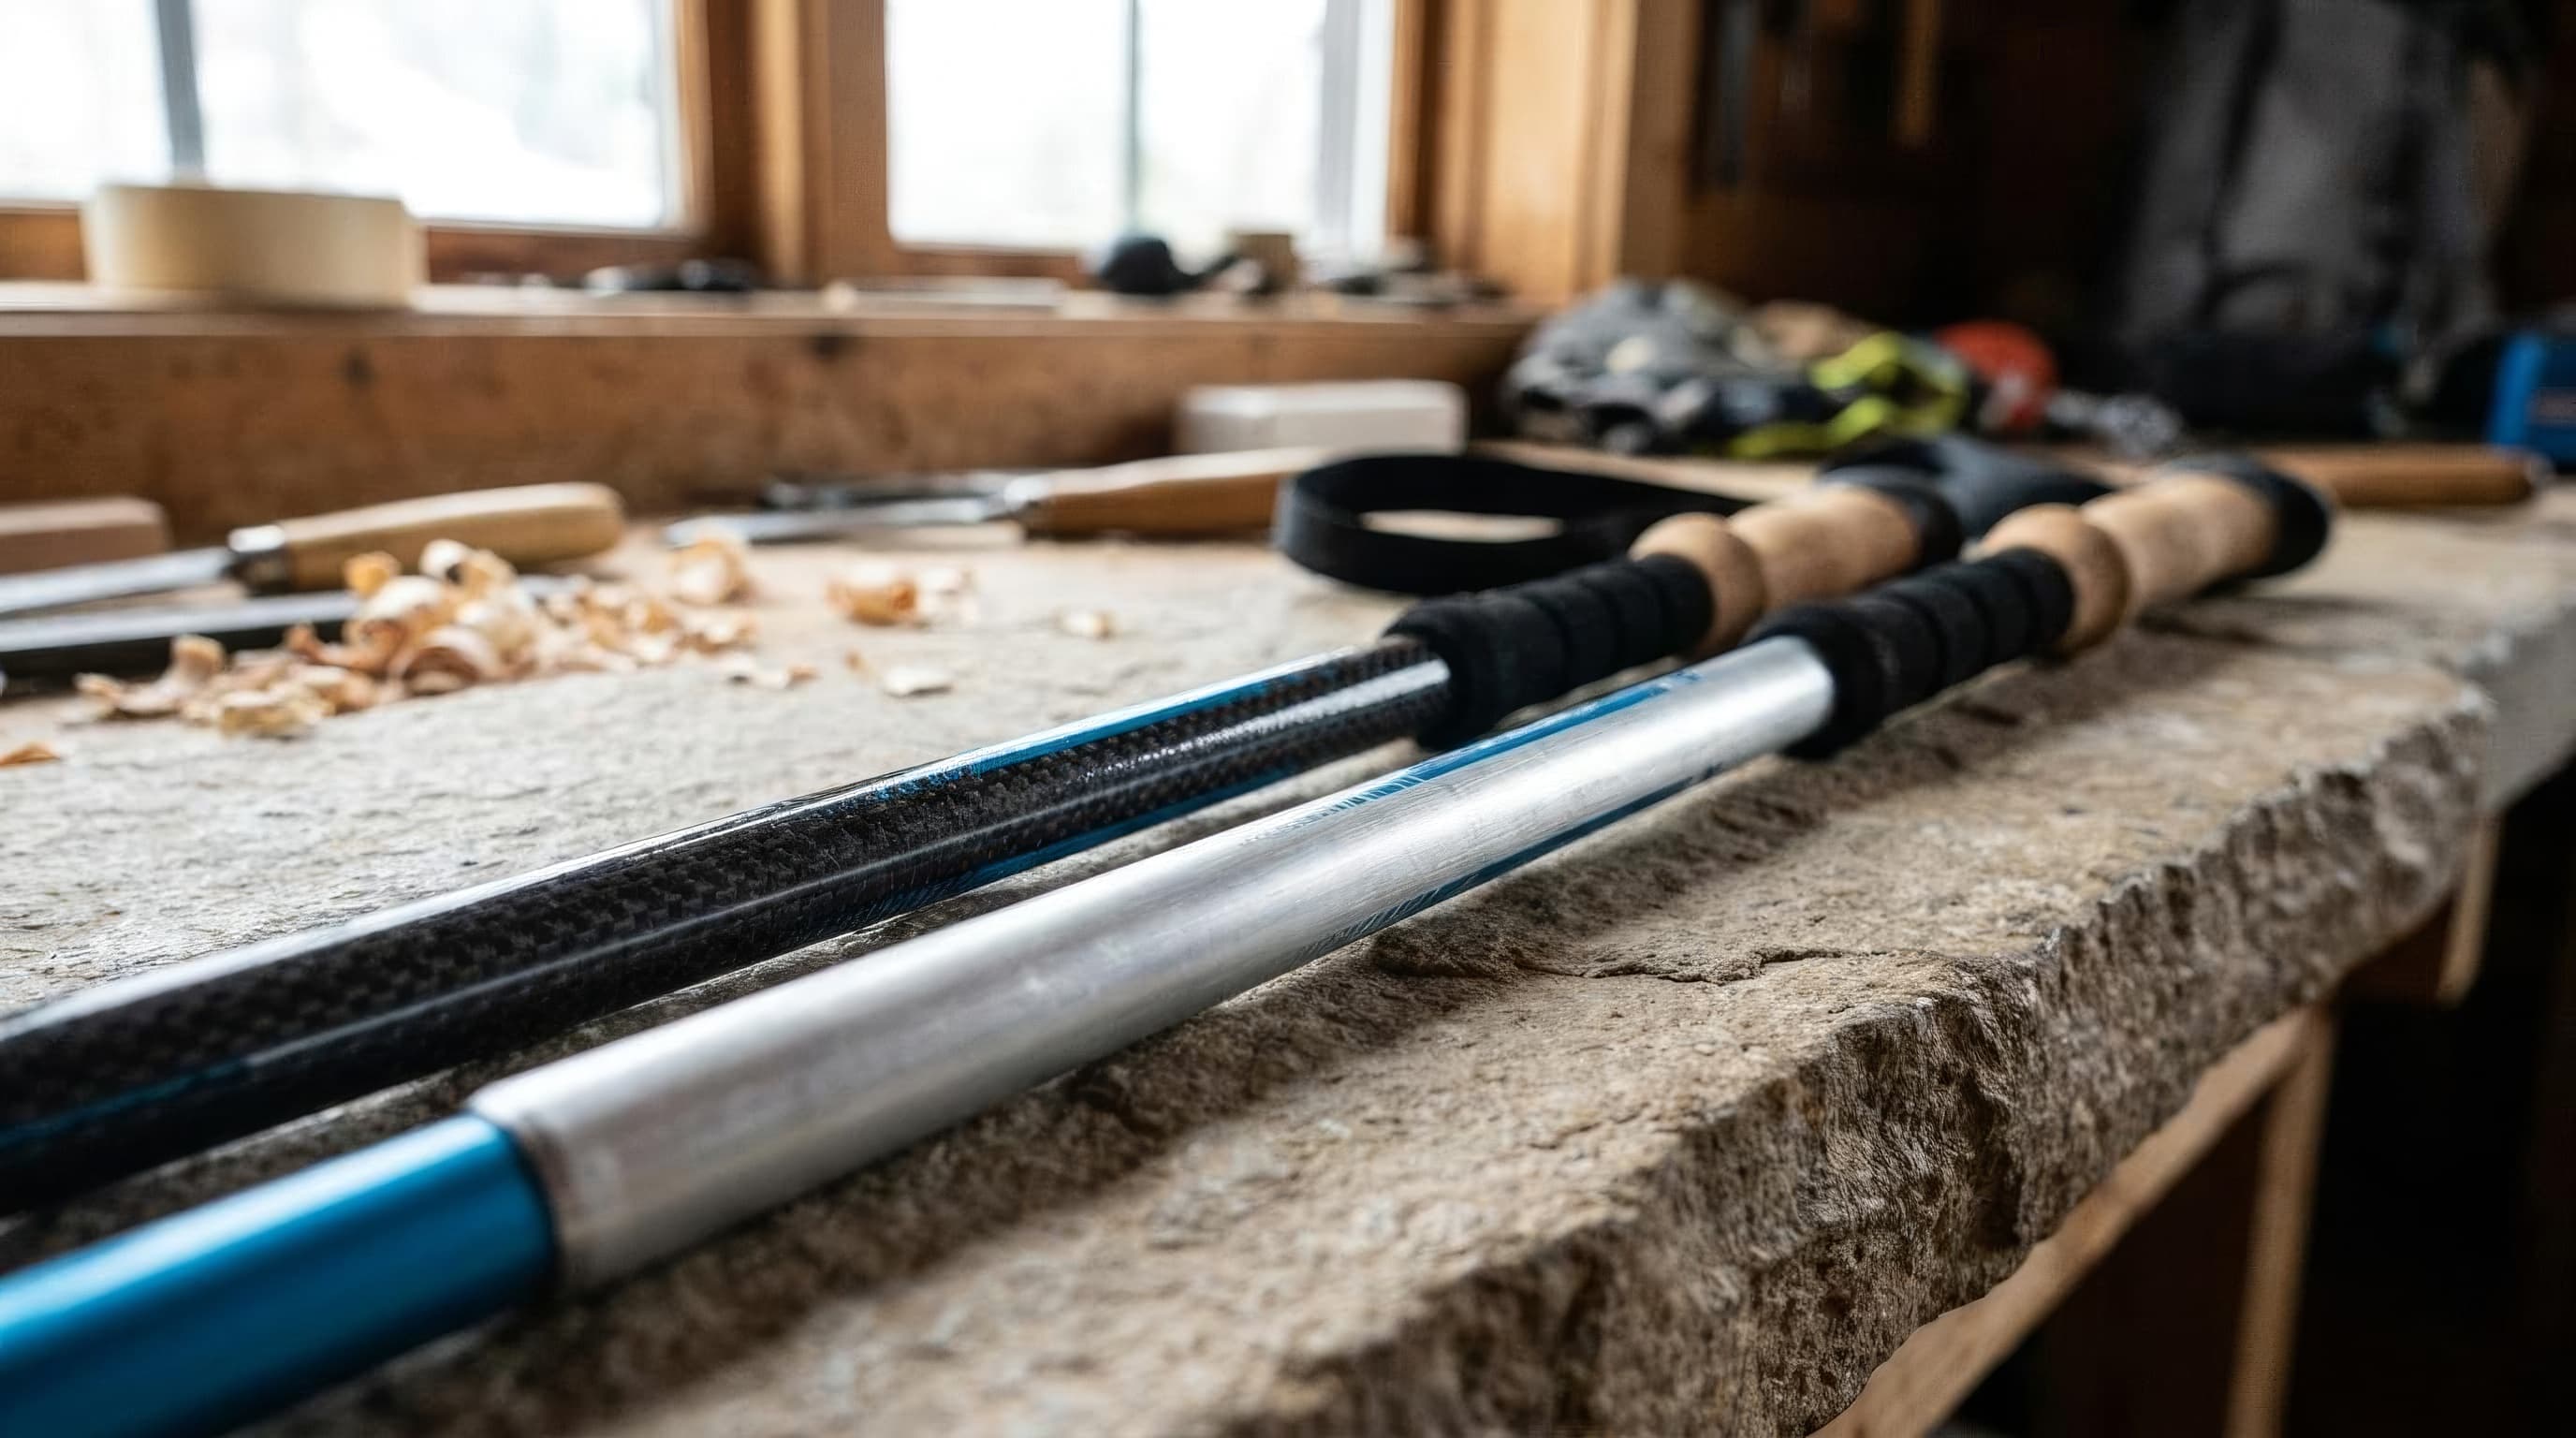
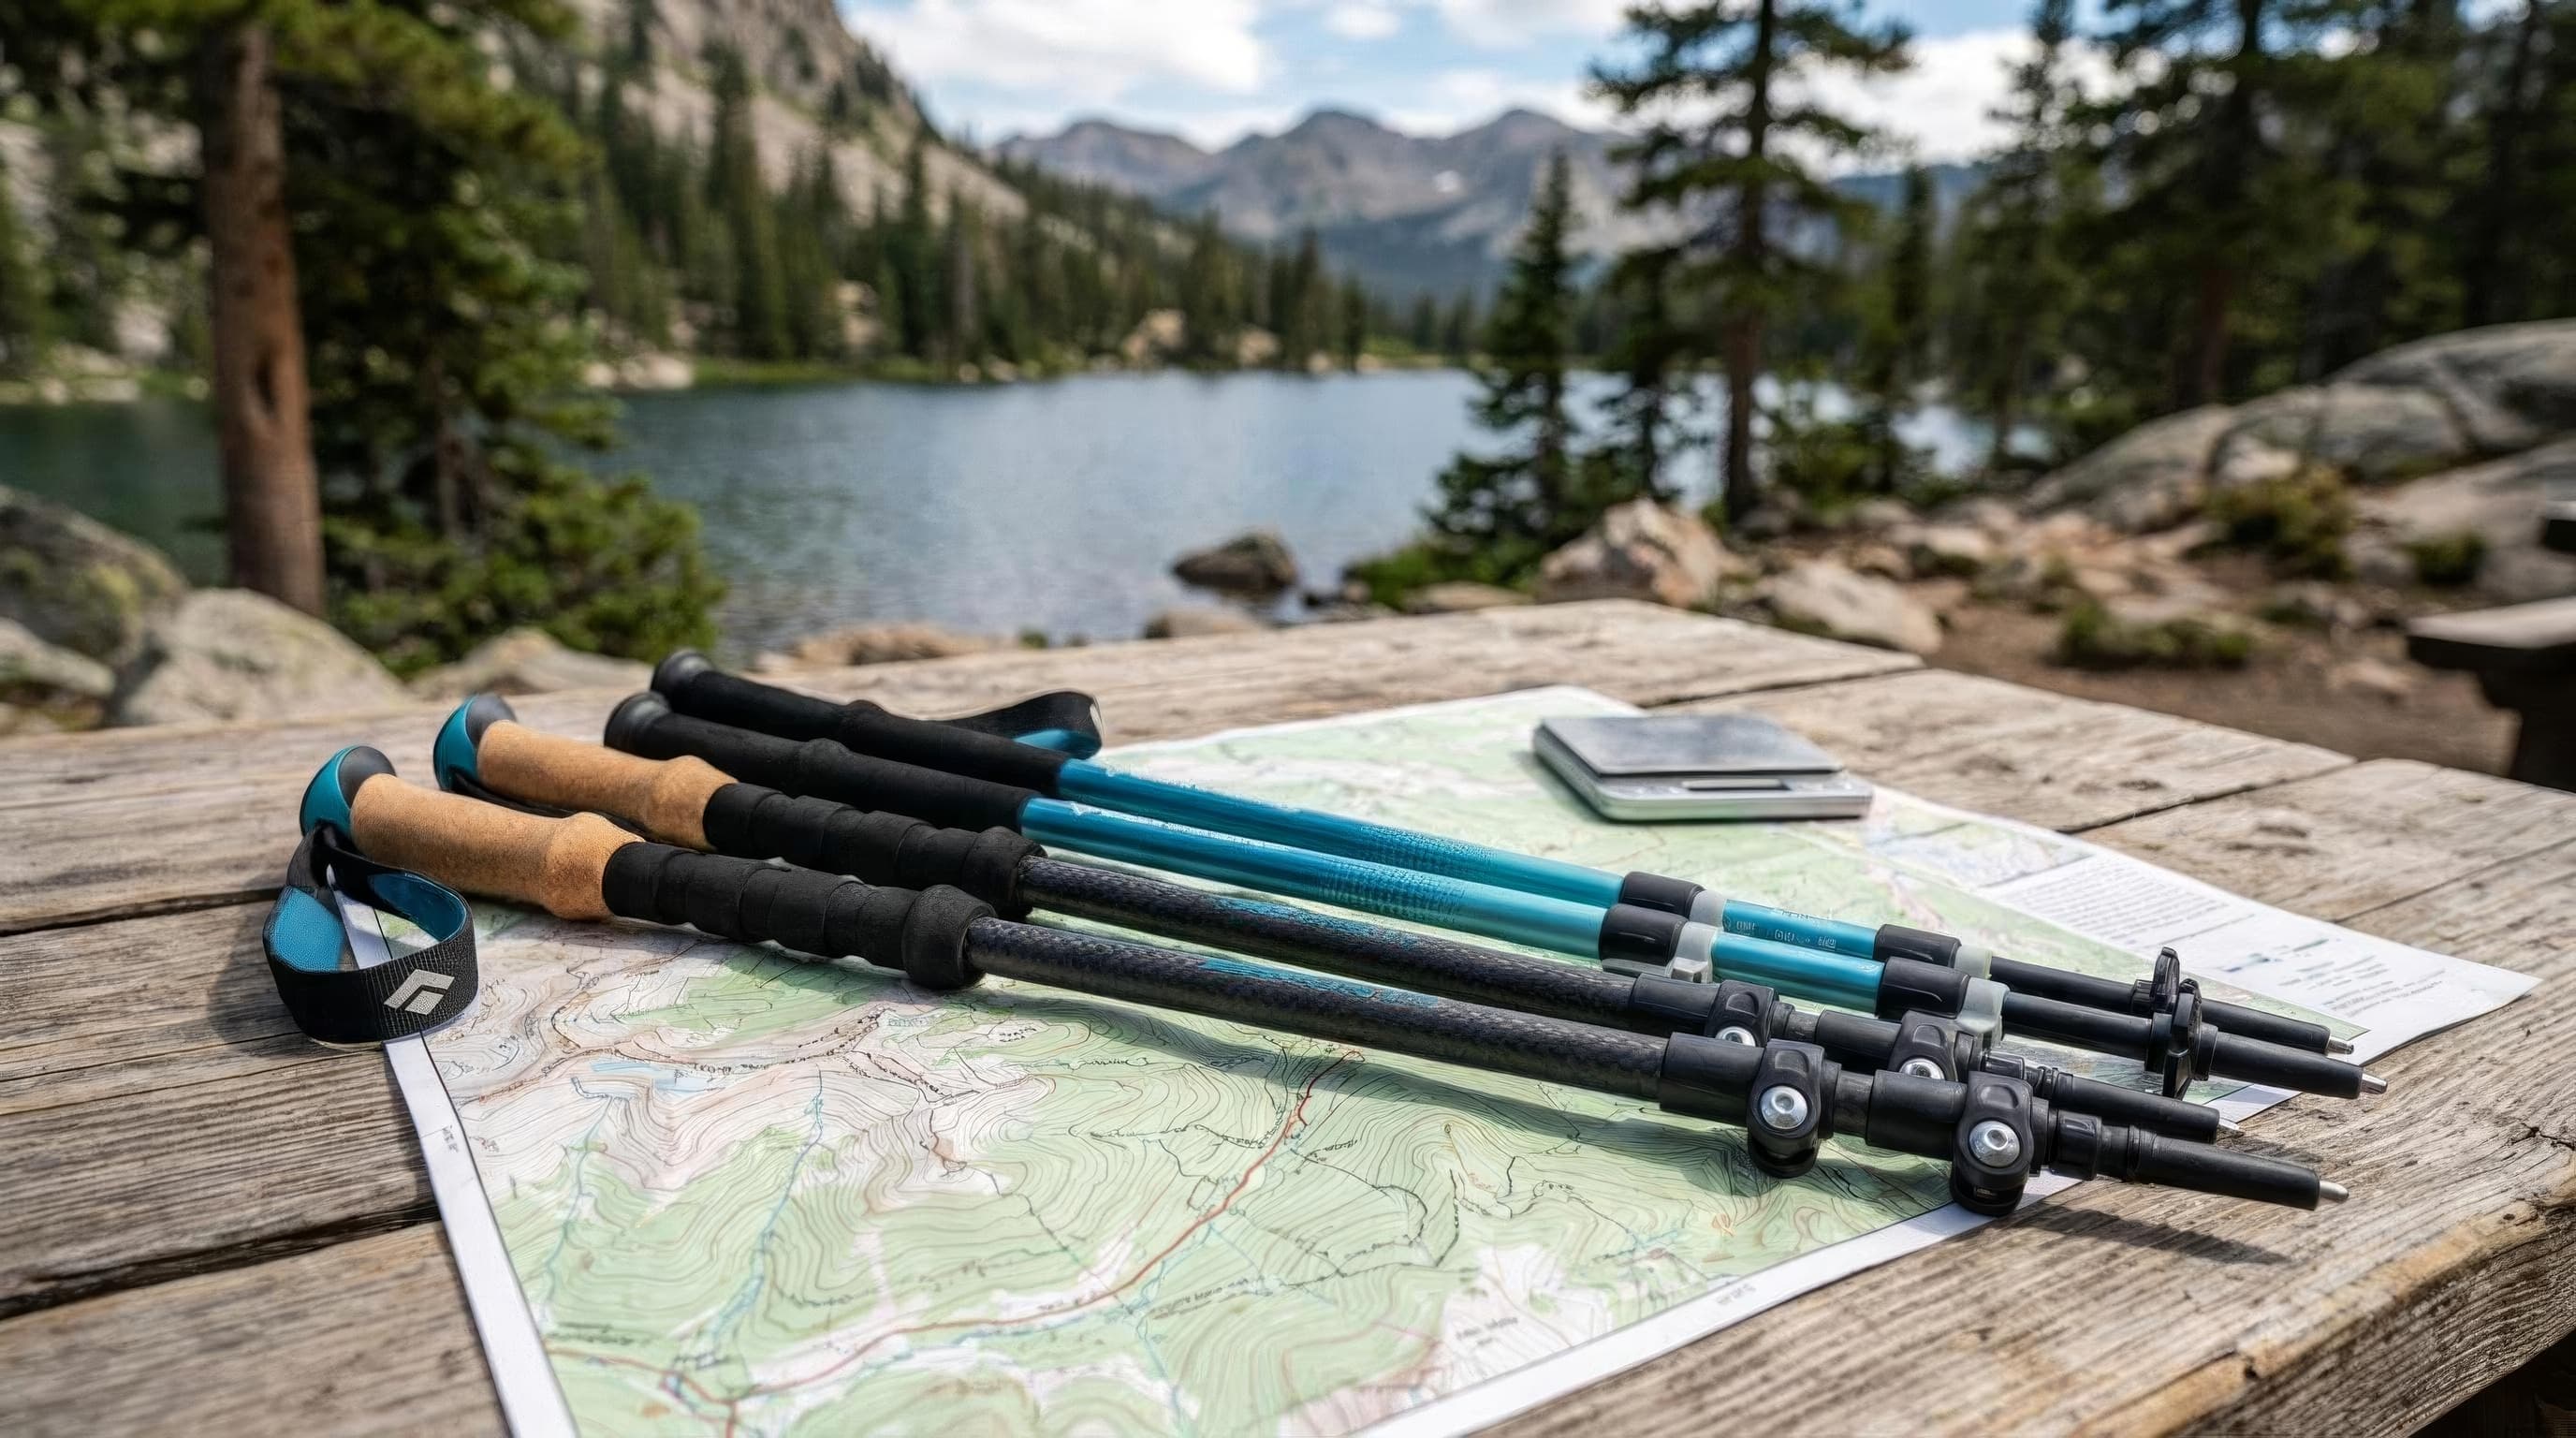
Collapsible aluminum poles like the TrailBuddy collapsible trekking poles cover the job at a budget price, and the trekking pole roundup runs through carbon and folding options; if you are still deciding, are trekking poles worth it makes the case honestly. Sizing tip for descents: lengthen poles 5 to 10 cm on sustained downhills so you are not stooping to plant.
High-altitude packing checklist
Sun
- Hooded UPF sun shirt
- Category 3 sunglasses (polarized for snow)
- SPF lip balm clipped to shoulder strap, sunscreen
- Sun hat or hoodie hood, warm hat for the summit
Storm
- Rain shell packed every day, zero exceptions
- Watch and turnaround time set before the trailhead
- Light gloves
Layers
- Fleece or down midlayer
- Wind-capable shell (same jacket)
- Base layers with zero cotton
Water and fuel
- 3L reservoir plus electrolytes
- Hourly snacks, simple carbs high up
Legs and sleep
- Trekking poles, lengthened for descents
- Freezing-rated bag, R-3+ pad for high campgrounds
- First night booked low if arriving from sea level
FAQ
How much stronger is the sun at high altitude?
UV intensity increases roughly 10 percent per 1,000 meters of elevation, per WHO figures. A 9,500-foot trailhead runs about 25 to 30 percent above sea-level UV and a 14er summit past 40 percent, before adding reflection from snow, which bounces most of the dose back upward. That is why altitude burns happen in places sea-level sun never reaches: under the chin, inside the nose, and on lips.
What time should I start hiking to avoid afternoon thunderstorms?
At or before first light for anything above treeline, with a plan to be off summits and ridges by noon. Summer storms in the Rockies and Tetons build on a daily convection cycle and concentrate lightning over high ground from early afternoon. Set a hard turnaround time before you start, and treat vertically building clouds before 11 a.m. as the signal to shorten the day.
How do I avoid altitude sickness at Rocky Mountain National Park?
Stage your ascent: sleep the first night in Denver or Boulder rather than at a park campground above 8,000 feet, keep the first day easy, drink on a schedule, and skip alcohol on night one. Climb high and sleep low, raising sleeping elevation gradually. Headache plus nausea or dizziness that worsens is the signal to descend, which is the one reliable treatment.
How much water should I drink hiking at altitude?
Plan on roughly half a liter per hour of climbing, and drink on a timer rather than thirst, because altitude suppresses the thirst signal while dry air and faster breathing raise your actual losses. A 3-liter reservoir covers a full above-treeline day for most hikers. Staying hydrated also blunts acute mountain sickness symptoms, so the schedule does double duty.
Are trekking poles worth it for 14ers?
For the descents, strongly yes. Coming off a 14er means thousands of feet of rocky, loose downhill, and poles cut per-stride load on the knees while catching small slips early. Lengthen them 5 to 10 cm for sustained downhills. Budget aluminum poles handle the job fine; the differences carbon buys are weight and vibration, not function.
Choosing between the big Rockies trips? The Grand Teton vs Rocky Mountain comparison settles the classic matchup, and the Colorado parks shortlist covers the state's full lineup. Browse more hiking gear guides, or read how we research and rate.
Recommended gear
Our current top picks from the Best trekking poles for hiking: 4 verified picks guide, if you are ready to buy.
A straightforward three-section aluminum pole with Black Diamond FlickLock adjustment, an extended EVA grip, and included snow baskets. It is heavier than carbon and folding alternatives, but its wide 100–140 cm range and uncomplicated layout suit ordinary hiking and backpacking.
Best for: Day hikers and backpackers who favor visible lever locks, broad adjustment, and included snow baskets over minimum weight or compact packing.
- Wide 100–140 cm adjustment range suits most adult heights and terrain changes
- FlickLock levers are easy to see, open, and retension on trail
- Heavier than carbon alternatives at 18+ oz per pair, noticeable on long-mileage days
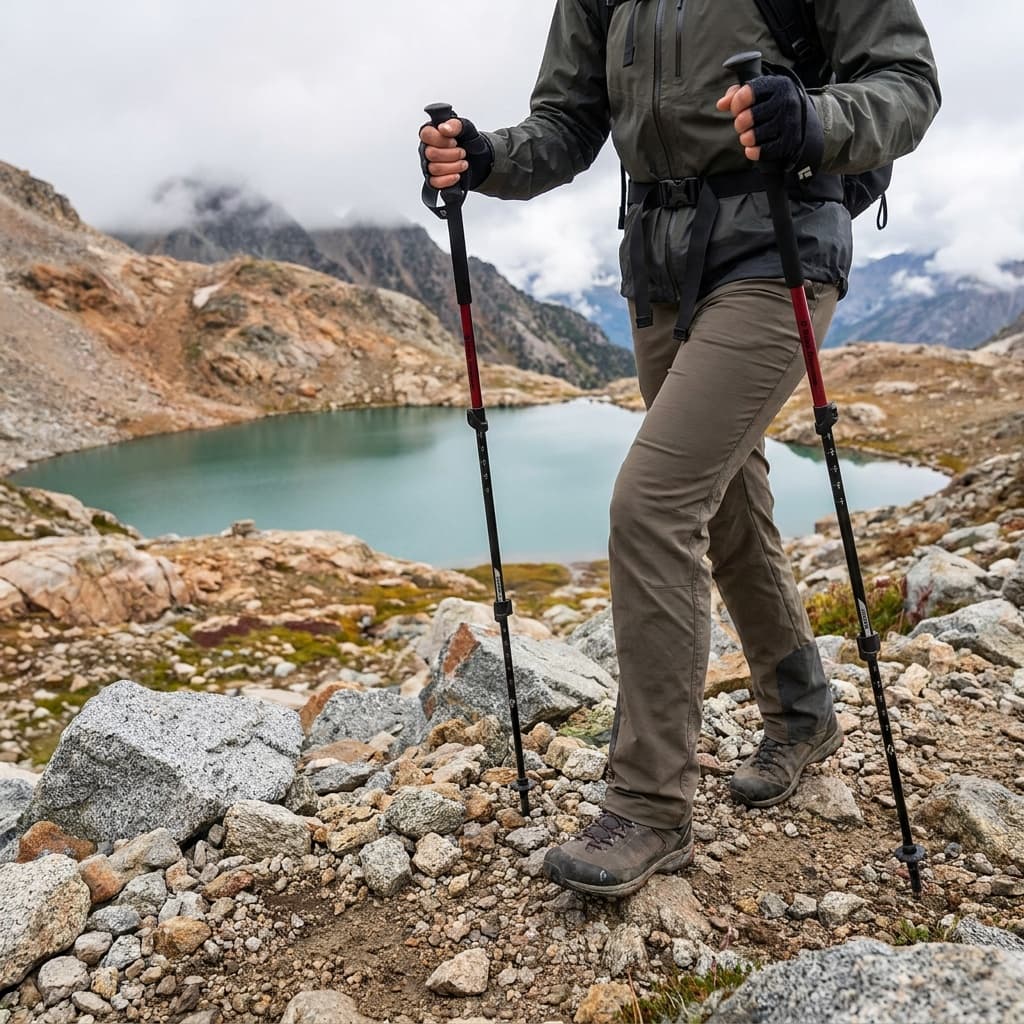
- Weight (pair)
- 19.7 oz (560 g)
- Shaft material
- 7075 aluminum
- Lock type
- FlickLock lever (2x)
- Length range
- 39 – 55 in (100 – 140 cm)
- Collapsed length
- 24 in (61 cm)
- Grip
- EVA foam with extended upper grip
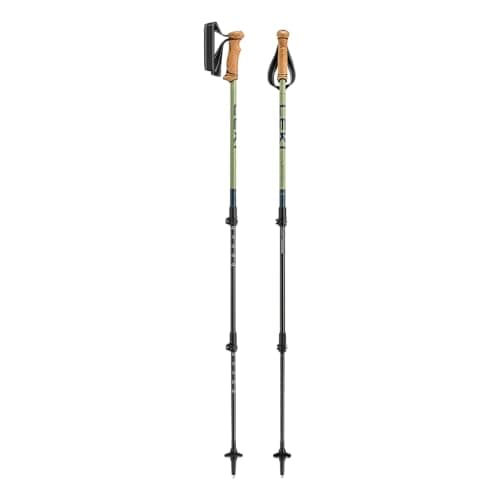
LEKI's adjustable aluminum value pole pairs a CorTec grip containing 80% natural cork with Speed Lock Plus levers and a 100–135 cm range. It weighs slightly less than the Trail Back on current manufacturer figures and carries a lifetime warranty against shaft breakage.
Best for: Day hikers and backpackers who prioritize a cork-rich grip and long-term shaft coverage over compact packing.
- Cork composite grip wicks moisture and stays comfortable across full hiking days
- Speed Lock+ adjusters are intuitive and field-serviceable without tools
- Grip circumference runs smaller than average, less comfortable for larger hands
- Weight (pair)
- 17.7 oz (502 g)
- Shaft material
- HTS 6.0 aluminum
- Lock type
- Speed Lock+ lever (external)
- Length range
- 100 – 135 cm (39 – 53 in)
- Collapsed length
- 26 in (66 cm)
- Grip
- 80% cork composite (EVOCON Cor-Tec)
CASCADE MOUNTAIN TECH
Cascade Mountain Tech Carbon Fiber Quick Lock Trekking Poles
Best Budget
Kit Score 7.9/10
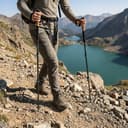
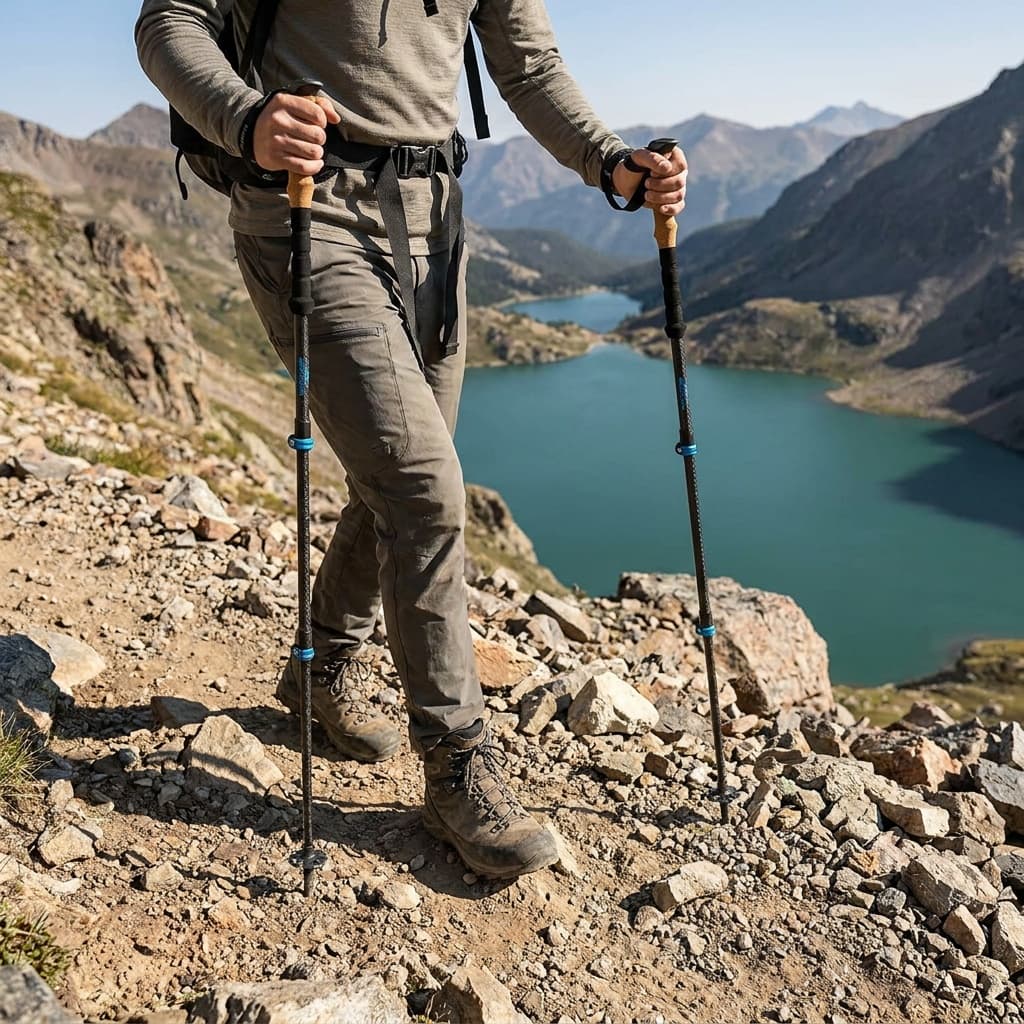
Carbon fiber shafts at a price below many name-brand aluminum pairs define the Cascade Mountain Tech value proposition. Quick-release locks cover 25–53 inches, while cork grips, carbide tips, mud baskets, and rubber tips provide a complete starter package.
Best for: Budget-conscious hikers and weekend backpackers who want carbon fiber weight savings without the premium price tag.
- Carbon fiber shafts at roughly half the price of premium carbon poles
- Complete accessory kit included: carbide tips, mud baskets, rubber caps, and carry bag
- Quick-release hardware is less refined than forged or metal-clasp premium systems
- Weight (pair)
- 14.4 oz (408 g) before tips
- Shaft material
- Carbon fiber (100%)
- Lock type
- Plastic lever lock (quick lock)
- Length range
- 25 – 53 in (63.5 – 135 cm)
- Collapsed length
- 25 in (63.5 cm)
- Grip
- Cork grip
See all picks in Best trekking poles for hiking: 4 verified picks
Keep going
Related guides
 Complete hike loadoutDay hike kitBuild the complete kit
Researched, not hands-on tested
Updated Jul 8, 2026Our recommendations draw on manufacturer documentation, retailer listings, owner feedback, and comparisons with alternatives.
As an Amazon Associate I earn from qualifying purchases. We may earn a commission from links here, at no extra cost to you. How we research →