We may earn a commission from links on this page, at no extra cost to you.
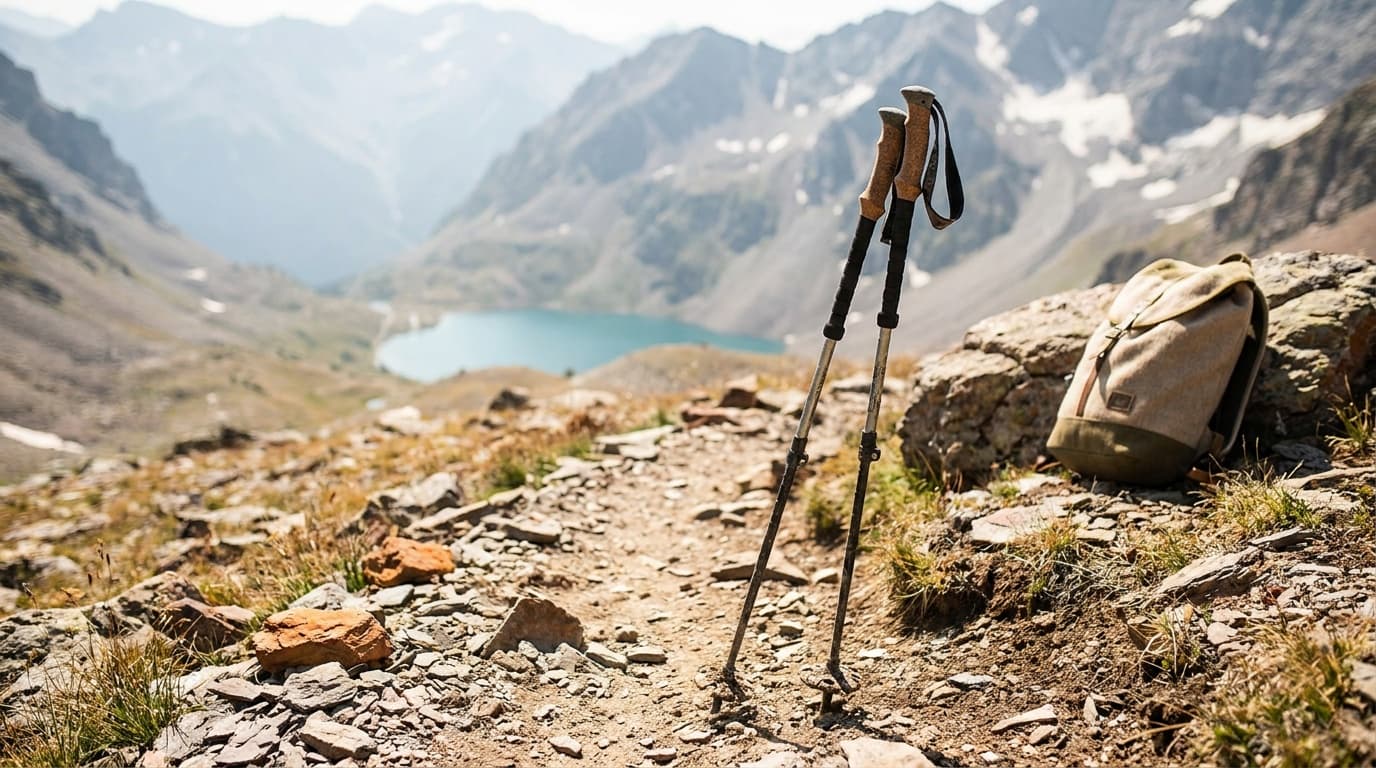
Trekking poles are one of the most debated pieces of gear in hiking. The short answer is yes, they earn their place on the right terrain. The longer answer depends on where you are, what you are carrying, and whether you are using them correctly.
What the research actually shows
The case for trekking poles on descents is well supported by peer-reviewed data, not just trail lore.
The creatine kinase finding from Northumbria University is worth pausing on. Creatine kinase is a blood marker for muscle damage. In a field study of 37 hikers on Snowdon, pole users arrived at the trailhead with levels near baseline. The no-pole group showed significant elevation at the 24-hour mark. That is the difference between waking up ready to hike and waking up barely able to walk downstairs.
Poles planted correctly shift load away from the knee joint. Poles planted too short or too late in the stride do very little.
The energy cost tradeoff
Here is the counterintuitive part: poles do not save energy. Heart rate and oxygen consumption both rise with pole use, even on flat terrain. What they do instead is redistribute effort across your upper body and reduce the load concentration at your knees and quads on the way down. Mountain Tactical Institute research puts perceived effort roughly 20% lower on steep grades even as physiological demand goes up. You feel less wrecked, but you are working harder overall.
The practical upshot: if you are packing light on a flat, well-groomed trail, poles add exertion without much return. On a loaded, multi-day trip with significant elevation loss, they are doing real work.
When poles help vs. when to stow them
Not every section calls for poles. Knowing when to put them away is as important as knowing how to use them.
When poles help vs. hinder
Long descents with a load
The evidence is clearest here. Knee shear forces drop 10–25%, muscle damage accumulates more slowly, and recovery between days improves. Lengthen poles 5–10 cm from flat-ground setting; quick-lock adjusters like those on the [Cascade Mountain Tech Carbon Fiber Quick Lock](/api/go?product=cascade-mountain-tech-carbon-quick-lock&retailer=amazon&article=are-trekking-poles-worth-it) make this a ten-second change.
Wet, loose, or uneven terrain
Two extra points of contact change the risk profile on slippery surfaces without meaningful cost.
Stream crossings
Plant both poles upstream, face the current, shuffle sideways. Keep at least two points on the bottom at all times while the third moves. This is the clearest safety case for poles.
Scrambling or hand-over-hand sections
Stow the poles before you need your hands. Poles dangling from your wrists on rock moves are a liability. Do not wait until you are committed to the move.
Narrow ridges
The International Climbing and Mountaineering Federation cautions that continuous pole use can erode natural balance and coordination, particularly where pole placement is not possible. Treat these sections as pole-free practice.
Dense brush or blowdown
Poles snag constantly and slow you down. Collapse and stow them; a folding pole like the [Black Diamond Distance Carbon FLZ](/api/go?product=black-diamond-distance-carbon-flz&retailer=amazon&article=are-trekking-poles-worth-it) packs down fastest.
Flat groomed trail, no load
Energy cost outweighs benefit. Save the poles for terrain that earns them.
The three technique rules
Poles used with bad technique deliver maybe half the benefit. Three things matter most.
Basic trekking pole technique
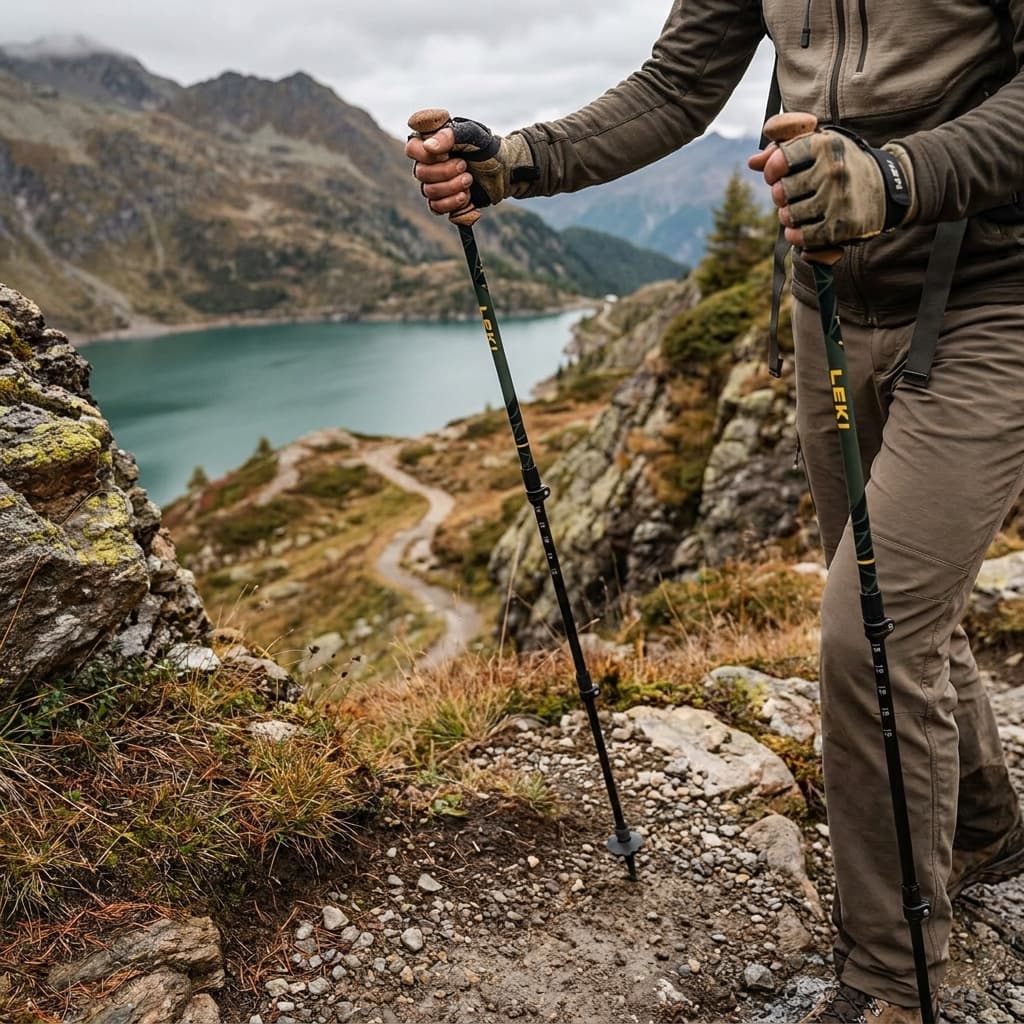
Thread the strap correctly
Slide your hand up through the bottom of the wrist loop, then close your grip around the handle so the strap runs between thumb and index finger. You should be pushing down and forward through the strap, not squeezing the handle. Your grip should be loose enough that the pole would fall if the strap were not there.
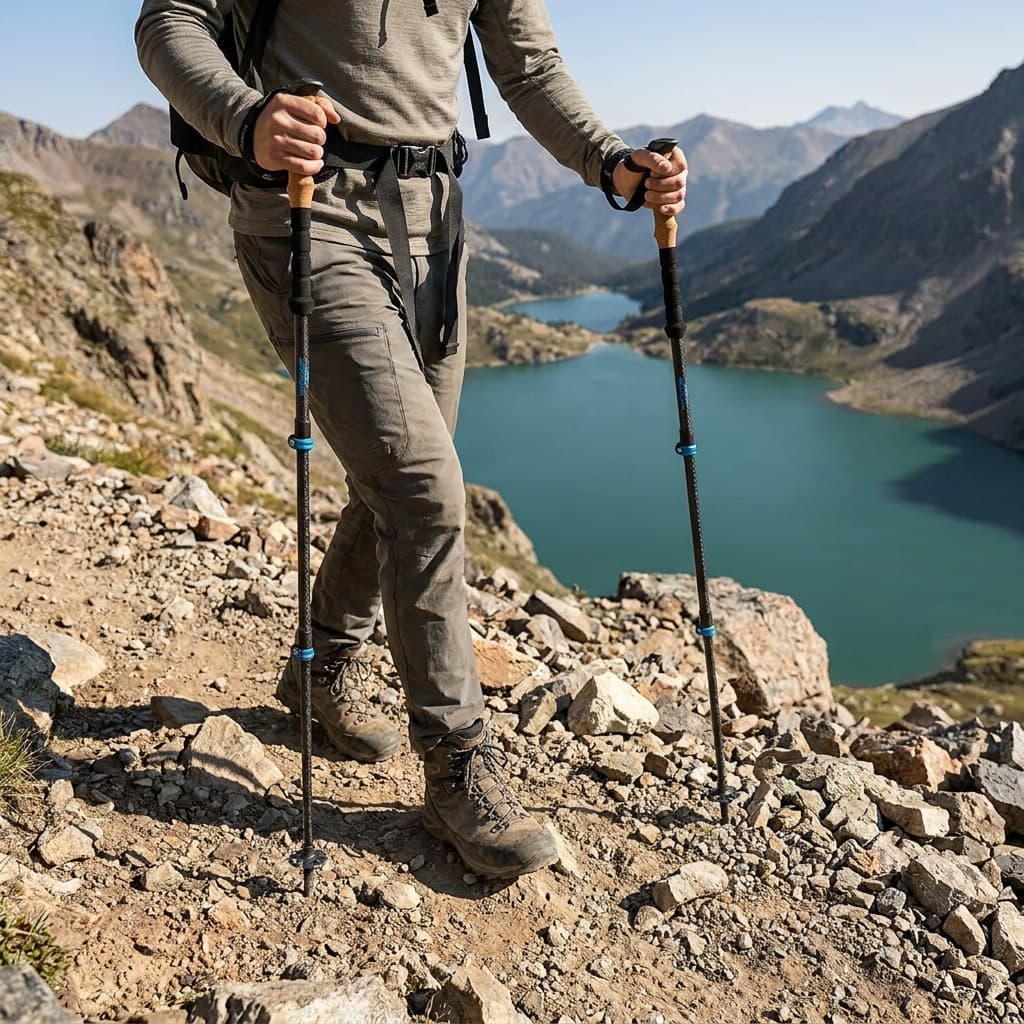
Walk contralateral
Right pole plants as the left foot steps forward. Left pole as the right foot steps. This matches your natural arm swing and keeps the load distribution balanced.
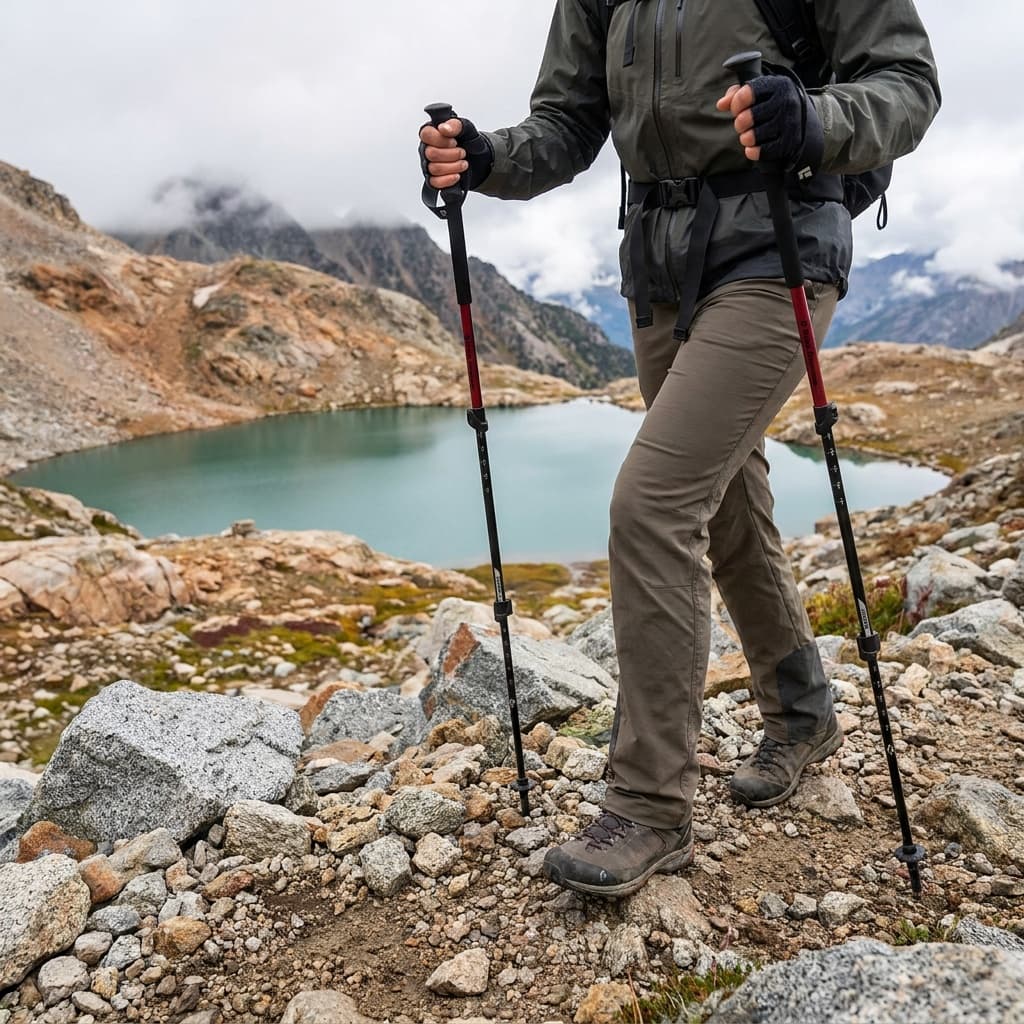
Adjust length for terrain
On flat ground, elbow near 90 degrees. Shorten 5–10 cm for sustained climbs so you are pushing down, not reaching back. Lengthen 5–10 cm for sustained descents so the pole meets the ground ahead of you and absorbs the first wave of impact.
Who gets the most out of them
Poles are most valuable when one or more of these apply: you are carrying 30% or more of your body weight (firmly in rucking territory, and Ruck Authority's trekking pole picks for rucking cover that use case specifically), you have knee arthritis or a prior joint injury, you are logging significant daily elevation loss, you are crossing water or navigating loose scree, or you are three or more days into a trip when cumulative fatigue is compounding.
They add the least value for day hikers on flat, dry, groomed trail without a load. That is not a knock on poles. It is just an honest read of where the benefit lives.
For specific gear recommendations, see our guide to the best trekking poles, where we break down options by weight class, terrain type, and pack load.
Do trekking poles actually protect your knees on the way down?
Yes, with caveats. Lab studies show knee joint shear forces drop 10–25% on steep descents when poles are used correctly. The key word is correctly: poles need to be lengthened 5–10 cm beyond your flat-ground setting, planted ahead of the foot to absorb the first wave of impact, and loaded through the strap rather than death-gripped at the handle. Poles planted too short or too late in the stride do very little. The Northumbria University field study adds real-world weight to the lab numbers: creatine kinase stayed near baseline in pole users after a full day on Snowdon, while the no-pole group showed significant elevation 24 hours later.
When should I stow the poles instead of using them?
Any section that requires your hands: scrambling, hand-over-hand rock moves, rope assists, or ladder rungs. Also consider stowing on narrow ridges where you cannot plant poles to either side, in dense brush or blowdown where poles snag constantly, and on flat groomed trail without a load where the energy cost outweighs any benefit. The International Climbing and Mountaineering Federation specifically cautions that continuous pole use can erode your natural balance and coordination over time, so treating easy sections as pole-free practice is reasonable.
What is the correct way to hold trekking poles?
Slide your hand up through the bottom of the wrist loop, then close your grip around the handle so the strap runs between thumb and index finger. This lets you push down and forward through the strap rather than squeezing the handle, which is what keeps forearms from fatiguing. Your grip should be light enough that the pole would fall if the strap were not there. Walk in a contralateral pattern: right pole plants as the left foot steps, left pole as the right foot steps. For uphill, shorten poles 5–10 cm. For sustained downhill, lengthen 5–10 cm from your flat-ground setting.
Browse all hike gear or read how we research and rate to understand the sourcing and criteria behind every piece of guidance on this site.
Recommended gear
Our current top picks from the The best trekking poles for hikers and backpackers guide, if you are ready to buy.
BLACK DIAMOND
Black Diamond Trail Back Trekking Poles
- Weight (pair)
- 18.25 oz (517 g)
- Shaft material
- 7075 aluminum
- Lock type
- FlickLock lever (2x)
- Length range
- 39 – 55 in (100 – 140 cm)
- Collapsed length
- 24 in (61 cm)
- Grip
- EVA foam with extended upper grip
A bulletproof aluminum telescoping pole that earns its place in guiding companies and thru-hiker gear lists alike. The FlickLock adjusters are fast and hold under load, and the 7075-aluminum shaft is built to survive years of hard use, heavy packs, and the occasional boulder encounter.
- Exceptional durability: withstands torsional stress and heavy loads that crack lighter poles
- Reliable FlickLock adjusters that hold position without slipping under sustained pressure
- Heavier than carbon alternatives at 18+ oz per pair, noticeable on long-mileage days
LEKI
LEKI Legacy Lite AS Trekking Poles
- Weight (pair)
- 16.45 oz (466 g)
- Shaft material
- HTS 6.5 aluminum
- Lock type
- Speed Lock+ lever (external)
- Length range
- 100 – 135 cm (39 – 53 in)
- Collapsed length
- 26.4 in (67 cm)
- Grip
- 80% cork composite (EVOCON Cor-Tec)
LEKI's entry-level aluminum pole punches well above its price point. The cork composite grip wicks sweat better than plain foam, the Speed Lock+ system adjusts fast in the field, and the shaft has survived thru-hike distances on the CDT and PCT from multiple verified owners.
- Cork composite grip wicks moisture and stays comfortable across full hiking days
- Speed Lock+ adjusters are intuitive and field-serviceable without tools
- Grip circumference runs smaller than average, less comfortable for larger hands
CASCADE MOUNTAIN TECH
Cascade Mountain Tech Carbon Fiber Quick Lock Trekking Poles
- Weight (pair)
- 14.65 oz (415 g)
- Shaft material
- Carbon fiber (100%)
- Lock type
- Plastic lever lock (quick lock)
- Length range
- 26 – 54 in (66 – 137 cm)
- Collapsed length
- 26 in (66 cm)
- Grip
- Cork-style foam with extension grip
Carbon fiber shafts at a price that undercuts most aluminum poles: that is the Cascade Mountain Tech value proposition. The poles survived 200+ miles of field use in independent reviews without a shaft failure, and the included accessory kit (tungsten carbide tips, mud baskets, rubber caps, storage bag) adds real practical value.
- Carbon fiber shafts at roughly half the price of premium carbon poles
- Complete accessory kit included: carbide tips, mud baskets, rubber caps, and carry bag
- Plastic lever locks have slipped under heavy load in some owner reports; less reliable than metal-clasp systems on premium poles
See all picks in The best trekking poles for hikers and backpackers
Complete hike loadout
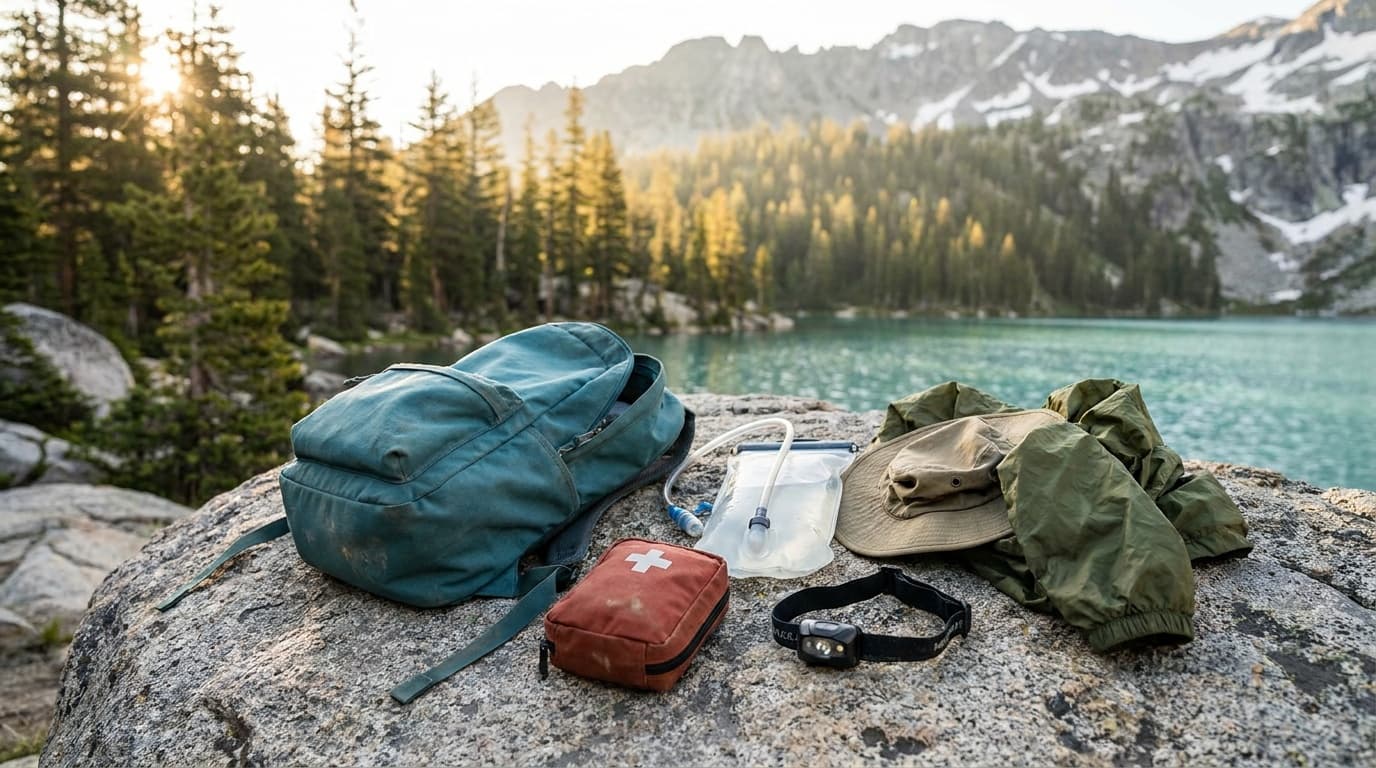
Day hike kit
Seven slots for a full trail day, from the pack and water system to light and weather protection.
Build the complete kitRelated guides
Buying guide
The best trekking poles for hikers and backpackers
The best trekking poles ranked on material, lock type, packed length, grip feel, and value. Four picks for every budget, from ultralight carbon to bomber aluminum.
Read guide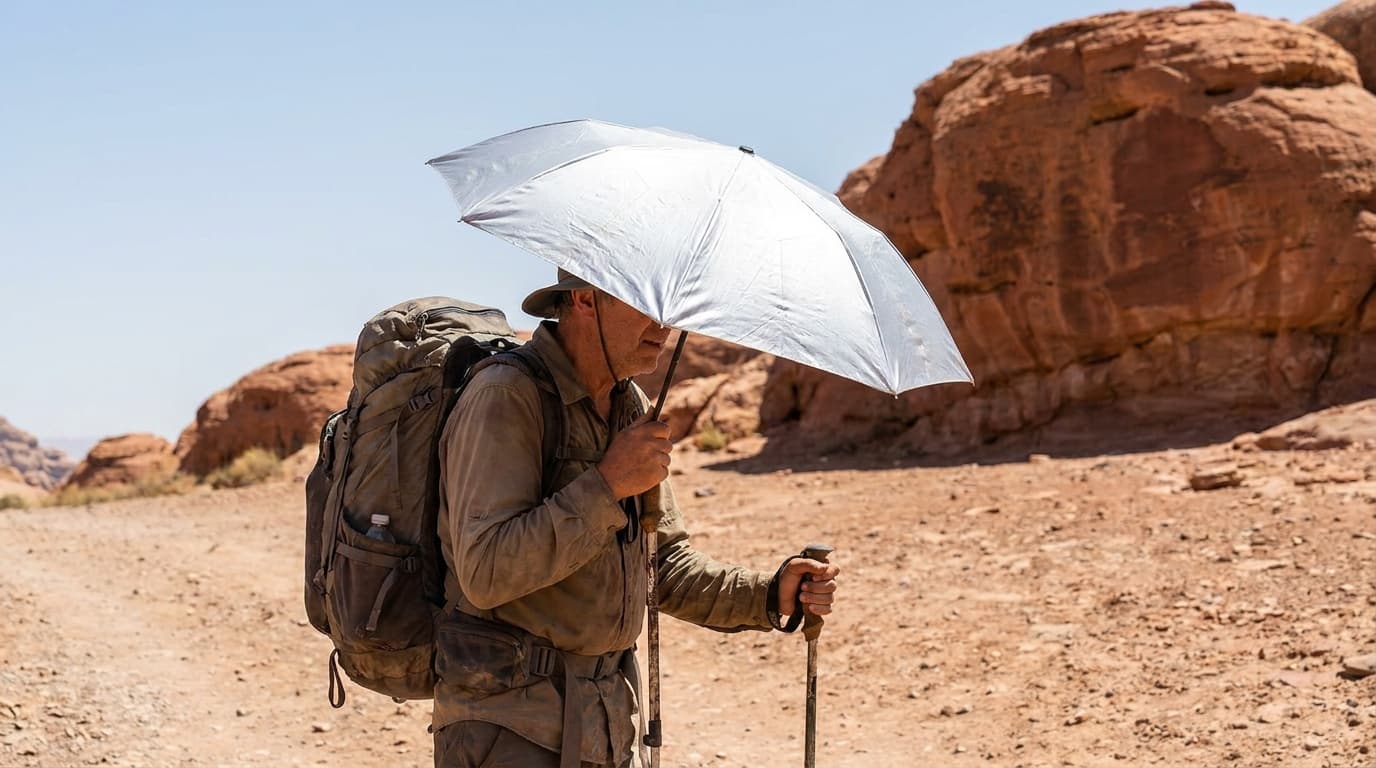
Buying guide
Best trekking umbrellas for sun and rain (2026)
The best trekking umbrellas for desert sun and rainy long-distance hiking: ultralight weight, UV protection, wind resistance, and hands-free pack attachment compared.
Read guide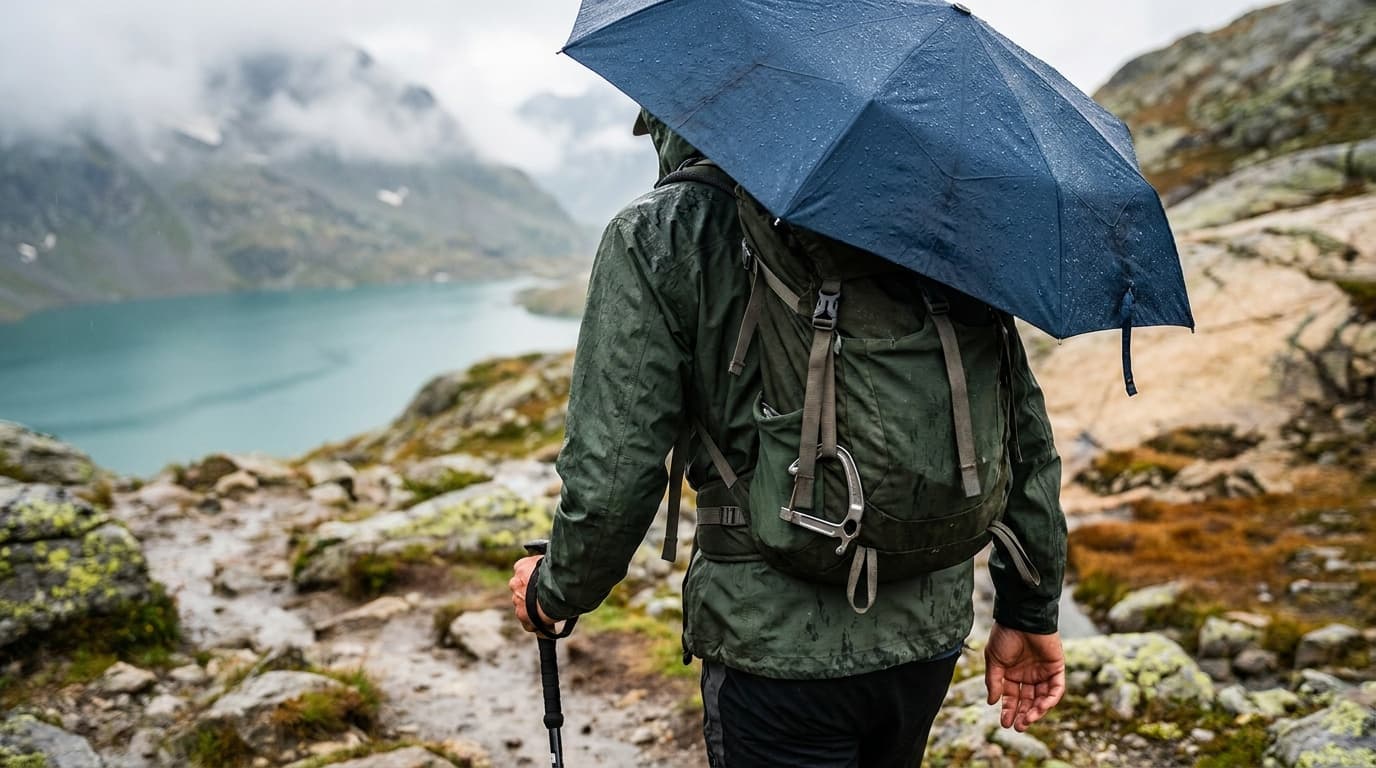
Field guide
Are trekking umbrellas worth it
Where a trekking umbrella earns its place, where it falls short, and how to decide if one belongs in your pack.
Read guide
Buying guide
Best camp shoes for hiking (2026)
The best camp shoes for hikers ranked by weight, packed size, grip, and recovery benefit. Slides, clogs, and insulated mules for giving your feet a real break at camp.
Read guideResearched, not personally tested: picks come from specs, verified-owner reviews, and expert sources, scored into the Kit Score. As an Amazon Associate I earn from qualifying purchases. We may earn a commission from links here, at no extra cost to you. How we research →