We may earn a commission from links on this page, at no extra cost to you.
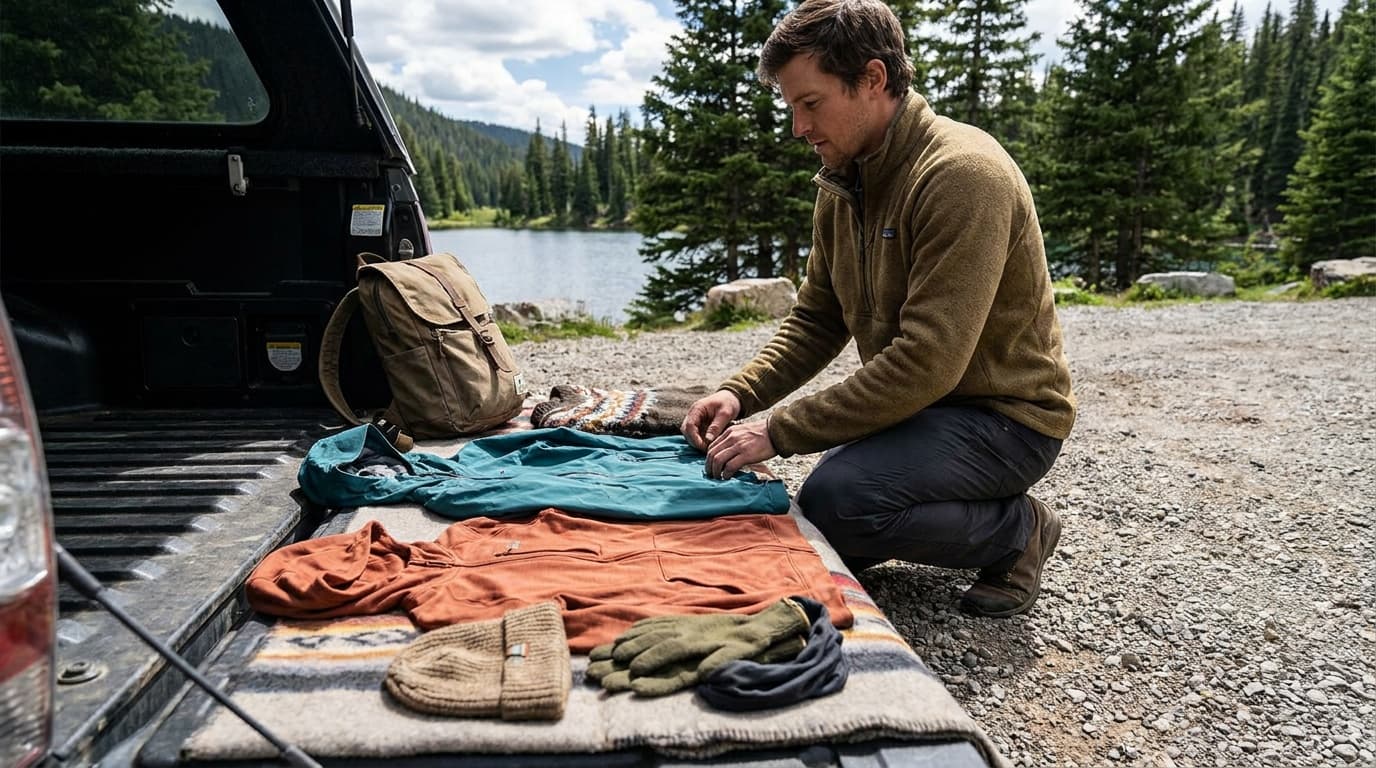
The three-layer system is the most reliable framework for staying warm and dry on a cold hike. Each layer has a specific job, and the system only works when all three do their job together.
What each layer actually does
The three-layer model assigns one job per layer, and that separation of roles is the point.
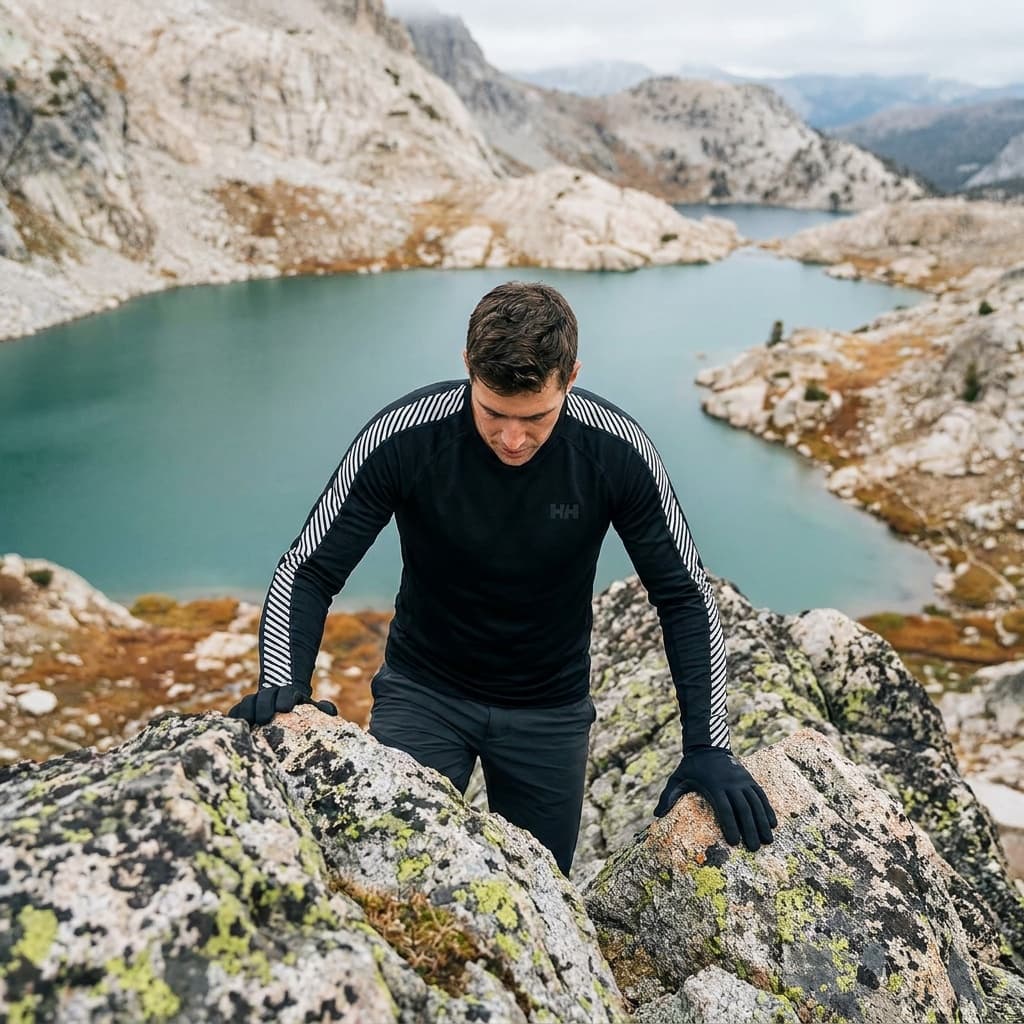
The base layer sits against your skin. Its job is to pull sweat away from your body before it can cool you down. It does not keep you warm on its own.
The mid layer, or insulation layer, traps warm air against your body. It does not need to handle precipitation, and the best ones are designed specifically to be added and removed as your output changes.
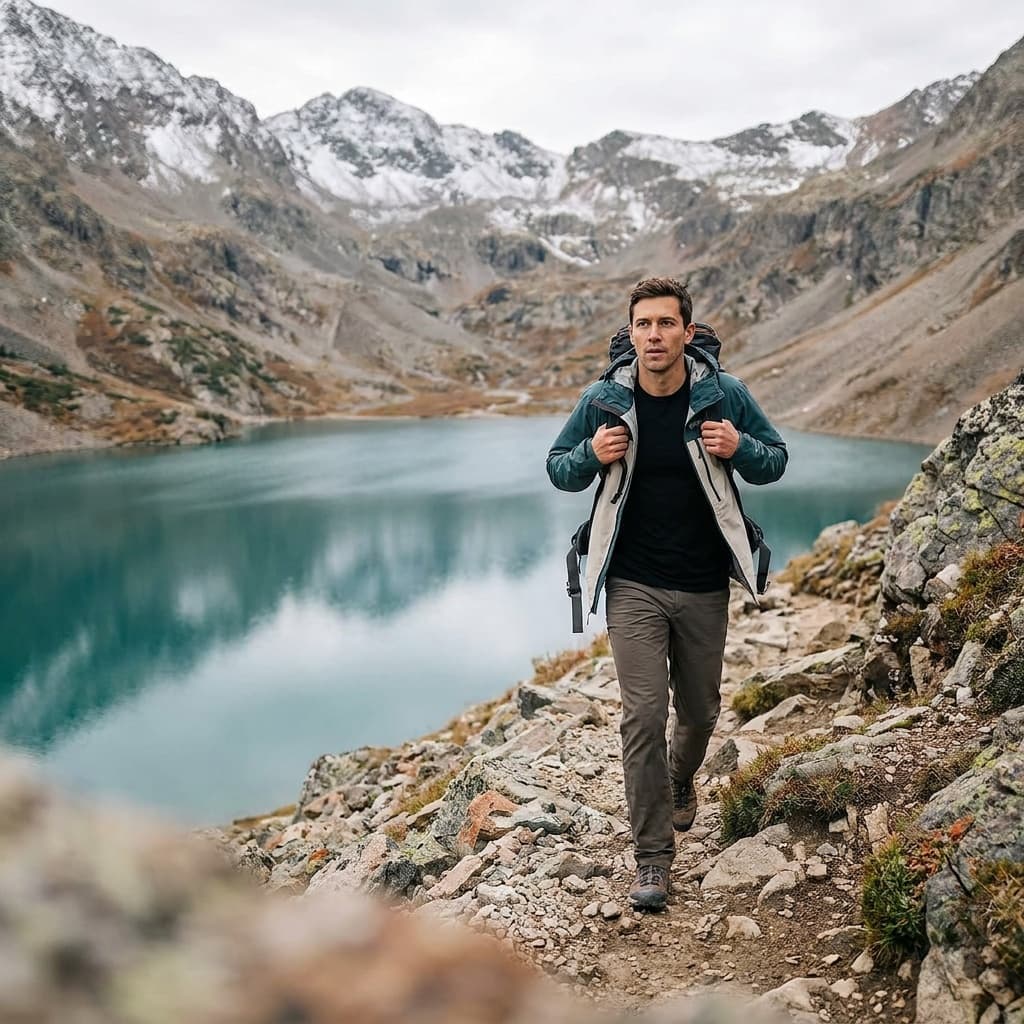
The shell is the outer barrier. It blocks wind and precipitation while letting water vapor (sweat) pass outward. It does not need to be insulated; on most cold hikes, a shell over a mid layer gives you more flexibility than a single insulated jacket.
Each layer only works well when the others do their job. A saturated base layer poisons the whole system: warm wet air from your skin has nowhere productive to go, and your insulation starts working against you.
Choosing a base layer: merino, synthetic, or cotton
The choice here is simpler than gear marketing makes it. Cotton is never the right answer for cold hiking. It absorbs sweat, holds moisture against your skin, and actively draws warmth away from your core as it sits wet. Even a partial cotton blend in a base layer creates this problem.
Between merino wool and synthetic, the decision is mostly about which tradeoff fits your trip.
Merino wool can absorb up to 35% of its weight in moisture before it feels damp to the touch. That absorption buffers the clammy feeling during effort and keeps odor in check over multiple days without washing, which matters on overnight or multi-day trips. The tradeoff is that merino dries more slowly than synthetic once fully wet.
Synthetic fibers are hydrophobic: they push moisture to the fabric surface where it can evaporate. For high-output days with sustained sweating, synthetic moves that moisture faster. It is also more durable and less expensive than equivalent merino.
Fabric weight is the practical decision you make within whichever material you choose. Standard categories are:
Picking base layer weight for cold hiking
Lightweight (150 g/m²)
Best for high-output efforts like steep climbs where you are generating significant heat and need the fastest possible moisture transport. Good as a summer base or active layer in a cold-day full system.
Midweight (200 g/m²)
The most versatile starting point for most cold hiking. Handles moderate effort without overheating and provides meaningful warmth at stops.
Heavyweight (250 g/m²)
For cold conditions at low intensity: snowshoeing, slow winter walks, frequent rest stops, or if you simply run cold. More warmth next to skin, slower to dry.
For multi-day trips in cold, dry conditions: midweight merino like the Icebreaker Oasis Mid-Weight Crewe. For high-output day hikes in changeable conditions: midweight synthetic. For very cold, low-activity days: heavyweight in either material.
See our guide to the best base layers for hiking for specific recommendations across these categories.
Choosing a mid layer: down vs. synthetic insulation
The insulation layer is where the dry vs. wet distinction matters most.
Down insulation is rated by fill power, which measures how much loft one ounce of down produces. Ratings range from roughly 450 to 900. At 700 fill power and above, you are getting a meaningful warmth-to-weight advantage: a 15 oz down jacket can match the warmth of a 20–22 oz synthetic jacket. Down also compresses smaller, which matters when you are stashing the mid layer in your pack during a hard climb.
The vulnerability is water. Down loses most of its insulating properties when wet and takes a long time to dry. Wet down clumps, loft collapses, and you are left with essentially no insulation at the moment you most need it.
Synthetic insulation is roughly 30–40% heavier than equivalent-warmth down, but it retains most of its warmth even when damp and dries within hours rather than days. For wet Pacific Northwest conditions, shoulder-season hiking with unpredictable precipitation, or any trip where your pack might get wet, synthetic is the more forgiving default.
The practical guide:
Down vs. synthetic: which mid layer to choose
Dry alpine conditions or summer trips
Down at 700+ fill power, like the [Patagonia Down Sweater Hoody](/api/go?product=patagonia-down-sweater-hoody&retailer=amazon&article=how-to-layer-for-cold-weather-hiking), earns its weight savings. Pair it with a shell that closes well around the cuffs and collar to keep moisture out.
Wet or shoulder-season conditions
Synthetic insulation. The weight penalty is real but the performance-when-wet advantage is decisive for safety.
Ultralight multi-day dry-weather trips
Down. The pack size and weight difference matters when you are carrying everything.
Trips where the pack may get wet (creek crossings, heavy rain)
Synthetic, or down in a waterproof dry bag with consistent discipline about packing.
A soaked down jacket is not just less warm. On a cold, windy summit, it can be genuinely dangerous. Synthetic insulation keeps working when it matters most.
Choosing a shell: breathability and protection numbers
Shell jackets are sold with two key numbers. Knowing what they actually measure makes the spec sheets more useful.
MVTR (Moisture Vapor Transmission Rate) measures how much water vapor the membrane passes in 24 hours, expressed in grams per square meter. This is the breathability number. Higher means sweat vapor escapes more easily.
Hydrostatic head measures water resistance: how many millimeters of water pressure the fabric resists before leaking. Higher means better rain protection.
For hiking, the practical thresholds are:
- 10,000 g/m²/24h MVTR: minimum for active hiking. Below this, you will feel noticeably clammy at moderate effort.
- 15,000+ MVTR: handles sustained aerobic effort better, with less moisture buildup inside the shell.
- 25,000 MVTR: Gore-Tex Pro territory, suitable for sustained high-output activity. eVent DVstorm reaches 30,000 g/m²/24h.
- 10,000 mm hydrostatic head: minimum for rain protection in moderate rain.
- 20,000+ mm: reliable in sustained heavy rain.
Pit zips and chest vents are not luxury features. At high exertion levels they are the primary tool for managing body heat, because they work regardless of humidity, external temperature, or pace. A shell without venting options locks you into a binary choice: sweat through the membrane, or take the whole shell off.
Managing heat on the trail: the pace-and-vent discipline
The most common cold-hiking mistake has nothing to do with which jacket you bought. It is starting out warm and generating so much sweat during the first climb that your base layer is saturated before the first rest stop.
Once your base layer is soaked, the system struggles to recover. A wet base layer conducts heat away from your body; your mid layer sits on a damp surface and loses efficiency; and you get cold quickly the moment you stop moving.
The fix is behavioral, not equipment-based:
Pace and vent strategy for cold hikes
Start slightly cool
At the trailhead, you should feel mildly underdressed. You will warm up within five minutes of moving. If you are comfortable standing still at the car, you will overheat on the first climb.
Vent before you overheat
Open the front zip or pit zips when you first feel yourself getting warm, not after you are already sweating. The goal is to dump heat before it becomes moisture.
Add a layer the moment you stop
At rest stops, a summit, or a lunch break, your heat output drops immediately. A mid layer you add within 30 seconds keeps your core warm. One you add after five minutes of standing cold is playing catch-up.
Adjust in small increments
Unzip the collar before unzipping the front. Open one pit zip before both. Micro-adjustments preserve warmth without the effort of fully stripping a layer.
Temperature reference points for building your system
Layering decisions scale with temperature, but output level matters as much as the thermometer reading:
- Cool (40–50 F / 4–10 C): a midweight base and a light insulating mid often covers a moderate-output hike. Shell optional depending on wind and precipitation.
- Cold (20–40 F / -6–4 C): the full three-layer system. Midweight base, substantive insulating mid, shell with good collar and cuff closure.
- Very cold (below 20 F / -6 C): heavyweight base, a substantial insulating mid (higher fill-power down or thick synthetic), and a shell with a high-build hood, adjustable cuffs, and minimal mesh lining that would trap moisture.
Common layering mistakes to avoid
Most layering failures come from the same small set of errors:
- Starting with too many layers and overheating on the first climb, producing the saturated-base-layer problem described above.
- Relying on a single bulky insulated jacket with no adjustment options. One layer with fixed warmth gives you two states: too hot and too cold. A separable mid and shell give you four states.
- Any cotton in any layer.
- Waiting until you are already cold or already sweating to adjust. The system is designed for proactive adjustment, not reactive.
- Buying a shell without venting features and assuming breathability ratings will do the work of active venting.
Frequently asked questions
Should I use a down jacket or a synthetic jacket as my mid layer for cold hiking?
It depends on the conditions. Down at 700+ fill power gives you the best warmth for the weight and packs small, which matters on long days or when you need to stash the mid layer in your pack. The tradeoff: down loses most of its insulating power when wet and takes a long time to dry. Synthetic insulation is roughly 30–40% heavier for the same warmth, but it keeps insulating when damp and can dry within hours. For wet Pacific Northwest or shoulder-season hiking, synthetic is the safer default. For dry alpine conditions or ultralight trips, down earns its place.
Why do I still feel sweaty inside a Gore-Tex shell even though it is rated as breathable?
Because breathability has physical limits. Even Gore-Tex Pro, rated at 25,000 g/m²/24h MVTR, can be overwhelmed by the moisture output of a hard uphill push. The membrane passes vapor, not liquid, and external humidity, temperature differentials, and backpack pressure all reduce real-world performance below lab ratings. The fix is active venting: open pit zips or chest vents before you overheat, not after. Breathable fabrics reduce clamminess at moderate effort. They do not replace the need to pace yourself and vent proactively.
What fabric weight should I choose for a base layer in cold weather?
For cold hiking at low to moderate intensity, a midweight layer at around 200 g/m² is the most versatile starting point. If you run cold or are moving slowly (snowshoeing, rest stops, belaying), a heavyweight 250 g/m² layer adds meaningful warmth next to skin. If you run hot or are doing a sustained climb, a lightweight 150 g/m² layer keeps sweat moving faster. Merino at any weight handles odor better over multi-day trips. Synthetic at any weight dries faster after a wet effort.
Browse all hike gear for cold-weather kit across every category, or learn how we research and rate every piece of kit on this site.
Recommended gear
Our current top picks from the Best base layers for hiking in 2026 guide, if you are ready to buy.
SMARTWOOL
Smartwool Classic All-Season Merino Long Sleeve Base Layer
- Material
- 88% merino wool, 12% recycled nylon
- Construction
- Core Spun (nylon core wrapped in merino)
- Fabric weight
- Lightweight (~150 g/m2 equivalent)
- Fit
- Slim, offset shoulder and side seams
- Sizes
- S – XXL (men); XS – 3X (women)
- Women's ASIN
- B0BKWWR9RW
The Core Spun construction wraps a recycled nylon core in merino for durability well above a pure-wool layer, while the 88/12 blend still delivers the odor resistance and temperature regulation that merino does best. Flatlock seams and offset shoulder placement reduce chafing under a pack hip belt and shoulder straps.
- Merino-nylon blend resists abrasion and pilling far better than 100% merino at this price point
- Excellent four-season versatility: breathes on summer shoulder hikes and layers under a shell in shoulder-season cold
- No thumb loops, so sleeves ride up under a shell or gloves

ICEBREAKER
Icebreaker Oasis Mid-Weight Merino Long Sleeve Crewe
- Material
- 100% merino wool
- Fabric weight
- 200 g/m2 (midweight)
- Measured weight
- 7.6 oz (size M)
- Fit
- Slim base layer cut; runs small
- Sizes
- XS – 3XL (men and women)
- Women's ASIN
- B07GH4JCZV
A 100% merino midweight that earns its place at the top of every long-distance hiker's kit through consistent temperature regulation and natural odor resistance. At 200 g/m2 it covers shoulder-season cold without overheating during sustained climbs.
- Pure merino comfort and odor resistance make it the preferred pick for multi-week trips where laundry is scarce
- Among the fastest-drying 100% merino options tested by OutdoorGearLab, closing the gap with synthetics
- All-merino construction is prone to thinning and abrasion with sustained heavy use under a loaded pack
HELLY HANSEN
Helly Hansen LIFA Active Stripe Crew Base Layer
- Material
- 2-layer: LIFA polypropylene inner, 66% recycled polyester / 34% polypropylene outer
- Fabric weight
- Lightweight (270 g/m2 garment weight)
- Measured weight
- 8 oz (size M)
- Technology
- LIFA Stay Dry: polypropylene inner physically cannot absorb moisture
- Fit
- Regular fit; runs small
- Sizes
- S – XXL (men)
The LIFA polypropylene inner layer physically cannot absorb moisture, so sweat transfers directly to the outer shell and away from skin. The 2-layer construction pairs that wicking core with a recycled polyester/polypropylene outer for a more durable and packable garment than the previous single-layer version, at the same budget price point.
- Best-in-class moisture transfer: polypropylene stays dry against skin even during sustained aerobic effort
- Lightest-priced option in this roundup and the lowest price, making it an easy add to any kit
- Zero odor resistance: the shirt will need washing after every hard day
Complete hike loadout
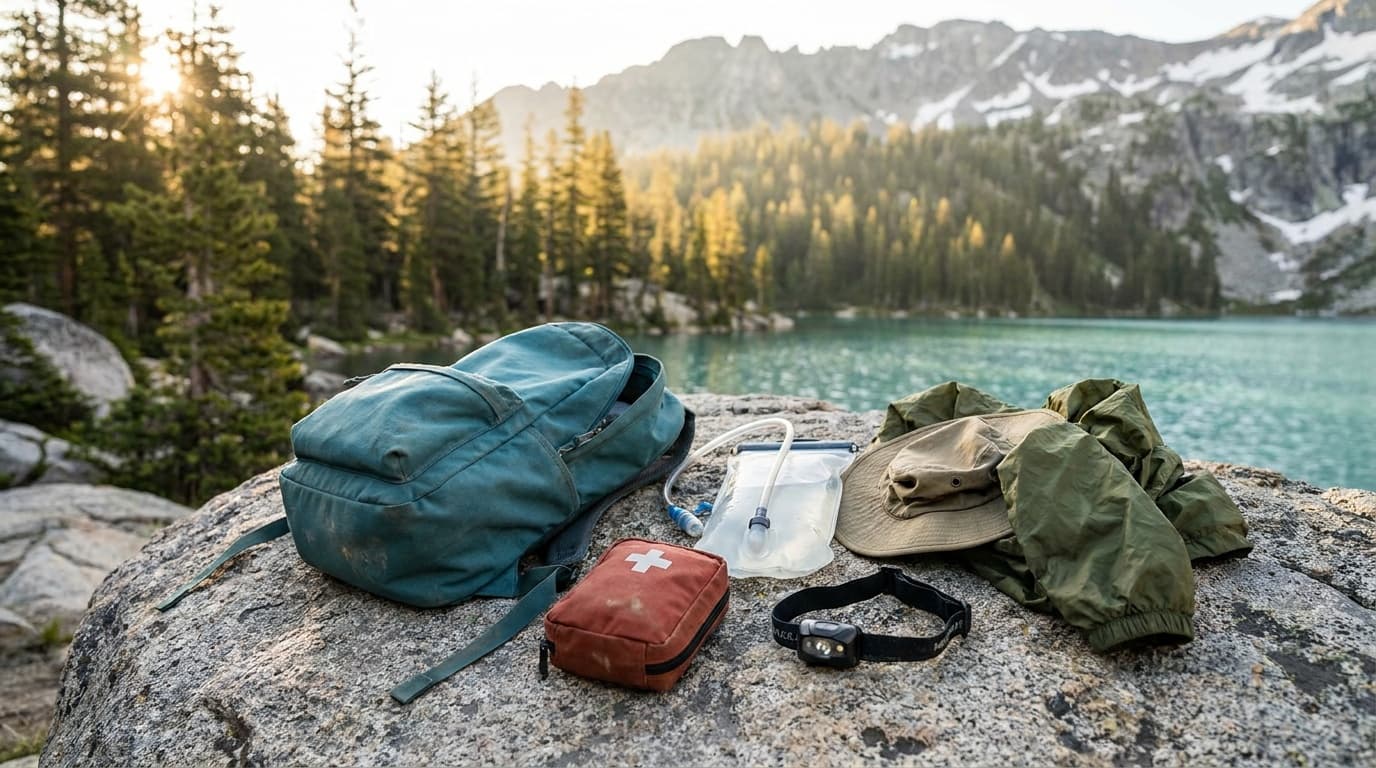
Day hike kit
Seven slots for a full trail day, from the pack and water system to light and weather protection.
Build the complete kitRelated guides

Buying guide
Best base layers for hiking in 2026
Merino wool or synthetic? Lightweight or midweight? Our research-backed picks cover every hiking style and budget, from day hikes to thru-hikes.
Read guide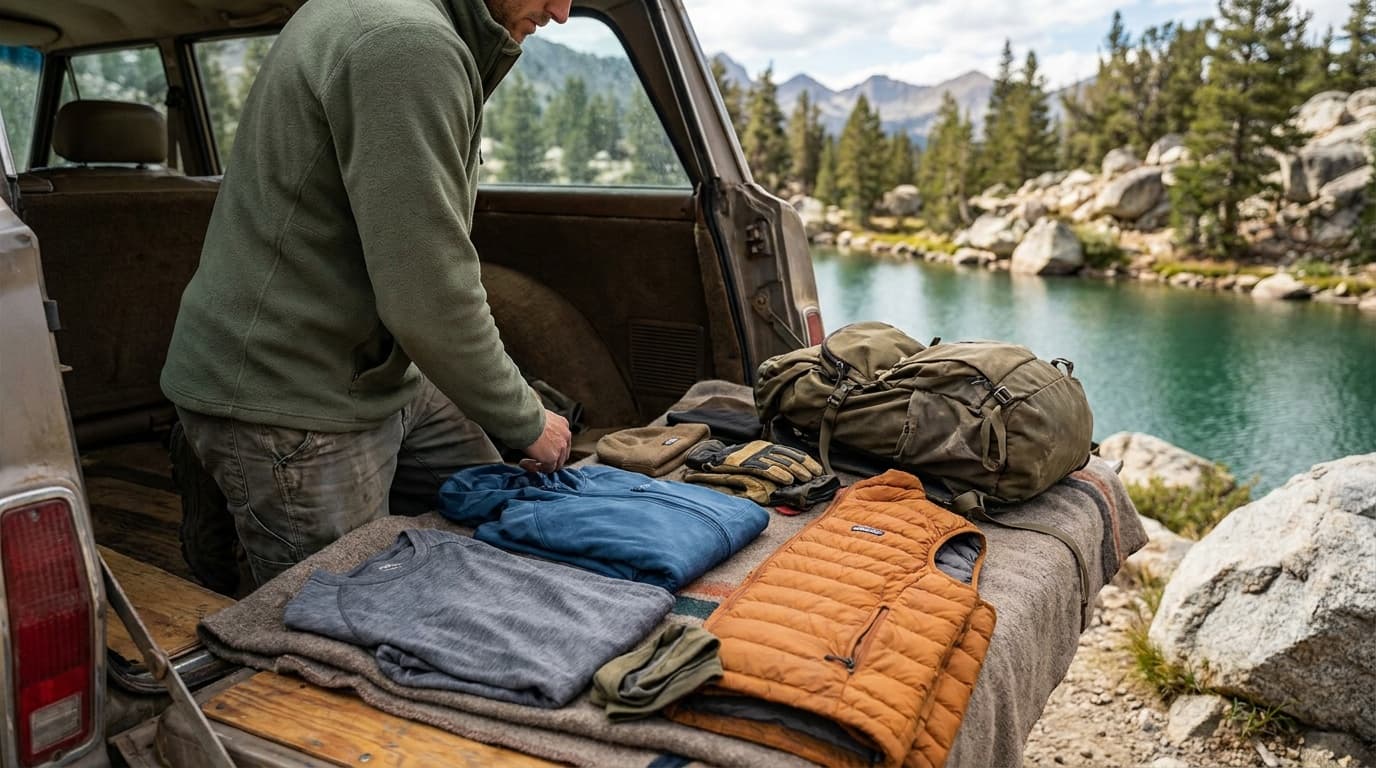
Comparison
Merino vs synthetic base layers: which should you choose?
Merino wool or synthetic base layer? We break down warmth when wet, dry time, odor resistance, durability, and cost so you can pick the right fabric for your hike.
Read guide
Buying guide
Best rain jackets for hiking: 4 picks for every budget
The best hiking rain jackets in 2026, from the $130 PreCip Eco to the $500 Arc'teryx Beta SL. Real specs, verified reviews, and a clear pick for every hiker.
Read guide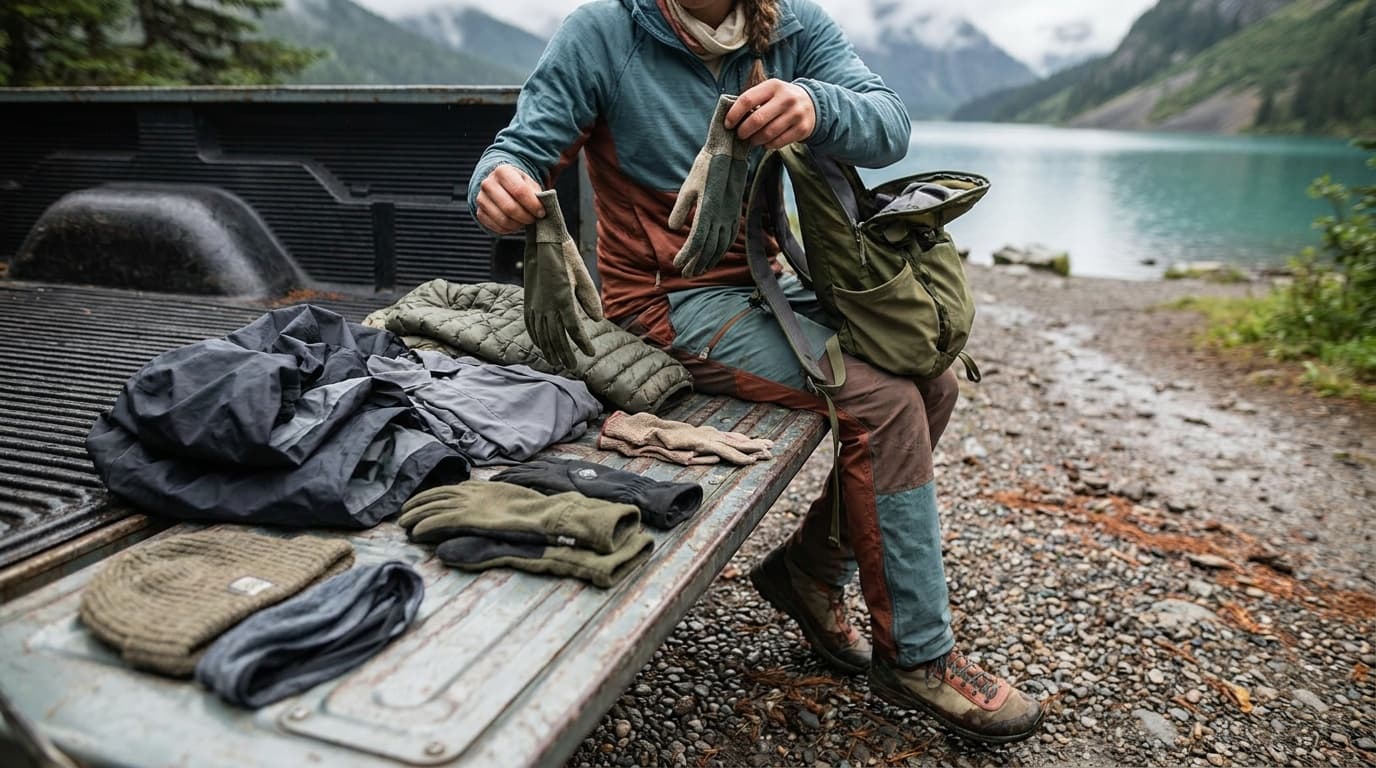
Field guide
How to layer gloves for cold hiking: the liner-plus-shell system
A thin merino liner paired with a waterproof shell outperforms one thick glove in almost every cold-weather hiking scenario. Here is how to use the system, manage sweat and dexterity, and know when to add insulated mitts.
Read guideResearched, not personally tested: picks come from specs, verified-owner reviews, and expert sources, scored into the Kit Score. As an Amazon Associate I earn from qualifying purchases. We may earn a commission from links here, at no extra cost to you. How we research →