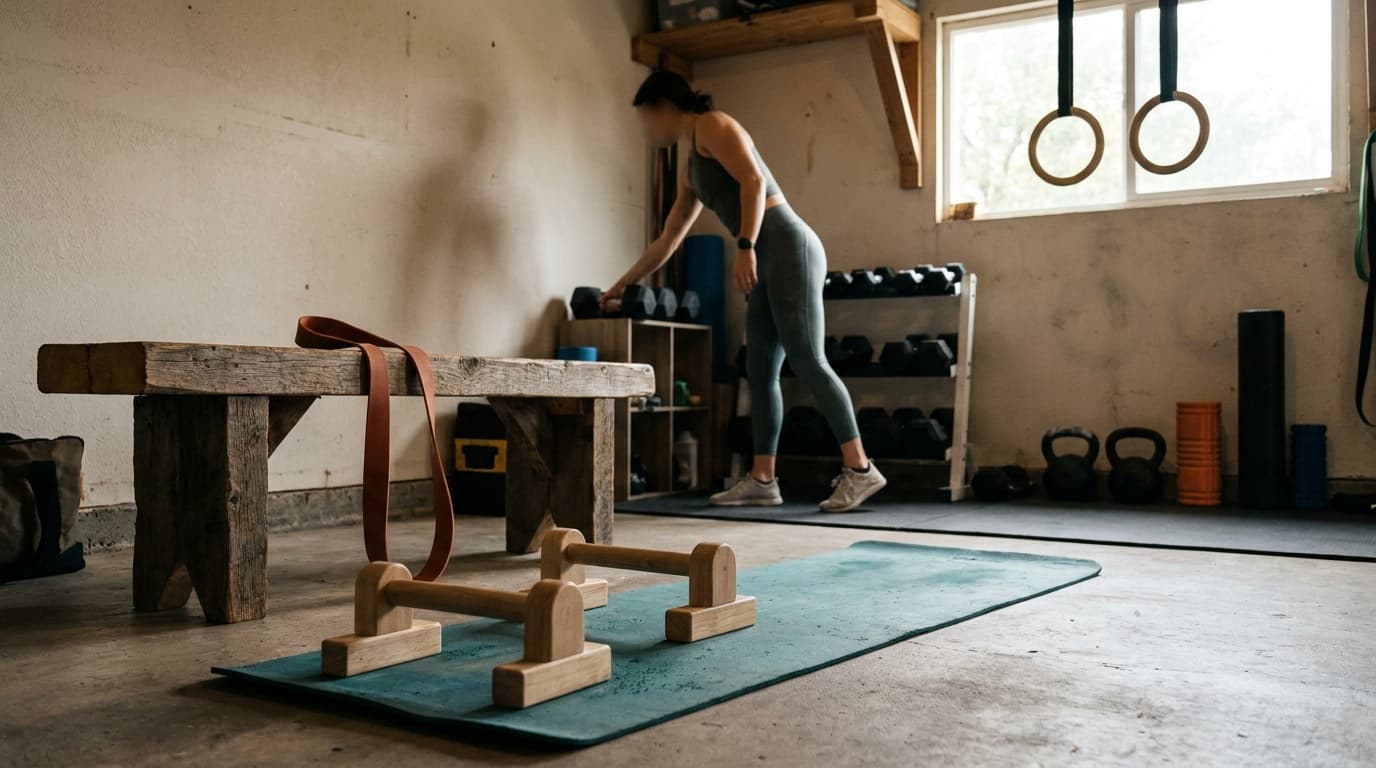
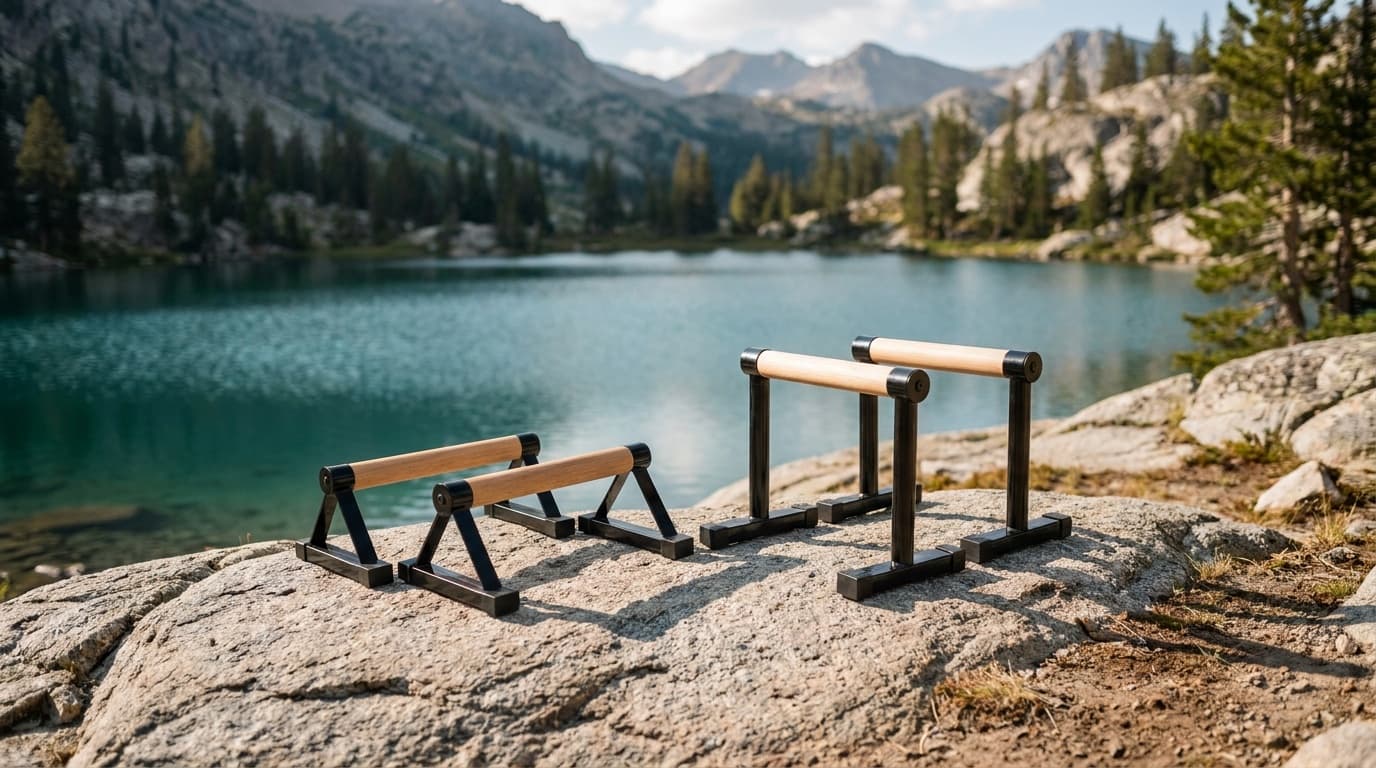
Parallettes turn a small footprint of floor space into one of the most effective tools for building pressing strength, core control, and body awareness at any fitness level.
Wrist warm-up: do this before every session
Use a brief, comfortable warm-up before loading the hands and shoulders. This sequence is general training guidance, not rehabilitation. Skip any drill that causes sharp pain, numbness, or instability.
Wrist warm-up sequence
Circle rotations
Ten slow circles each direction, wrists loose, covering full range of motion.
Finger extensions
Spread fingers wide, hold two seconds, close into a fist; repeat eight times per hand.
Palm-down press
Place palms flat on the floor, fingers pointing back toward your knees, and lean gently forward until you feel a moderate stretch. Hold 20–30 seconds.
Easy support lean
Grip the parallettes with feet on the floor and shift only enough weight into the hands to rehearse the position.
Wrist flicks
Ten quick flicks per hand to restore circulation before loading.
If a drill causes sharp pain, stop rather than pushing farther into the position. Persistent symptoms need individual guidance from a qualified clinician.
The four foundational moves
These are the building blocks. Master them in order before you chase skills like the handstand or planche.
1. Support hold Mount the parallettes, arms locked straight, shoulders actively pushed down away from your ears (this is "shoulder depression"). Your hips hang below your hands. Goal: 3 sets of 20–30 seconds. This single position teaches the scapular strength and body tension every other skill depends on.
2. Parallette push-up The elevated handles add 10–15 cm of depth vs. a floor push-up, recruiting more pec stretch and forcing better scapular movement at the bottom. Keep elbows at roughly 45 degrees from your torso. Goal: 3 sets of 8–12 clean reps.
3. Parallette dip From the support hold, bend your elbows to 90 degrees and press back up. Keep your torso upright for tricep emphasis, or lean slightly forward for more chest. Lower slowly (2–3 seconds down) to build connective tissue. Goal: 3 sets of 5–8 reps.
4. Tuck L-sit progression The L-sit is a compressed sitting position held in the air, arms locked. Beginners almost never have the hip flexor and tricep strength to extend legs from day one. Start tucked:
Tuck-to-L-sit progression
Floor tuck hold
Hands on the handles, pull both knees to chest, hold. Target: 3 x 10 seconds.
Alternating leg extension
From the tuck, extend one leg straight, other stays tucked. Hold 5 seconds per side.
Straddle hold
Both legs extend out to the sides at roughly 45 degrees; easier than a full L because the lever arm is shorter.
Full L-sit
Both legs extended parallel to the floor. Target: 3 x 10 seconds before moving to skill work.
The L-sit teaches your hip flexors and triceps to work simultaneously under load; there is no shortcut, only compression practice.
Handstand prep on parallettes
Parallettes give beginners a wrist-friendly entry to inverted pressing because the neutral grip removes the forced wrist extension of a floor handstand, and a taller pair like the TABEKE 12-Inch High Parallettes adds clearance for kick-up entries. The trade-off: the elevated handles make the balance point feel different, so expect a learning curve.
Start with pike push-ups on the parallettes (feet on a box, hips high, pressing through a triangle shape). Once you can do 5–8 clean reps, progress to wall-supported handstand holds: kick up gently, keep one foot lightly touching the wall, and focus on a hollow body (ribs in, core braced, slight forward lean in the wrist). Hold for 10–20 seconds per set.
A simple beginner routine
Run this three days per week with at least one rest day between sessions:
- Support hold: 3 x 20–30 seconds
- Parallette push-up: 3 x 8–12 reps
- Parallette dip: 3 x 5–8 reps
- Tuck L-sit hold: 3 x 10 seconds (progress per the step grid above)
- Pike push-up or wall handstand hold: 2–3 x 10–20 seconds
Rest 60–90 seconds between sets. Keep a simple log: date, reps, hold time. Progress comes from adding one or two reps per week or extending holds by five seconds, not from adding exercises.
Common mistakes and how to fix them
Shrugging in the support hold. If your shoulders rise toward your ears, you are using your traps instead of your serratus and lower traps. Actively push the handles away from you and think "long neck."
Rushing to full L-sit. Extending straight legs before you have the tuck hold solid leads to bent knees, a rounding lower back, and no useful training stimulus. Hold the tuck for at least two weeks.
Elbows flaring on dips. Wide elbows load the shoulder joint in a compromised position. Keep them tracking back and close.
Ignoring warning signs. Training discomfort is not a badge. Stop on sharp pain, numbness, or loss of control and adjust the movement or seek qualified guidance.
Treating sessions like skill tests instead of practice. Parallettes work rewards calm, deliberate repetition. Drop the ego, reduce load if form breaks, and come back next session.
Frequently asked questions
How long before I can hold a proper L-sit?
There is no reliable universal timeline. Starting strength, arm and leg proportions, compression mobility, training frequency, and recovery all change the answer. Progress from a stable support hold to a tuck, then extend one leg at a time rather than chasing a calendar date.
Do I need wooden or metal parallettes?
For beginner volume, either works. Wooden handles like those on the PULLUP & DIP Wooden Parallettes are warmer on the hands and have slightly more grip friction; metal handles are more durable under heavier athletes. The floor stability of the parallette matters more than the material at this level: look for a wide, non-slip base.
Can I train parallettes every day?
The wrists and elbows are the limiting factor, not the muscles. Most beginners do best with three sessions per week and active rest days. If you want more frequency, substitute floor mobility and wrist prep work on off days rather than adding a fourth full parallettes session before your connective tissue has adapted.
For specific picks, see best parallettes and use low vs high parallettes to choose the right clearance.
Recommended gear
Our current top picks from the Best parallettes for L-sits, handstands, and push-ups guide, if you are ready to buy.
TECLOR
Teclor Steel Push Up Bar, 9.5in High Parallettes Bars
BEST OVERALL
Kit Score 8.8/10
$35.99 Price checked Oct 23, 4:16 PM CDT
Best for: Intermediate to advanced athletes who want a no-compromise steel low parallette for L-sits, planche work, and daily training at home or in the gym.
- Fully welded 2mm steel frame and dual-screw joints eliminate flex under load
- Fixed height: not suitable if you want high-parallette clearance for deep handstand push-ups
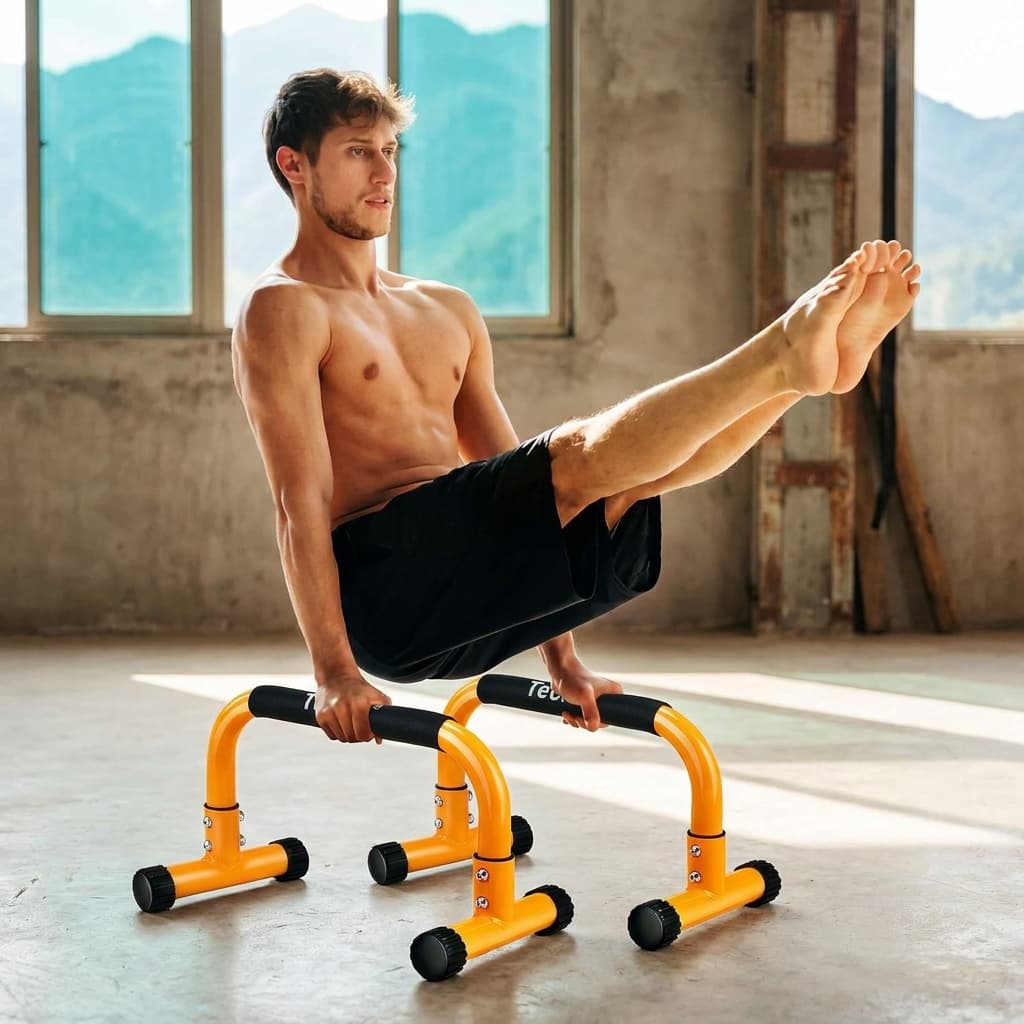
- Height
- 9.5 in (low)
- Dimensions
- 17 in L x 8.3 in W x 9.5 in H
- Weight capacity
- 660 lbs
- Frame material
- Fully welded 2mm heavy-duty steel
- Handle diameter
- 1.5 in
- Feet
- Textured rubber, adjustable edge thickness for uneven floors
About this pick
A low steel parallette built on a fully welded 2mm frame with dual-screw corner joints and 660 lb capacity. The 9.5-inch clearance suits L-sits, planche training, and push-up variations, and the adjustable rubber feet stay planted on uneven surfaces.
Strengths
- Fully welded 2mm steel frame and dual-screw joints eliminate flex under load
- 660 lb published capacity provides substantial headroom for ordinary bodyweight training
- Rotatable rubber feet self-level on uneven floors without shimming
Weaknesses
- Fixed height: not suitable if you want high-parallette clearance for deep handstand push-ups
- Foam handle adds grip cushion but absorbs less sweat than bare steel or wood over long sessions
Kit Score breakdown

TABEKE
TABEKE 12-Inch High Parallettes Bars
BEST VALUE
Kit Score 8.2/10
$28.99 Price checked Oct 23, 4:16 PM CDT
Best for: Athletes who want more wrist clearance than a low parallette provides and are training push-up depth, L-sits, and dips on a budget.
- 12-inch height adds meaningful wrist clearance over standard low parallettes without the bulk of dip-bar stations
- Foam handles wear and collect odor faster than wood or bare steel over time
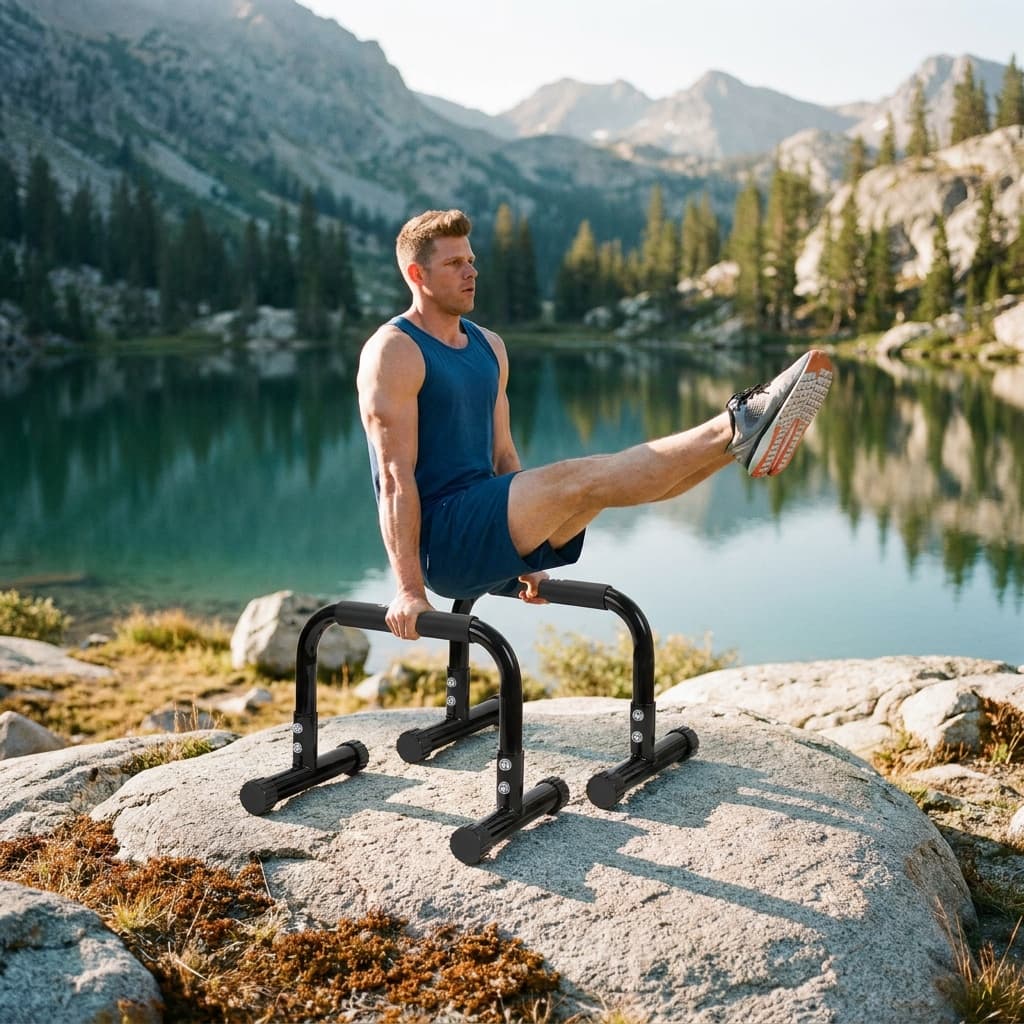
- Height
- 12 in (medium)
- Weight capacity
- 660 lbs
- Frame material
- 1.5mm thickened heavy-duty steel with baked-paint coating
- Handle
- 1.5 in diameter, full-coverage foam grip
- Feet
- Premium rubber non-slip, adjustable-thickness base
- Assembly
- Approx. 1 minute
About this pick
A 12-inch steel parallette with full-coverage foam handles and 660 lb capacity, priced to compete with low-clearance options. The extra height adds wrist clearance for deeper push-up range and makes L-sit holds more comfortable for taller athletes.
Strengths
- 12-inch height adds meaningful wrist clearance over standard low parallettes without the bulk of dip-bar stations
- Full-coverage foam handle reduces hand fatigue across high-rep push-up and L-sit sets
- 660 lb rated capacity and anti-loosening hardware keep the frame firm under dynamic loading
Weaknesses
- Foam handles wear and collect odor faster than wood or bare steel over time
- Owners report a strong rubber or paint smell for the first week after unboxing
Kit Score breakdown
AIROGYM
airogym Wood Parallettes Push Up Bars
BEST BUDGET
Kit Score 8.5/10
$36.99 Price checked Oct 23, 4:16 PM CDT
Best for: Beginners and intermediate trainees who want a sturdy, low-profile wood parallette set for push-ups, tuck L-sits, and planche leans on a budget.
- Current 600 lb published capacity provides substantial headroom for ordinary bodyweight training
- Iron bracket construction adds weight compared to pure-wood parallettes, reducing portability
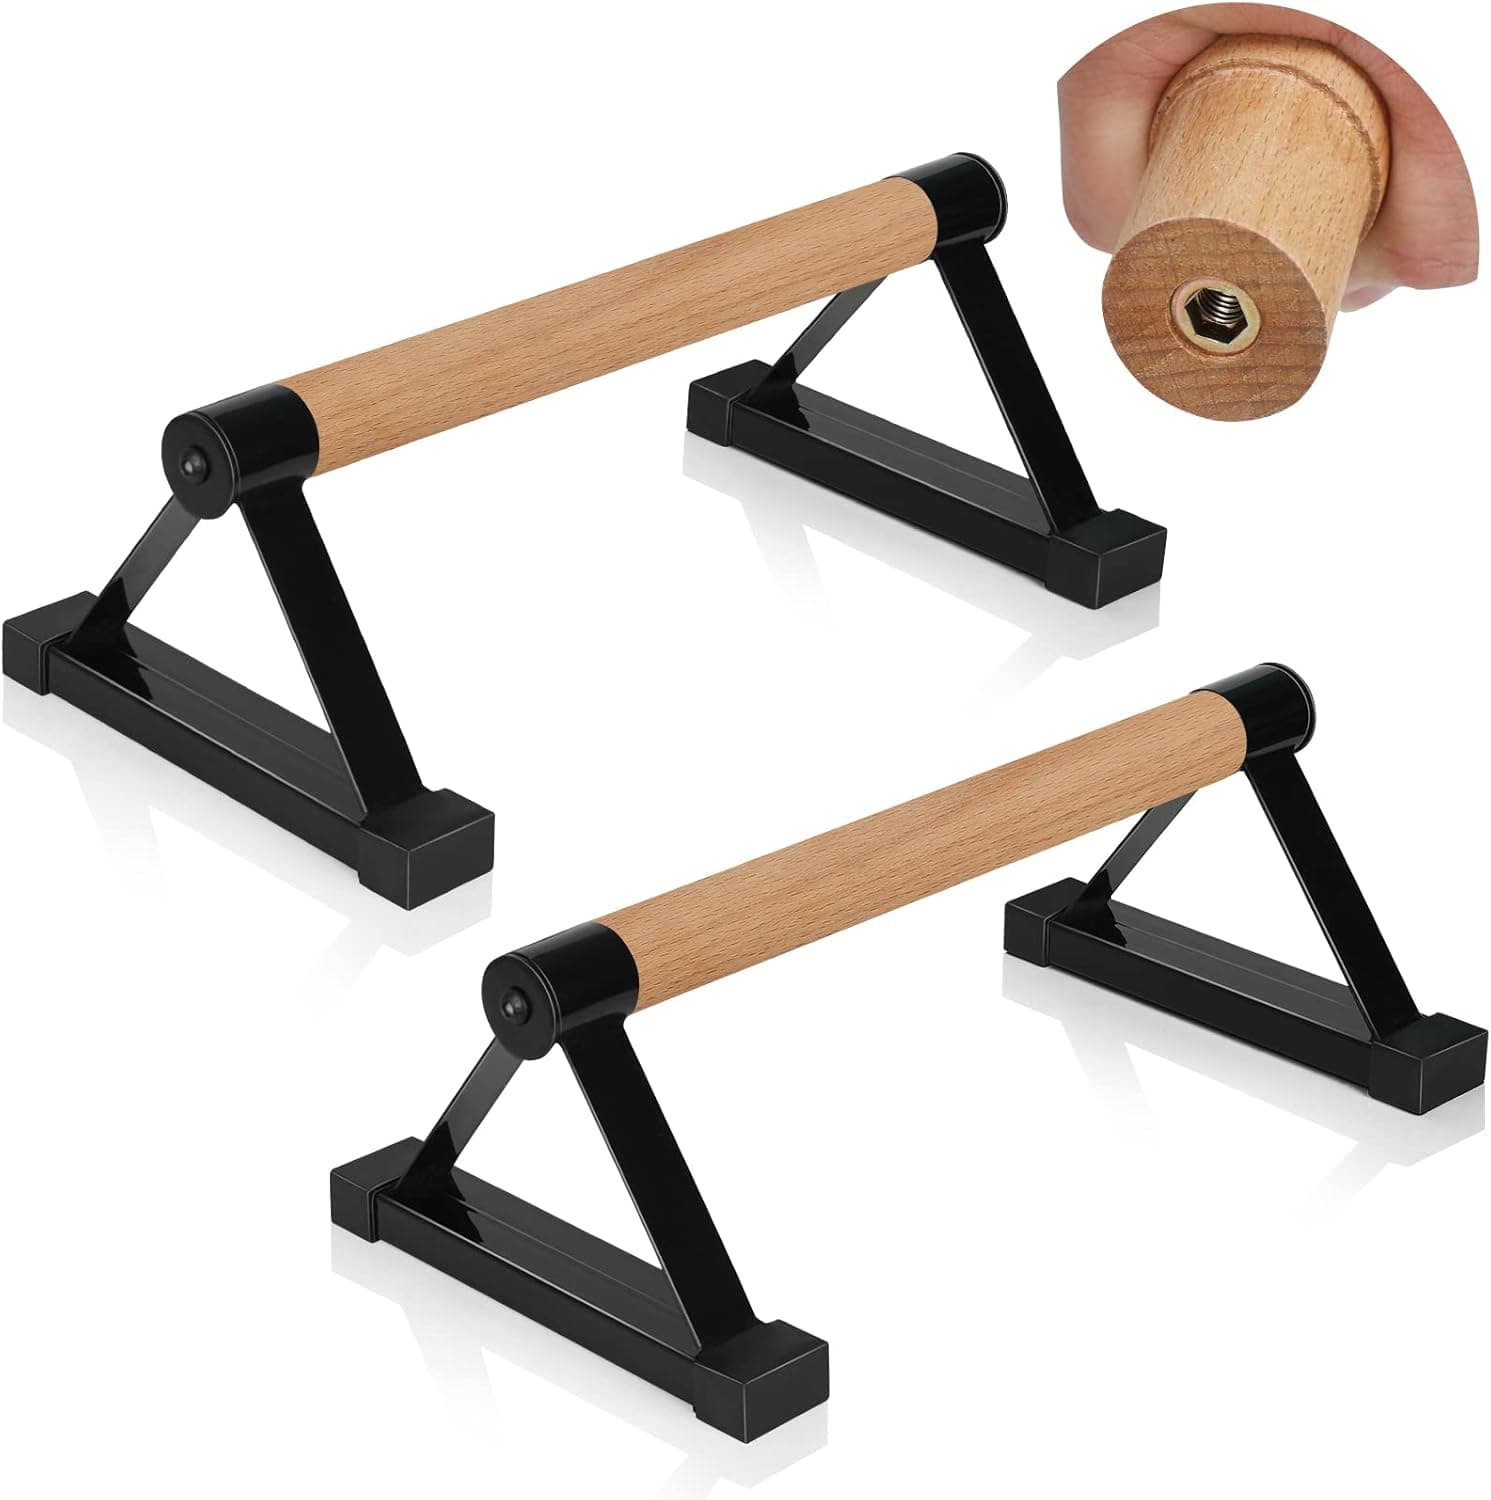
- Height
- 5.9 in (approx. 6 in)
- Length x Width
- 13.4 in x 8.9 in
- Bar Diameter
- 1.5 in (3.8 cm)
- Weight Capacity
- 600 lb (270 kg)
- Material
- Solid wood handles, iron metal bracket base
- Non-Slip Base
- Foam-padded metal feet
About this pick
A solid-wood parallette set with heavy-duty iron brackets and a current published 600 lb (270 kg) capacity. The 5.9 in handle height gives knuckle clearance for deeper push-ups and compact tuck work, while the smooth wood handles avoid the foam wear of budget steel bars.
Strengths
- Current 600 lb published capacity provides substantial headroom for ordinary bodyweight training
- Wood handles offer natural friction without a foam sleeve that can compress or absorb sweat
- Metal bracket base with foam padding protects floors and prevents sliding during dynamic movements
Weaknesses
- Iron bracket construction adds weight compared to pure-wood parallettes, reducing portability
- Brand has limited independent review history outside of Amazon
Kit Score breakdown
See all picks in Best parallettes for L-sits, handstands, and push-ups
Keep going
Complete loadoutHome calisthenics kitA compact strength and conditioning setup built around five tools that cover pushing, pulling, assistance, cardio, and floor work.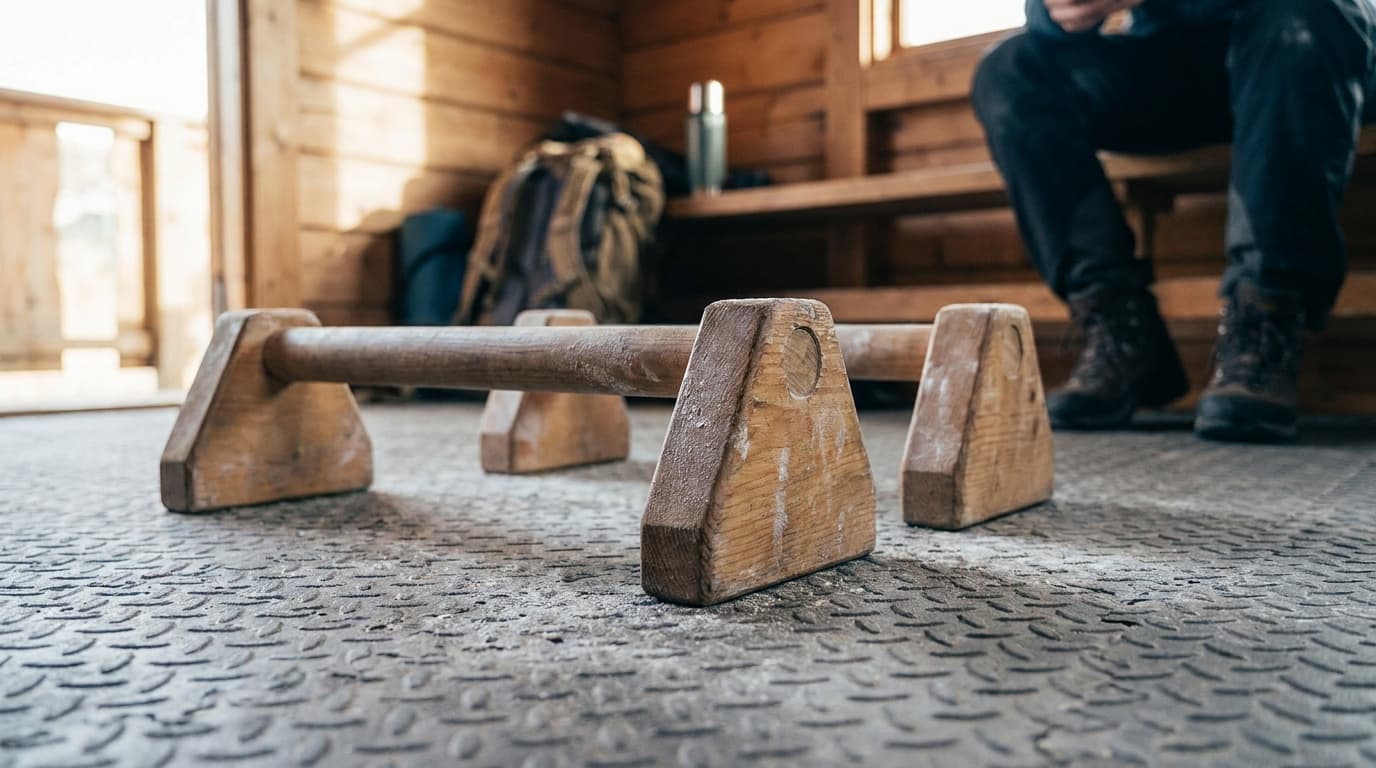
Researched, not hands-on tested
Updated Jul 29, 2026Our recommendations draw on manufacturer documentation, retailer listings, owner feedback, and comparisons with alternatives.
As an Amazon Associate I earn from qualifying purchases. We may earn a commission from links here, at no extra cost to you. How we research →