We may earn a commission from links on this page, at no extra cost to you.
Double-unders are mostly a timing and wrist skill, not a fitness or vertical-jump skill. If you can string together steady single-unders, you already have the engine. What you need is a faster rope, a tighter jump, and a few weeks of patient reps.
The prerequisite: own your single-unders first
A double-under is one jump with two rope passes underneath. If your single-under is sloppy, doubling the rope speed just doubles the chaos. Before you chase doubles, you want single-unders that feel automatic and relaxed.
The jump in rope speed is the whole challenge. Your feet leave the floor at the same rhythm, but the rope has to travel around your body twice in that same window. That is why the answer is almost never "jump higher." A double-under needs roughly 6 to 10 inches of clearance, the same as a controlled single. The extra speed comes entirely from your hands.
You are not learning to jump higher. You are learning to spin the rope twice in the air you already have.
The wrist-driven mechanic
This is the single idea that separates people who get double-unders from people who stay stuck. The rope is driven by your wrists and forearms, not your shoulders or your jump.
The four points of a clean double-under
Hands low and forward
Keep your hands at roughly hip height, a little in front of your body, about 6 to 10 inches out from your sides. They stay there the entire set.
Flick from the wrist
Generate rope speed with a fast, small wrist snap. Picture shaking water off your fingertips. Your elbows and shoulders stay quiet.
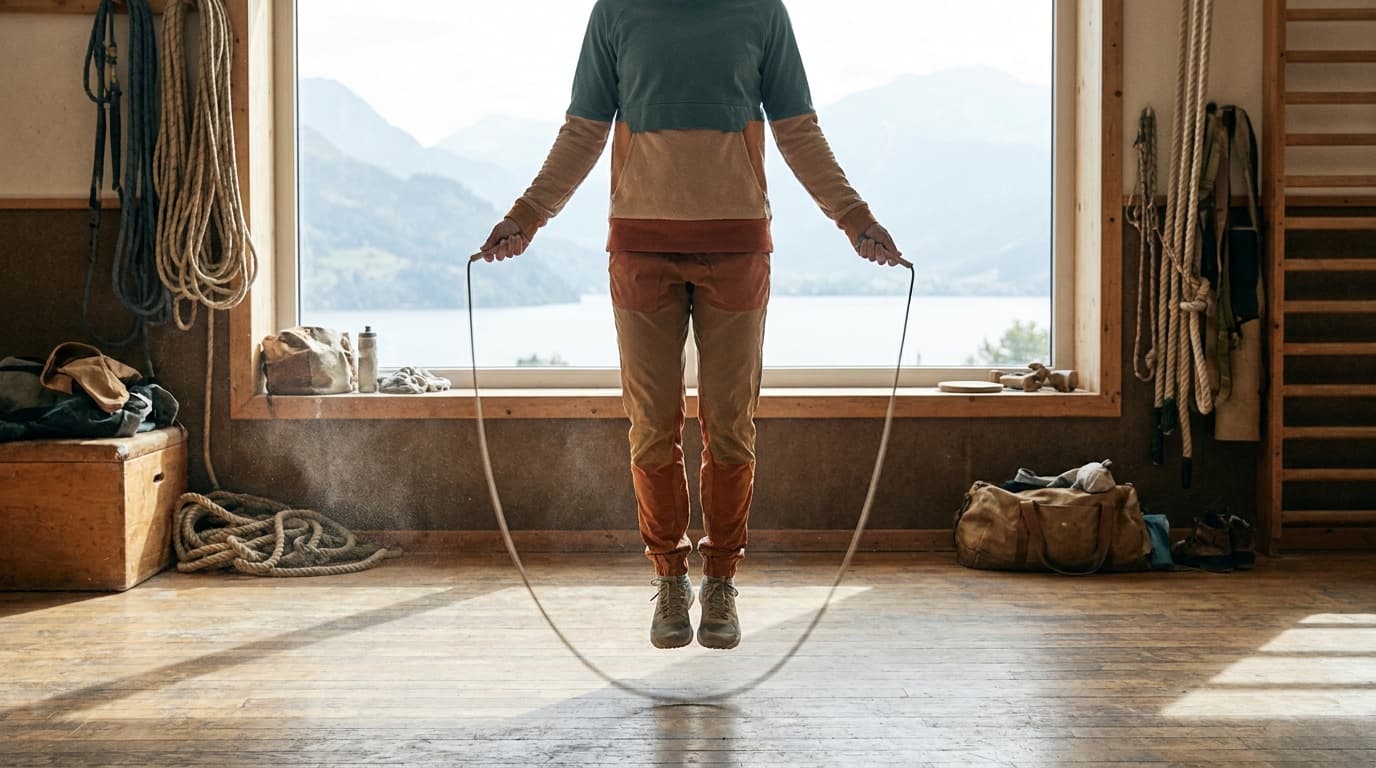
Jump straight and tight
A small, vertical hop with pointed-down toes. No piking at the hips, no kicking your heels toward your butt, no tucking your knees.
Stay tall and relaxed
Eyes forward on the horizon, ribs stacked over hips, shoulders down. Bracing and hunching slows the rope and shortens your hang time.
A useful cue: the jump and the spin are two separate jobs. Your legs handle a steady, boring hop. Your wrists handle the speed. When people try to power the rope with a bigger jump or a shoulder heave, the timing falls apart because the rope and the body are now fighting for the same rhythm.
Common mistakes and how they show up
Most failed double-unders trace back to a handful of repeatable errors. Knowing the symptom tells you the fix.
- Piking (the donkey kick): Bending at the hips and kicking your feet backward to "make room" for the second pass. It feels like it helps, but it throws your landing forward and you lose the next rep. Fix: jump straight up with toes pointed down, and trust the wrist speed instead.
- Hands too wide or too high: When your hands drift up or out, the rope loop gets shorter and clips your feet. This usually causes face-level or shin-level whip marks. Fix: glue your thumbs near your hip pockets and keep them there.
- Over-jumping: A huge, slow jump to buy time. It actually gives you less usable hang time per second and exhausts your legs fast. Fix: smaller, quicker hops, more wrist speed.
- Moving hands during the set: Drifting hands change the rope length mid-jump, so a set that started clean falls apart after a few reps. Fix: lock the hand position and let only the wrists move.
- Tense shoulders and a held breath: Tension slows everything down. Fix: drop the shoulders, breathe out on the jump, soften your grip on the handles.
A progression drill ladder
Do not try to grind out doubles cold. Build the timing in layers. Spend a few minutes on each rung as a warm-up, and only move up when the current rung feels easy.
Work up the ladder, one rung at a time
Fast singles
50 to 100 singles spinning faster than your normal pace. This trains the wrist speed doubles require, without the consequence of a missed double.
Power jumps (no rope)
20 to 30 tall, quiet hops with your hands held in position, doing the fast wrist flick mid-air. This grooves the jump height and the timing of the snap separately.
Tap-tap drill
Singles where you flick the wrists twice per jump but only let the rope pass once. You are pre-loading the rhythm of two spins per jump.
One-and-go
One single, then immediately one double, then back to singles. Inserting a single double into a steady set removes the pressure of stringing them together.
Doubles for reps
Once you can hit one reliably, chase 3, then 5, then 10 in a row. Reset to singles whenever the rhythm wobbles instead of forcing it.
Short and frequent beats long and occasional. Five focused minutes most days will outpace one exhausting 30-minute session a week, because doubles are a motor-learning skill that consolidates with rest.
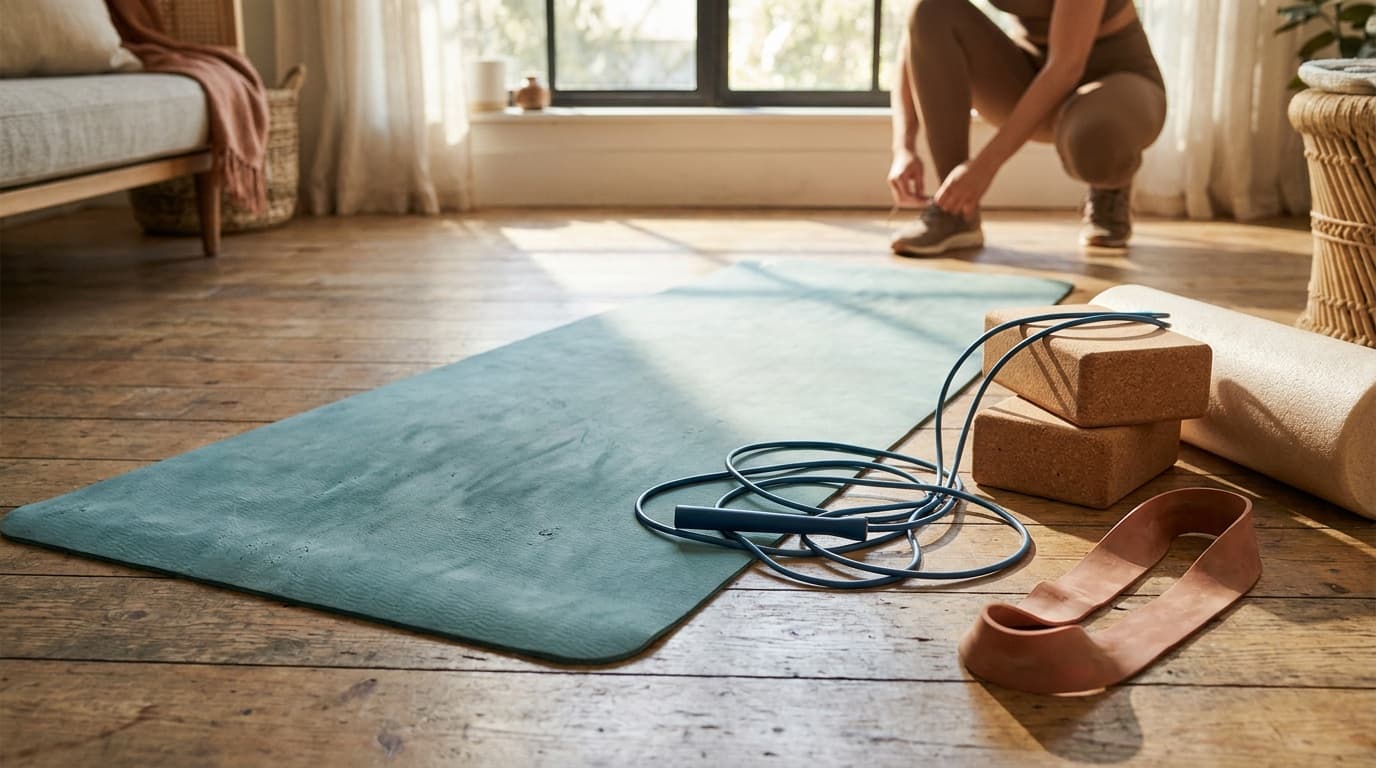
Rope setup that makes it easier
The wrong rope can make doubles feel impossible. A thin, fast cable and the right length do a lot of the work for you.
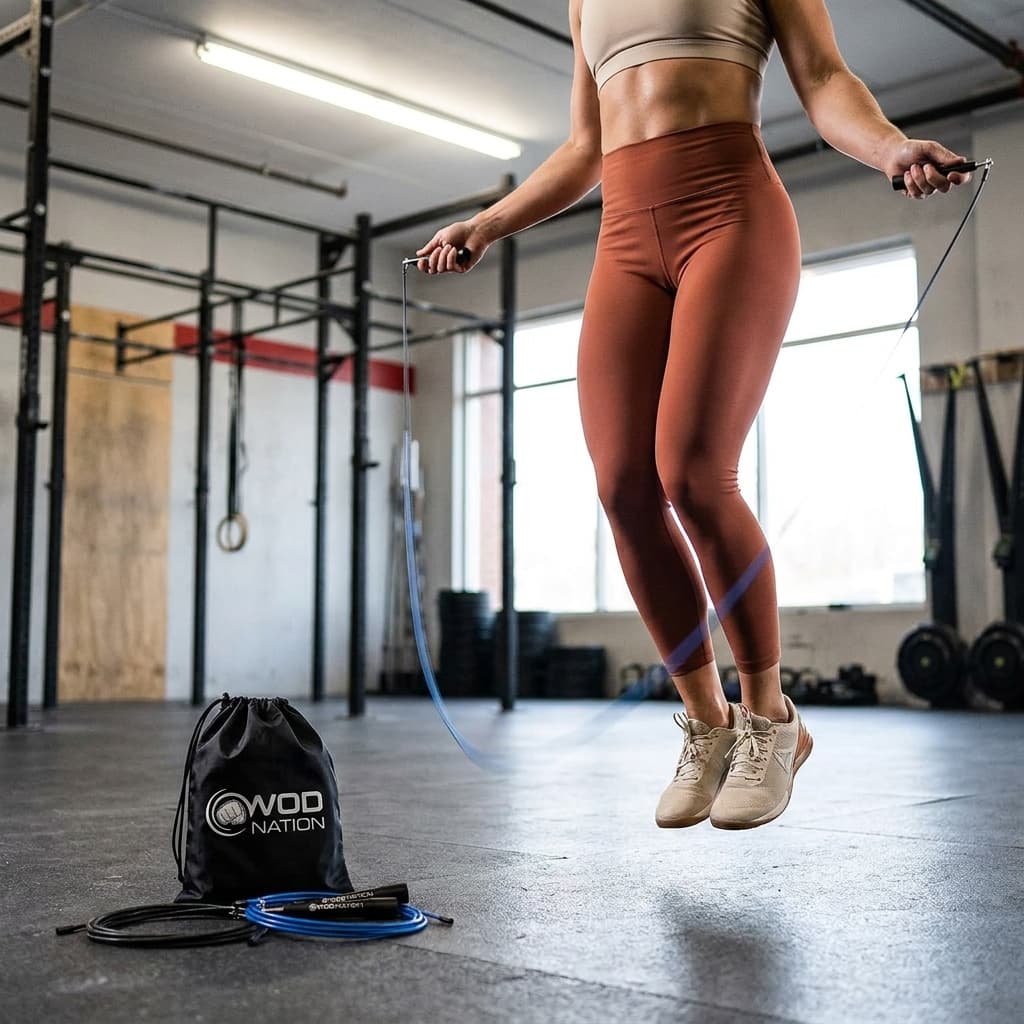
- Use a speed rope. A thin coated steel cable (around 2 to 4mm), like the RPM Training Comp4 Speed Rope, moves faster and gives clearer feedback than a thick fitness rope or a heavy weighted rope. Weighted ropes are good for grooving the single-under feel but too slow for learning doubles.
- Get the length right. Stand on the middle of the rope with one foot. The handles should reach roughly to your armpits or just below for double-unders. Too long is slow and sloppy; too short clips your feet.
- Sizing rule of thumb: add about 3 feet to your height for a starting length, then shorten from there. Many cables are adjustable, so trim conservatively.
- Surface matters. A smooth, slightly forgiving floor (rubber gym mat, wood) protects both your joints and your cable. Concrete frays cables fast and beats up your shins on a miss.
For specific cables and how length and weight differ across models, see our guide to the best jump ropes.
Troubleshooting whip marks and tripping
The red welts are a rite of passage, but they also carry information. Read them.
- Welts on your forearms or upper arms: Your hands are too high or too far back. Bring them down and slightly forward.
- Welts on your shins or ankles: Usually a too-short rope or hands drifting upward, which shortens the loop. Lengthen the rope a touch and recheck hand height.
- Welts on your back or butt: You are piking or kicking your heels back. Jump straight with toes down.
- Tripping on the second pass specifically: The rope is too slow. Flick faster, do not jump higher.
- Tripping at the end of a set: Fatigue is changing your form, usually drifting hands or a collapsing jump. Stop the set one rep before you feel it fall apart, rest, and go again.
Wear long socks or sleeves while you learn. The point is not to toughen up; it is to remove the flinch that makes you change your form to dodge the rope. A rope that is not stinging your shins lets you focus on the wrist mechanic.
Frequently asked questions
How long does it take to learn double-unders?
With short, frequent practice (5 to 10 minutes most days), most people who already have solid single-unders string together their first few doubles within 2 to 6 weeks. The variable is rarely fitness; it is wrist timing and confidence. If you cannot do 50 relaxed single-unders yet, build that base first, since it shortens the whole process.
Why do I keep tripping on double-unders?
The most common cause is trying to power the rope with a bigger jump instead of faster wrists. If you trip on the second pass, the rope is too slow: flick faster from the wrist rather than jumping higher. If you trip late in a set, fatigue is changing your form. Check that your hands stay low and near your hips and that your jump stays small and vertical, and stop the set before your rhythm collapses.
What kind of jump rope is best for learning double-unders?
A thin coated steel speed rope (roughly 2 to 4mm cable) is easiest to learn on because it moves fast and gives clear feedback. Weighted ropes are useful for grooving single-under rhythm but spin too slowly for doubles. Size it so the handles reach about armpit height when you stand on the cable's midpoint, and practice on a smooth, slightly forgiving surface to protect the cable and your shins.
For specific model picks, see our guide to the best jump ropes. Browse all fitness guides or read how we research and rate gear.
Recommended gear
Our current top picks from the Best jump ropes: speed, weighted, and beaded picks guide, if you are ready to buy.
WOD NATION
WOD Nation Adjustable Speed Jump Rope
- Cable
- Black alloy steel, adjustable length
- Handles
- ABS plastic
- Adjustability
- Cut to length; accommodates a wide height range
- Use case
- Speed work, boxing, MMA, CrossFit conditioning
The WOD Nation speed rope has held a 4.5-star average across 14,000-plus Amazon ratings, which is a rare combination of volume and consistency at this price. The adjustable alloy steel cable handles speed work and double-under practice reliably without the premium price tag.
- Consistently rated across a large verified-owner base: 4.5 stars from 14,000-plus ratings
- Adjustable steel cable supports speed work and double-unders at this price tier
- Coated steel cable frays on concrete within 2 to 3 months of regular outdoor use
RPM TRAINING
RPM Training Comp4 Speed Rope
- Cable
- 12 ft bare steel (uncoated), ultra-lightweight
- Handles
- Precision-machined aluminum, waffle-knurl grip
- Bearings
- Dual-axis dual-bearing anti-friction system
- Adjustability
- Infinitely adjustable; Allen wrench required
- Surface
- Smooth surfaces only: rubber mat, gym flooring
- Warranty
- 5 years on handles
The Comp4 is RPM's competition-grade rope: a bare steel cable paired with a patented dual-axis rotation system that eliminates torque buildup through fast revolutions. Owners describe the handles as near-invisible in the hand, with knurling that holds through heavy chalk use.
- Patented dual-axis system eliminates handle torque at high RPMs, making extended double-under sets feel more controlled
- Aggressive aluminum knurling holds grip better than rubber or plastic handles in sweaty conditions
- Bare cable is unforgiving on rough surfaces and for beginners taking rope hits to the shins

ELITE JUMPS
Elite Jumps Do Hard Things Beaded Jump Rope
- Beads
- 1 in shatterproof plastic on 3 mm polycord
- Handles
- Unbreakable polymer, 5 in
- Rope Length
- 10 ft adjustable; fits jumpers up to 6'4"
- Weight
- ~100 g (3.5 oz)
- Surface
- Indoor and outdoor, including rough surfaces
- Origin
- Made in USA (Wenatchee, WA)
The Do Hard Things is the standard beaded rope recommended by competitive jump rope coaches for developing rhythm and learning advanced skills. The shatterproof 1-inch beads hold their arc on any surface, give clear auditory feedback on timing, and outlast PVC cable ropes on abrasive concrete or asphalt. Available direct at elitejumps.co.
- Bead-on-polycord construction works on concrete, asphalt, gym floors, and outdoor surfaces where cable ropes fail
- Auditory feedback from the beads is a genuine training aid for rhythm development and learning tricks
- Not suitable for double-unders or high-speed conditioning: slower rotation by design
See all picks in Best jump ropes: speed, weighted, and beaded picks
Related guides
Buying guide
Best jump ropes: speed, weighted, and beaded picks
Speed cable, weighted, and beaded jump ropes compared by bearings, surface suitability, and training goal. Four picks for every budget and fitness level.
Read guide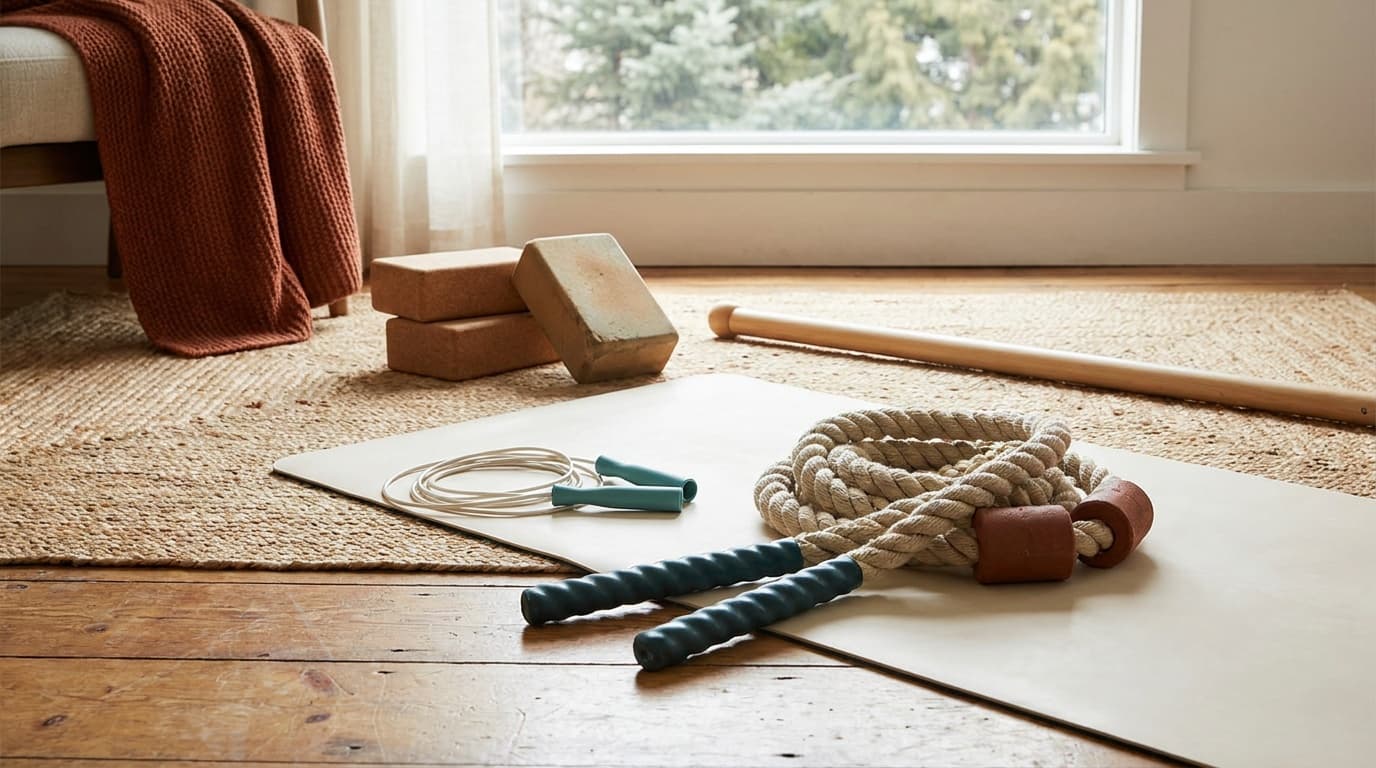
Comparison
Speed rope vs weighted rope: which one to train with
Speed ropes build fast footwork and double-unders, weighted ropes build rhythm and shoulder conditioning. Here is how to choose the right jump rope for your goals.
Read guide
Field guide
How to choose a jump rope: a practical buyer's guide
Match rope type, cable thickness, handle bearings, and length to your goal. A simple sizing rule and clear picks for beginners, double-unders, and boxing.
Read guide
Buying guide
Best under-desk walking pads for working from home (2026)
The four best under-desk walking pads for remote work, ranked by desk clearance, noise on calls, typing-friendly speeds, and weight capacity, with honest trade-offs.
Read guideResearched, not personally tested: picks come from specs, verified-owner reviews, and expert sources, scored into the Kit Score. As an Amazon Associate I earn from qualifying purchases. We may earn a commission from links here, at no extra cost to you. How we research →