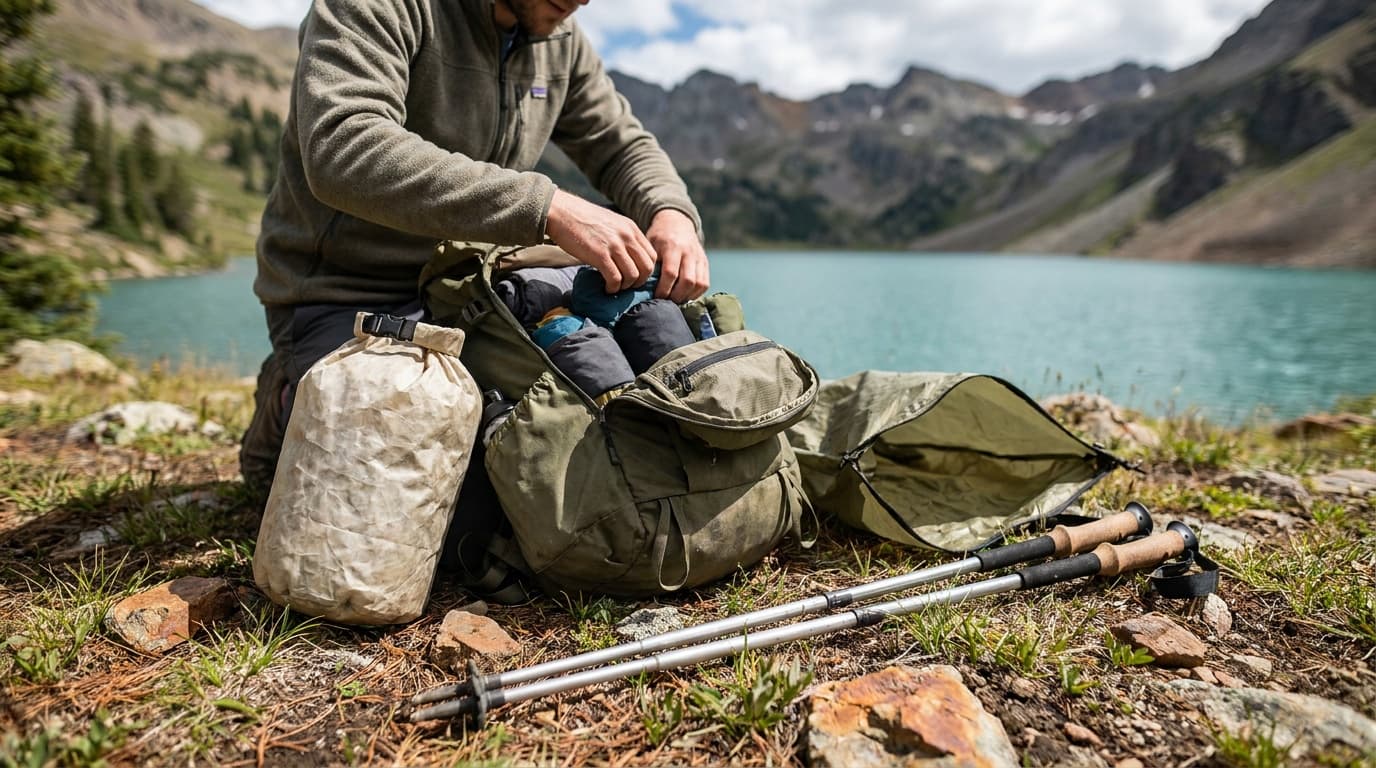
A pack that fits transfers most of its load to your hips and keeps your shoulders free. One that does not fit makes every mile harder than it needs to be. Here is exactly how to get the fit right.
Two measurements that actually matter
Most people reach for their height when buying a pack. Height does not tell you much. A 5'10" person can have a 17-inch torso or a 21-inch torso depending on limb length. What you need is torso length and hip circumference.
Torso length. Tilt your head forward until the large bony bump at the base of your neck pops up. That is C7, your starting point. Now place your hands on your hip bones with thumbs pointing inward. The line your thumbs trace across your lower back is the iliac crest. Measure the straight-line distance between those two points. That single number places you in a size bracket.
Hip circumference. Measure around your body at the iliac crest, not at your waist. Your waist sits a few inches higher and is narrower; a belt sized to your waist will float above the bones it needs to anchor to. For a well-fitted hipbelt, the padding should center over the iliac crest with 4–8 inches of clearance between the two wings at the front buckle.
How a well-fitted pack distributes weight
A properly fitted pack transfers approximately 80% of its weight to your hips and lower body and about 20% to the front of your shoulders. Zero weight should rest on top of your shoulders. If your shoulders are bearing the brunt, either the hipbelt has slipped off the iliac crest or the torso length is wrong.
80% of pack weight should ride on your hips. If your shoulders are taking the load, the fit is off, not your fitness.
Women-specific packs are worth trying if standard sizing feels close but not quite right. They have shorter torso ranges, a narrower shoulder-strap profile, and a wider, more curved hipbelt shaped for typical female anatomy. "Close enough" off-body often becomes uncomfortable under load after a few miles.
Fit sequence: the order matters
Load the pack with 10–15 lbs of weight before adjusting anything. An unloaded pack sits differently on your back and the adjustments will shift when weight goes in.
Fitting your pack in order
Loosen everything
Before you put the pack on, release all straps: shoulder straps, load lifters, sternum strap. Start fresh.
Buckle the hipbelt
Position the top of the hipbelt padding over your iliac crest and tighten until snug. The belt should not ride up or slide down during your next few steps.
Pull the shoulder straps
Bring the straps down and forward until they contour to your shoulders without gaps. They should not dig into your neck, and no daylight should show under the strap near your shoulder blade anchor.
Tension the load lifters
The small straps running from the top of the shoulder straps up to the frame. Pull them until the shoulder straps lie flat against your shoulders. Check the angle.
Clip the sternum strap
Slide it to roughly one inch below your collarbone. Tighten just enough to keep the shoulder straps from sliding outward. Stop well before you feel any compression on your chest.
Walk a few minutes
Adjustments shift under movement. Re-snug the hipbelt if it migrated, and recheck the load lifter angle.
Reading your load lifters
Load lifter straps are one of the most informative signals in the fit process. When tensioned, they should angle back toward the pack body at 30–45 degrees from horizontal.
- Too flat (close to horizontal): the pack torso is too short. The frame top sits below your shoulders, giving the straps nowhere useful to pull.
- Too steep (near vertical): the pack torso is too long. The frame extends above your shoulder blades, pulling the straps upward instead of back.
- Slack after a few miles: almost always means the torso is too long, or the hipbelt has migrated down off the iliac crest. Re-snug the hipbelt first, then recheck.
If the pack has an adjustable suspension (the Gregory Paragon 60 adjusts this way), try moving the panel one setting before swapping to a different size.
Matching capacity to trip length
Capacity problems are usually a gear problem first. Start with your Big Three: shelter, sleep system, and sleep pad. If those three items plus food, water, and safety layers fill a 65L pack, you likely need a 70–75L pack, an expandable design like the Deuter Aircontact Core 65+10, or lighter gear. If the Big Three together compress to under 10L, a 50L pack handles a five-day trip comfortably. The single biggest lever on shelter weight and pack size is your tent, so if you are trying to shrink your kit, start with our picks for the best ultralight tents.
Trying before you buy
If you can get to a shop that stocks a range of sizes, go loaded. Bring 10–15 lbs, ask for the demo weights, and wear the pack for at least 20–30 minutes. Small torso differences feel minor holding the pack at arm's length but become obvious under load after half an hour. If the shop only has floor samples with no weight, the fit session will not tell you much.
For reference on which packs are worth trying in each size range, see our guide to the best backpacking backpacks.
Frequently asked questions
Can I use my height to pick a pack size instead of measuring my torso?
No. Height and torso length do not track reliably enough to use interchangeably. A 5'10" person can have a 17-inch or a 21-inch torso depending on limb length. Buying by height risks a frame that sits too high (shoulder strap anchor points dig into your neck) or too low (the hipbelt floats off your hips). Measure from C7 to iliac crest and use that number.
My load lifters go slack after a few miles. What is wrong?
Slack load lifters almost always mean the torso is too long for your frame: the top of the frame sits above your shoulders, so the straps have no useful angle to pull against. Try a shorter torso size or, if the pack is adjustable, drop the suspension panel down one or two settings. A secondary cause is that the hipbelt has migrated down off the iliac crest. Re-snug the hipbelt first and recheck the load lifter angle before changing any other setting.
How do I know if I need a larger-capacity pack or just need to pack lighter?
Start with your Big Three: shelter, sleep system, and sleep pad. If those three items plus food, water, and safety layers fill a 65L pack to capacity, you likely need a 70–75L pack or lighter gear. If the Big Three together compress to under 10L of volume, a 50L pack will handle a five-day trip comfortably. Capacity problems are usually a gear problem first and a pack-size problem second.
Browse more hike gear or read how we research and rate to understand the method behind our recommendations.
Recommended gear
Our current top picks from the Best backpacking backpacks 2026: 8 packs for 3-season trips guide, if you are ready to buy.
Best for: Three-season backpackers who prioritize back ventilation and all-day comfort over ultralight gram-counting, and plan to carry loads in the 25–40 lb range.
- Top-ranked comfort in independent lab testing, with the suspended mesh back panel consistently praised for heat and pressure-point relief under loads up to 40 lb
- Suspension feels less structured above 40 lb; heavy haulers moving into 45–50 lb territory may prefer a stiffer frame
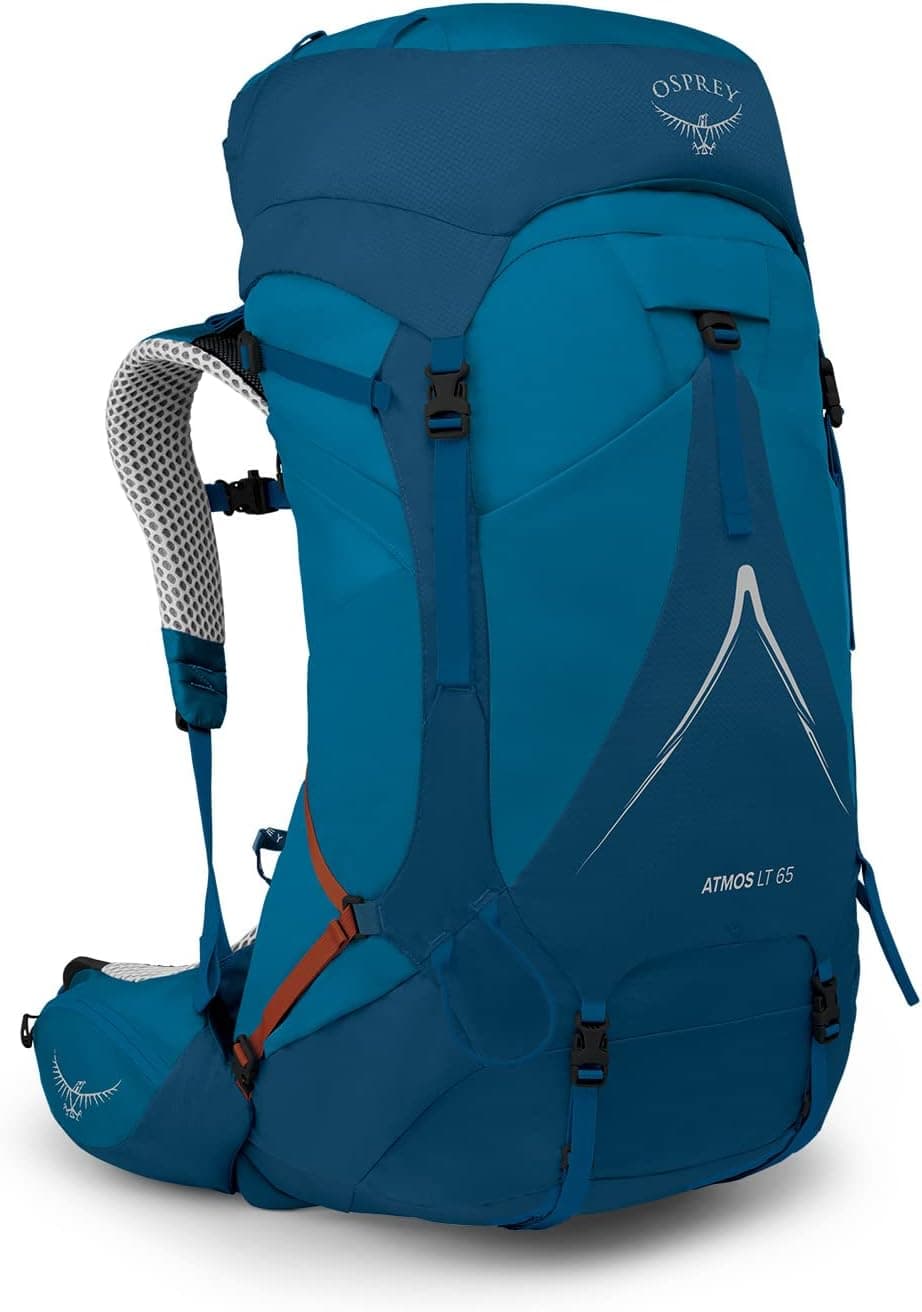
- Weight
- 4.07 lb (S/M) / 4.25 lb (L/XL)
- Capacity
- 65L (S/M) / 68L (L/XL)
- Torso fit
- S/M: 17–20 in, L/XL: 21–23 in
- Load range
- 30 to 40 lb
- Hip belt
- Fit-on-the-Fly, two zippered pockets
- Back system
- Anti-Gravity tensioned mesh, fully suspended
About this pick
The Atmos AG LT 65 earns the top spot by pairing Osprey's Anti-Gravity suspended mesh back panel with a lighter, cleaner build than the standard Atmos. The tensioned trampoline mesh runs from the shoulder blades all the way into the hip belt fins, creating a consistent air gap that keeps your back noticeably cooler than foam-contact designs.
More specifications
- Rain cover
- Integrated (included)
Strengths
- Top-ranked comfort in independent lab testing, with the suspended mesh back panel consistently praised for heat and pressure-point relief under loads up to 40 lb
- Two torso sizes with 3–4 inches of micro-adjustability and moveable Velcro hip belt padding let most body types dial in a precise fit without a fit specialist
- Integrated rain cover, side-panel zip access, and recycled bluesign-approved fabrics round out a thoughtful, streamlined feature set
Weaknesses
- Suspension feels less structured above 40 lb; heavy haulers moving into 45–50 lb territory may prefer a stiffer frame
- Premium price point narrows its appeal for occasional backpackers
Kit Score breakdown
OSPREY
Osprey Aura AG LT 65 Women's Backpacking Pack
BEST FOR WOMEN
Kit Score 8.5/10
$319.95 Price checked Oct 23, 4:16 PM CDT
Best for: Women backpacking three seasons with 30 to 40 lb loads who want the coolest-carrying framed pack.
- Switchback Travel's best overall women's backpacking pack
- About 4 lb, heavier than the Exos and Eja
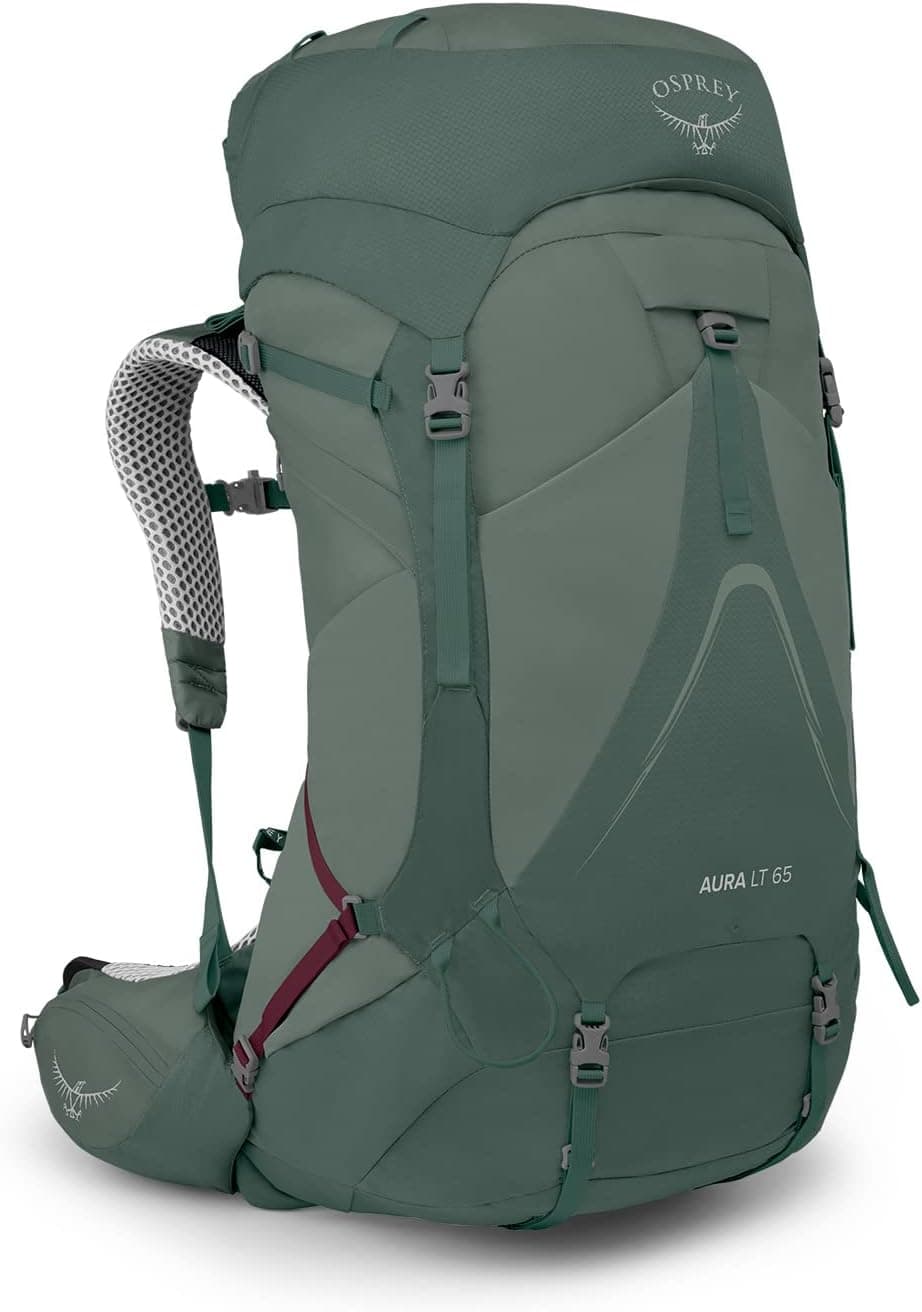
- Capacity
- 63 L (WXS/S) / 65 L (WM/L)
- Weight
- 3.84 lb (WXS/S) / 4.01 lb (WM/L)
- Torso fit
- WXS/S: 13–17 in, WM/L: 18–20 in
- Load range
- 30 to 40 lb
- Back system
- Anti-Gravity suspended mesh, 4 mm peripheral frame
- Extras
- Two zippered hip belt pockets, integrated rain cover
About this pick
The Aura AG LT 65 is the women's Atmos AG LT: the same suspended Anti-Gravity mesh back that keeps air moving, on a harness and hip belt shaped for women and sized for 13- to 20-inch torsos. Osprey rates it for 30 to 40 lb and lists 65 liters at 4.01 lb in WM/L. Switchback Travel names it the best women's backpacking pack.
Strengths
- Switchback Travel's best overall women's backpacking pack
- Suspended mesh back runs cooler than contact back panels
- Two torso sizes reach down to 13 inches
Weaknesses
- About 4 lb, heavier than the Exos and Eja
- Priced at the top of the mainstream packs
Kit Score breakdown

GREGORY
Gregory Paragon 60 Backpacking Pack
BEST ALL-AROUND
Kit Score 8.7/10
$299.95 Price checked Oct 23, 4:16 PM CDT
Best for: Backpackers who want one lighter framed pack for weekend to week-long three-season trips.
- Best overall at CleverHiker and GearJunkie
- Padded mesh back sits against you, warmer than the Atmos's suspended mesh
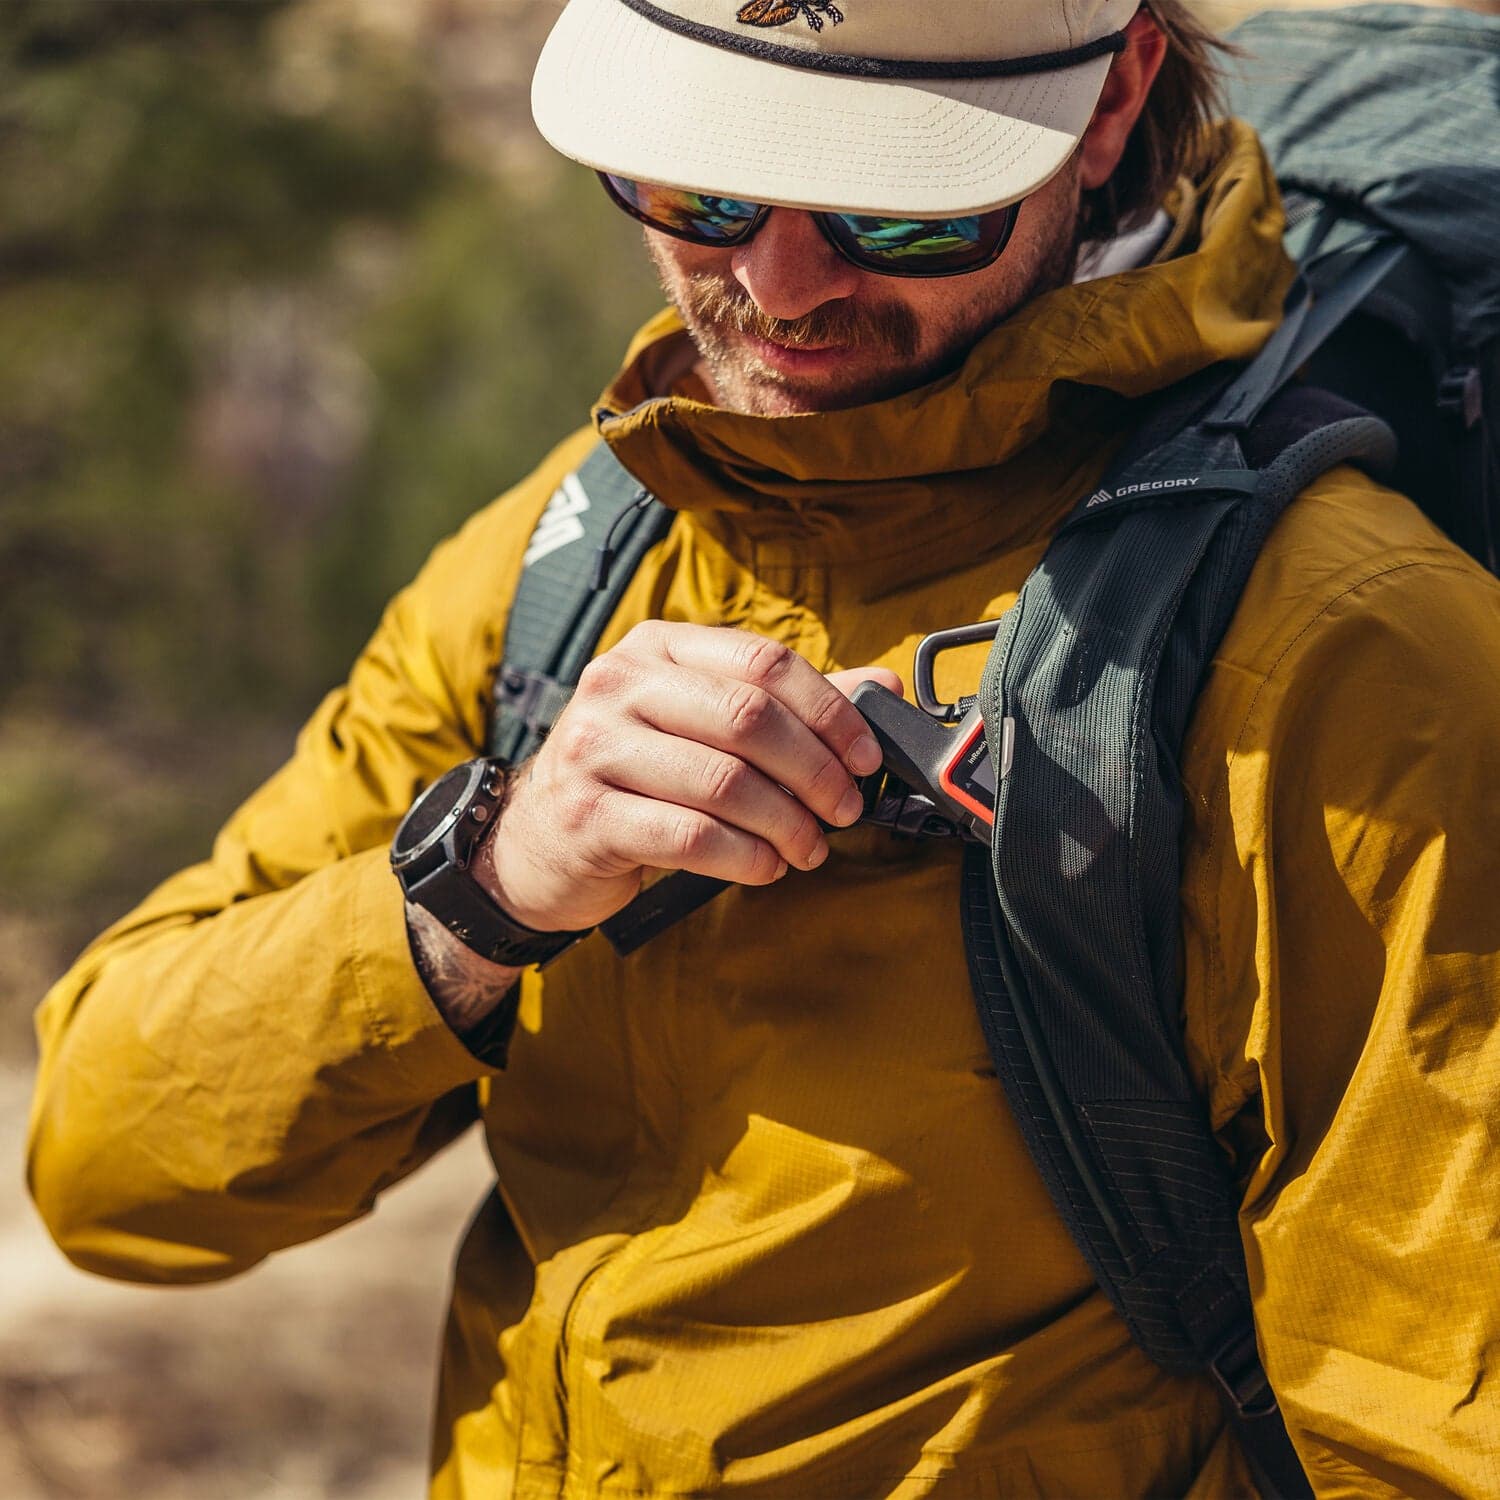
- Capacity
- 60 L
- Weight
- 3.72 lb (MD/LG)
- Torso fit
- 18–22 in (MD/LG); SM/MD also sold
- Hip belt
- 27–53 in, FreeFloat dynamic hip belt
- Max load
- 50 lb
- Women's version
- Gregory Maven 58
About this pick
The Paragon 60 is the best all-around pack for backpackers who want less weight without giving up a real frame. Gregory lists 60 liters at 3.72 lb with a 50 lb max load, an adjustable torso, and a FreeFloat hip belt that moves with your stride. CleverHiker and GearJunkie both name it their best overall backpacking pack; the Maven 58 is the women's version.
Strengths
- Best overall at CleverHiker and GearJunkie
- Under 4 lb with a 50 lb max load
- Adjustable torso and a wide 27 to 53 inch hip belt range
Weaknesses
- Padded mesh back sits against you, warmer than the Atmos's suspended mesh
- 60 L is tight for a bear canister plus winter layers
Kit Score breakdown
See all picks in Best backpacking backpacks 2026: 8 packs for 3-season trips
Keep going
Related guides
 Complete hike loadoutDay hike kitBuild the complete kit
Researched, not hands-on tested
Updated Jun 3, 2026Our recommendations draw on manufacturer documentation, retailer listings, owner feedback, and comparisons with alternatives.
As an Amazon Associate I earn from qualifying purchases. We may earn a commission from links here, at no extra cost to you. How we research →