We may earn a commission from links on this page, at no extra cost to you.
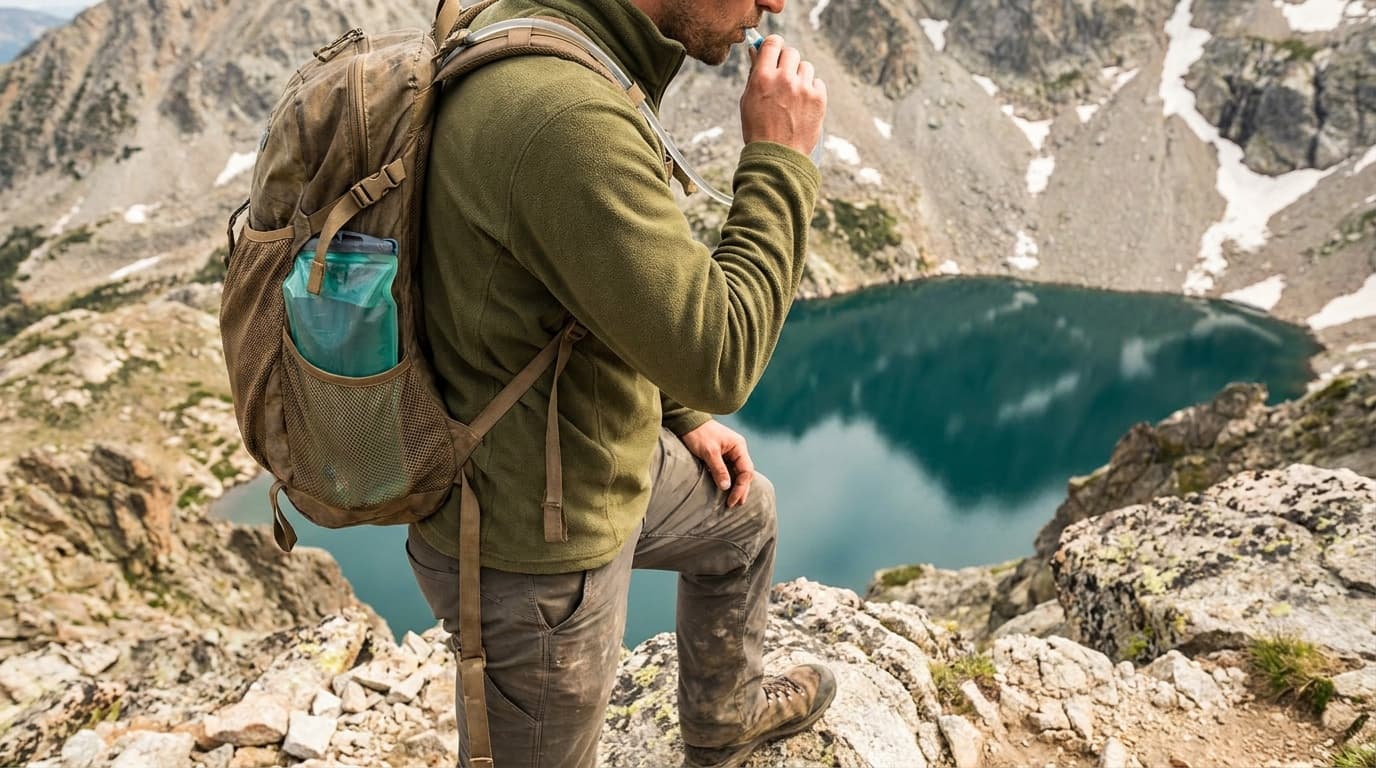
The short answer: use roughly 500 ml (half a liter) per hour as a planning starting point, then adjust for your own sweat rate, weather, route, and reliable refill points. It is a capacity estimate, not a command to drink on a timer.
The baseline and why sipping matters
A moderate-condition planning estimate of roughly 500 ml per hour is useful for deciding bottle or bladder capacity. Actual intake varies widely with body size, pace, heat, humidity, altitude, acclimatization, and sweat rate, so treat the number as a starting point and refine it from your own trips.
Avoid both extremes: do not begin a hot hike under-hydrated, and do not force fluid beyond thirst simply to hit an hourly number. Small, regular drinks are easier to tolerate than infrequent large amounts, while personal thirst and conditions remain important checks.
The estimate tells you how much container capacity to plan, not how quickly to empty it. During exertion, Wilderness Medical Society guidance supports drinking to thirst or using an individually measured sweat-rate plan rather than following a universal schedule.
Adjusting for heat, humidity, and altitude
Three conditions deserve extra capacity and a more conservative route plan before you leave the trailhead.
Heat and humidity increase sweat rate substantially, but there is no single safe intake that fits every hiker. If the forecast is hot and the route has little shade, add capacity, shorten the distance between reliable sources, and learn your own consumption from comparable outings. A cooling towel can improve comfort, but shade, pacing, and timing are the more important heat controls.
Altitude often means dry air, increased breathing, stronger sun, and fewer obvious water sources. Those factors can increase water needs, but the change is individual. Carry a buffer and monitor how you are feeling rather than relying on an unsupported universal percentage.
Steep, sustained climbing pushes breathing and sweat rate regardless of temperature. On a long climb even in moderate weather, lean toward the higher end of the range.
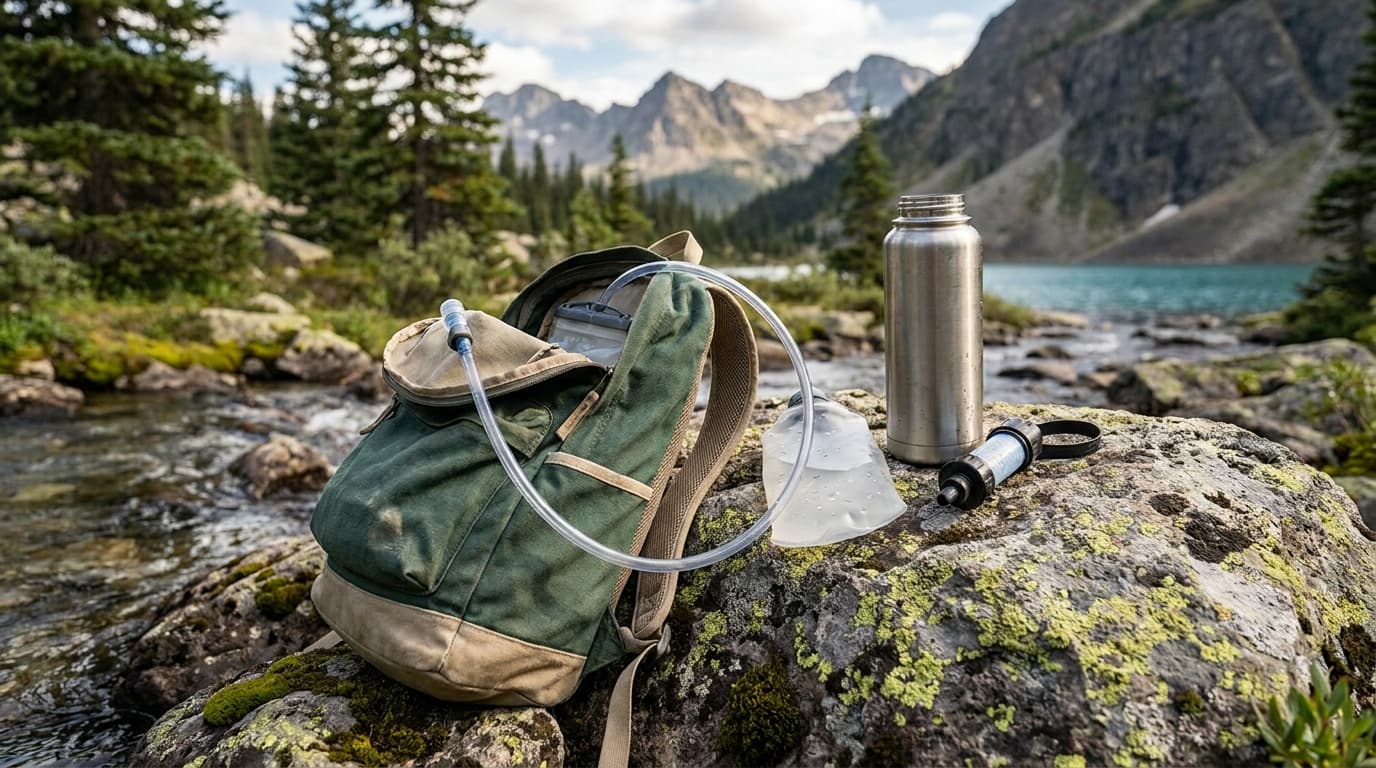
When to carry vs. filter on trail
The two strategies are not competing. They answer different questions: how much capacity do you need, and how do you refill efficiently?
Choosing your water strategy
Audit the route
Before leaving, check AllTrails, FarOut, or recent trip reports for confirmed running water sources and their spacing. A trail with sources every 2–3 miles is a filter trip. A dry exposed ridge is a carry trip.
Calculate carry volume
Hold roughly 1 liter per 2 hours of hiking to reach your next confirmed source, plus a buffer for unexpected delays or a source that has dried up.
Treat everything
Clear water can still contain pathogens, and no single method covers every hazard. [CDC says boiling is the best germ-control method; the next best option is filtering and then disinfecting](https://www.cdc.gov/drinking-water/prevention/water-treatment-hiking-camping-traveling.html). Most portable filters remove parasites, some also remove bacteria, and most do not remove viruses; none makes chemically contaminated water safe.
Refill at each reliable source
Refill your planned capacity, drink according to thirst, and keep the buffer intact. Do not force extra fluid simply to carry less between sources.
Carry your full supply on dry stretches
On hot exposed sections with no reliable shade or water, there is no substitute for carrying enough to complete the segment. Check recent reports; seasonal sources shown on maps sometimes fail by summer.
For most half-day hikes with mapped sources, a 2-liter hydration bladder like the HydraPak Contour or two 1-liter bottles covers the baseline comfortably. If you are planning longer days or moving through dry terrain, 3 liters of capacity plus a filter is a reasonable floor; hikers who train under a weighted pack run similar setups, and Ruck Authority's hydration bladder picks for rucking cover that variant. For gear options, see our guide to the best hydration bladders.
Electrolytes: why plain water is not enough on longer days
Sweat carries sodium along with water. On long, hot, high-sweat hikes, salty food or an electrolyte drink can be useful, especially if that is what you tolerate well. Duration alone does not create a universal two-hour threshold, and electrolyte products do not make overdrinking safe.
Exercise-associated hyponatremia is dangerously low blood sodium during or after prolonged activity. Excess fluid intake is the most important preventable risk, and the symptoms can overlap with other heat and exertion illnesses.
For short hikes in mild conditions, normal meals and water are usually enough. For longer, hotter outings, bring food with sodium or an electrolyte option if it helps you maintain a comfortable intake. The Wilderness Medical Society's prevention guidance emphasizes drinking according to thirst to reduce the risk of exercise-associated hyponatremia.
Knowing the difference: dehydration vs. hyponatremia
Both conditions share overlapping symptoms: headache, nausea, fatigue, confusion. The cause and treatment differ completely.
Dehydration and hyponatremia can both involve headache, nausea, fatigue, or confusion, and field symptoms alone cannot reliably distinguish them. Severe or worsening confusion, vomiting, collapse, seizure, or altered mental status is an emergency: stop exertion and seek rescue or medical care rather than trying to self-diagnose the correct fluid treatment.
FAQ
How do I know if I am drinking enough water on the trail?
Use 500 ml per hour only as an initial carrying-capacity estimate. During exertion, drink to thirst or follow an individually measured sweat-rate plan; do not force a schedule. Urine color can provide a rough trend, but it is not diagnostic and can change with diet, supplements, illness, and exercise.
When should I use a water filter instead of carrying everything from the trailhead?
When the trail has reliable running-water sources confirmed by current reports, treating water on route can reduce carried weight. Choose treatment for the expected pathogens: CDC says boiling is most reliable and otherwise recommends filtering and then disinfecting. UV requires clear or prefiltered water, and many filters or tablets do not remove every virus, bacterium, or parasite. Carry enough to reach the next source plus a buffer, and carry your full supply when sources are sparse or unreliable.
Do I need electrolytes for a short day hike?
For a short hike in mild conditions, normal food and water are usually sufficient. On longer, hotter, high-sweat days, salty food or a measured electrolyte product can be useful, but there is no universal two-hour cutoff. Avoid forcing fluid beyond thirst, follow product directions, and seek medical advice for individual health concerns.
For more on selecting a hydration system, see our hike gear hub. Details on how we research and rate every guide are on our how we research and rate page.
Recommended gear
Our current top picks from the Best hydration bladders for hiking (2026) guide, if you are ready to buy.
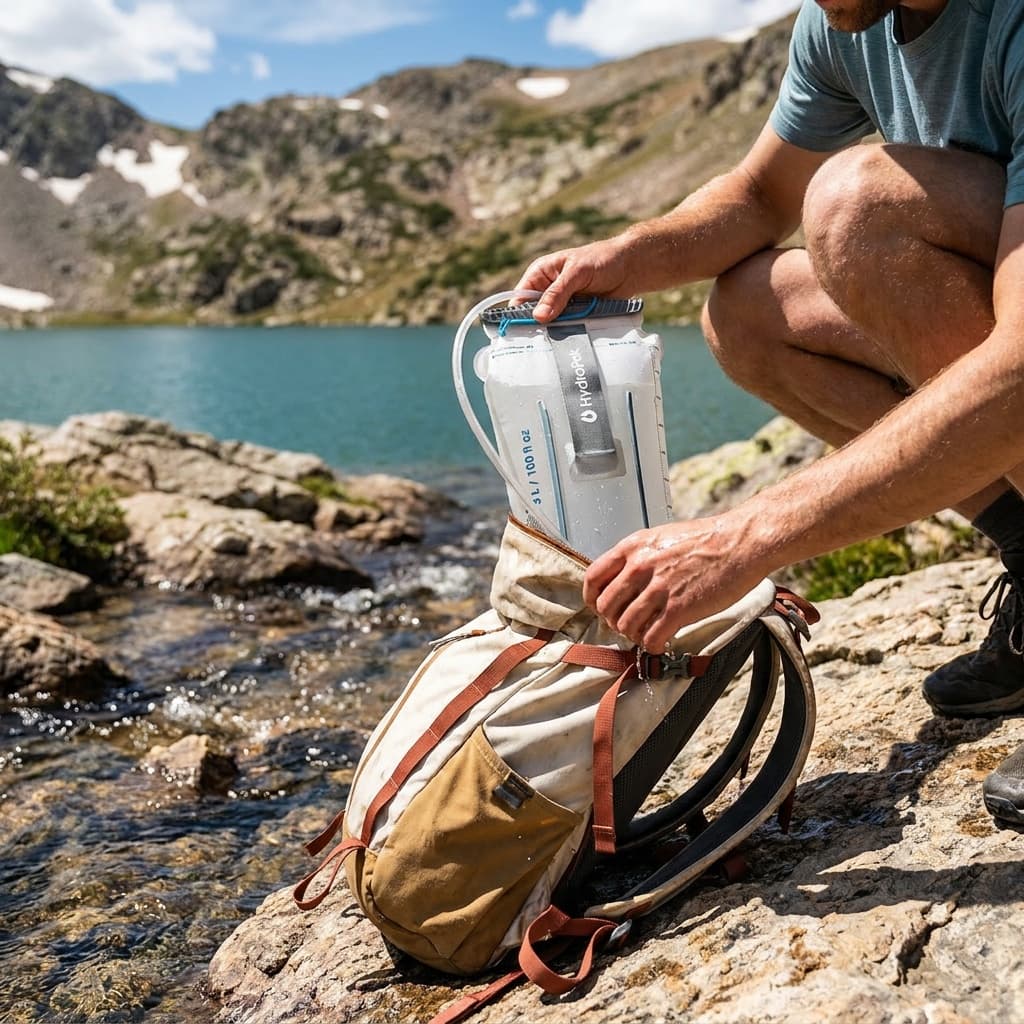
HYDRAPAK
HydraPak Contour Hydration Reservoir (1.5L, 2L, or 3L)
- Capacity
- 1.5L / 2L / 3L
- Weight (3L)
- 5.4 oz (155 g)
- Closure
- Zip Slide-Seal, fully reversible
- Bite valve
- Comet self-sealing, thumb shutoff
- Dishwasher safe
- Yes (top rack)
- Hose connection
- Quick-disconnect, magnetic clip
The Contour's 3D-welded shell and internal Shape-Loc baffles keep it flat and slim so it slides into a loaded pack without fighting the sleeve. Its fully reversible body and dishwasher-compatible materials make it the easiest bladder on the market to clean and dry completely.
- Reverses inside-out for thorough drying in under 90 minutes, far faster than twist-cap designs
- 3D-welded slim profile slides into stuffed pack sleeves where other bladders bind
- Slide-Seal opening can be harder to fill from shallow water sources than a wide-mouth screw cap
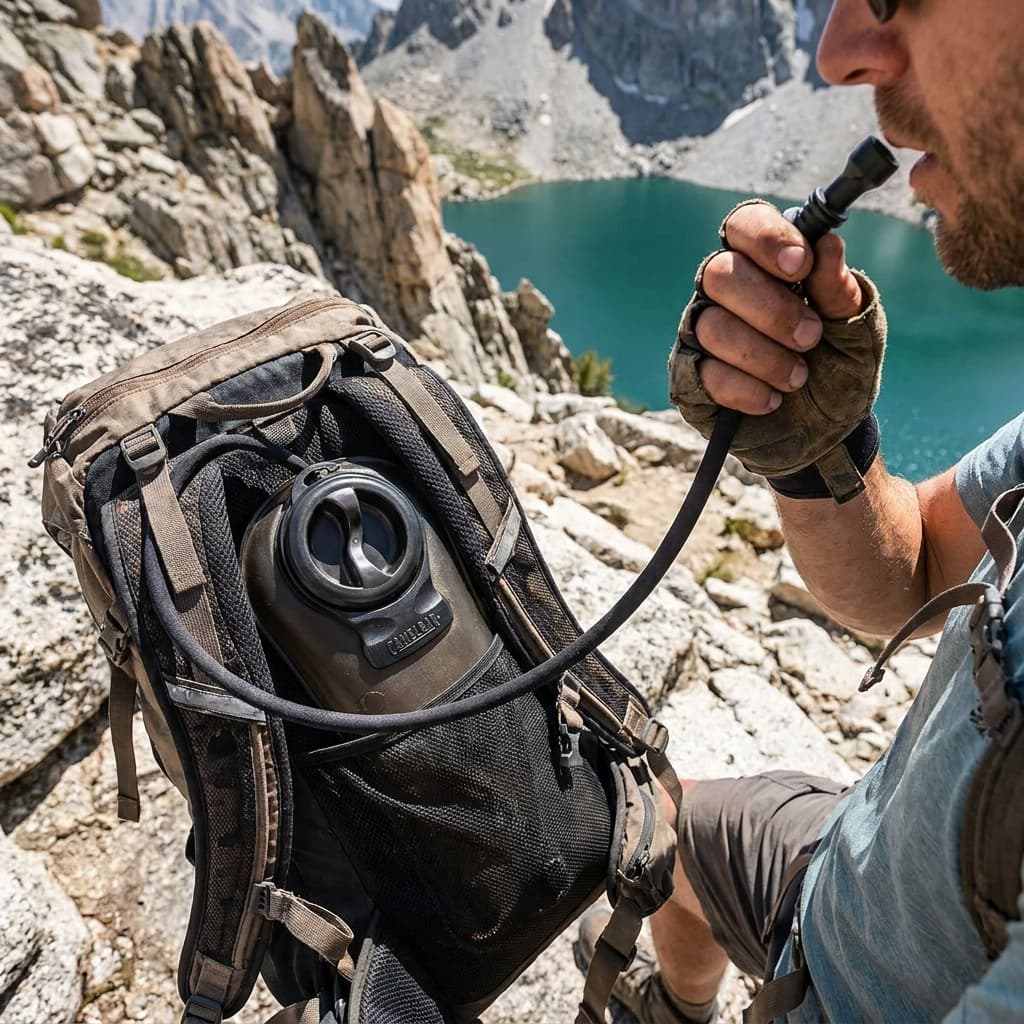
CAMELBAK
CamelBak Crux 3L Water Reservoir
- Capacity
- 1.5L / 2L / 3L
- Weight (2L)
- 7 oz
- Closure
- Twist screw-cap with ergonomic handle
- Bite valve
- Big Bite Valve, on/off lever
- Flow rate
- Highest tested: 1.25 cups per 10 sec
- BPA/BPS/BPF
- Free
The Crux is a proven performer with the highest measured flow rate among major bladders tested, a large ergonomic handle that simplifies stream fills, and clean-tasting water straight out of the packaging. At around $42, it delivers genuine all-around reliability at an honest price.
- Best-in-class flow rate delivers noticeably more water per sip than competing designs
- Large twist handle makes one-handed stream and sink fills straightforward
- Heavier and bulkier than ultralight alternatives; the rigid handle reduces packability

SOURCE
SOURCE Widepac 2L Hydration Bladder
- Capacity
- 1.5L / 2L / 3L
- Closure
- Widepac Slide Closure (wide-mouth)
- Film technology
- Multi-layer PE, Glass-Like coating
- Bite valve
- Helix high-flow self-sealing
- Antimicrobial
- Yes, built into film
- BPA/Phthalates
- Free
SOURCE's co-extruded polyethylene film is 2,000% smoother than standard TPU and adds zero plastic taste to water, even after months of use. The wide-mouth Slide Closure opens wide enough for ice cubes and makes cleaning and draining fast and mess-free.
- Glass-Like PE film technology delivers genuinely taste-free water over the long term, outperforming most TPU-based competitors
- Wide Slide Closure opens fully for easy ice filling, cleaning, and draining
- Wider body profile can conflict with narrow pack sleeves designed for slimmer bladders
Make the next decision
Complete hike loadout
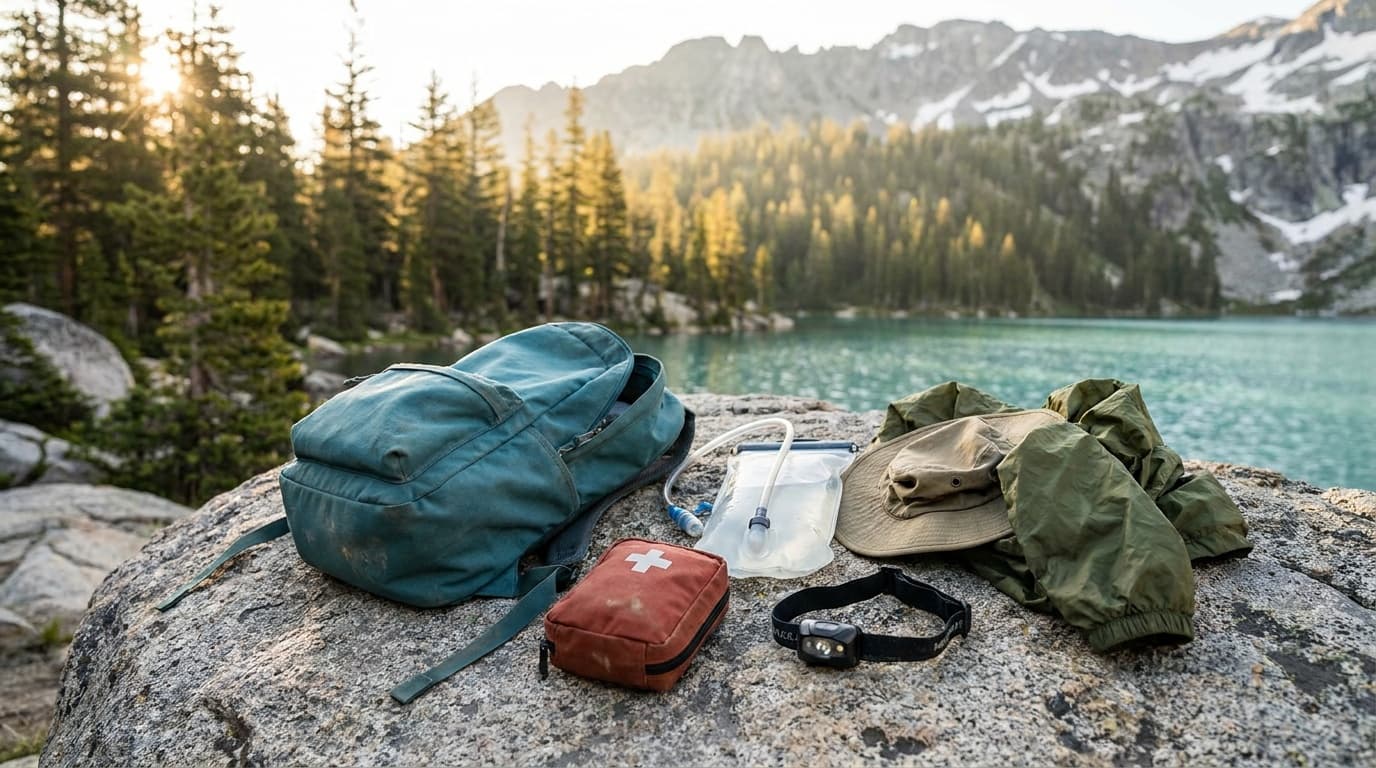
Day hike kit
Seven slots for a full trail day, from the pack and water system to light and weather protection.
Build the complete kitRelated guides
Buying guide
Best hydration bladders for hiking (2026)
The four best hydration bladders for hiking, ranked by capacity, leak-proof design, ease of cleaning, bite-valve flow, and trail durability. Picks for every budget.
Read guide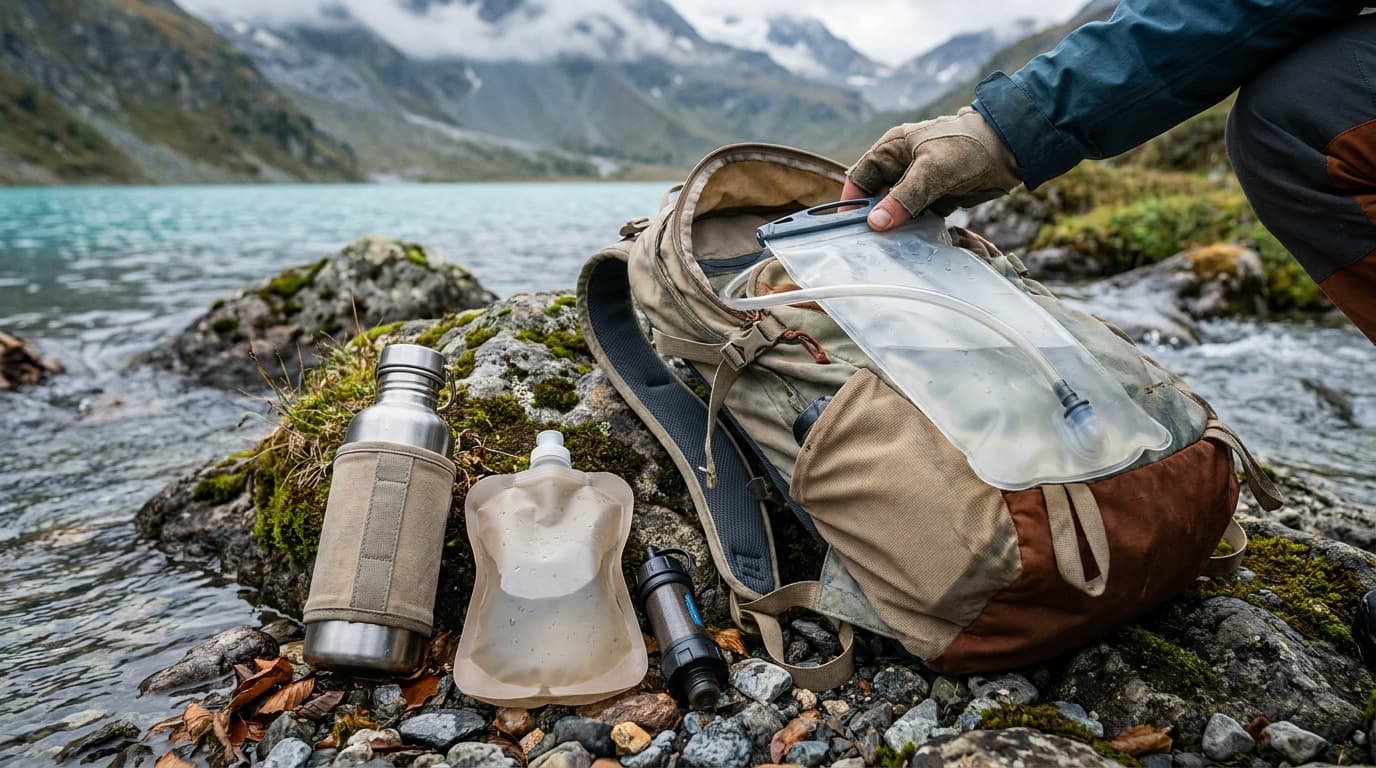
Field guide
How to clean a hydration bladder (and keep it mold-free)
Step-by-step guide to cleaning, drying, and storing a hydration reservoir: baking soda soaks, bleach disinfection, tube brushes, and freezer storage done right.
Read guide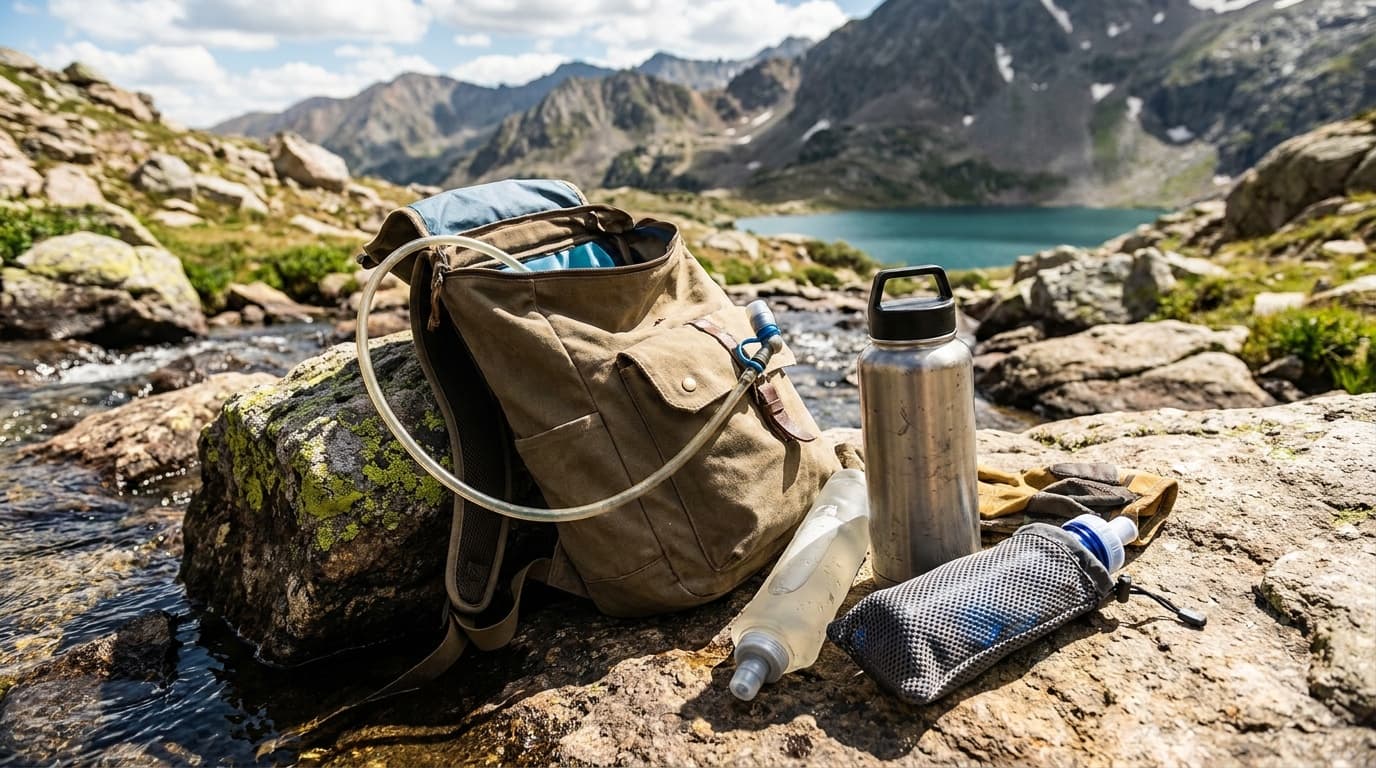
Comparison
Hydration vest vs hydration pack: which one should you carry?
Vest or pack? Compare capacity, access, comfort, and ideal uses to pick the right hydration system for trail running, hiking, or biking.
Read guide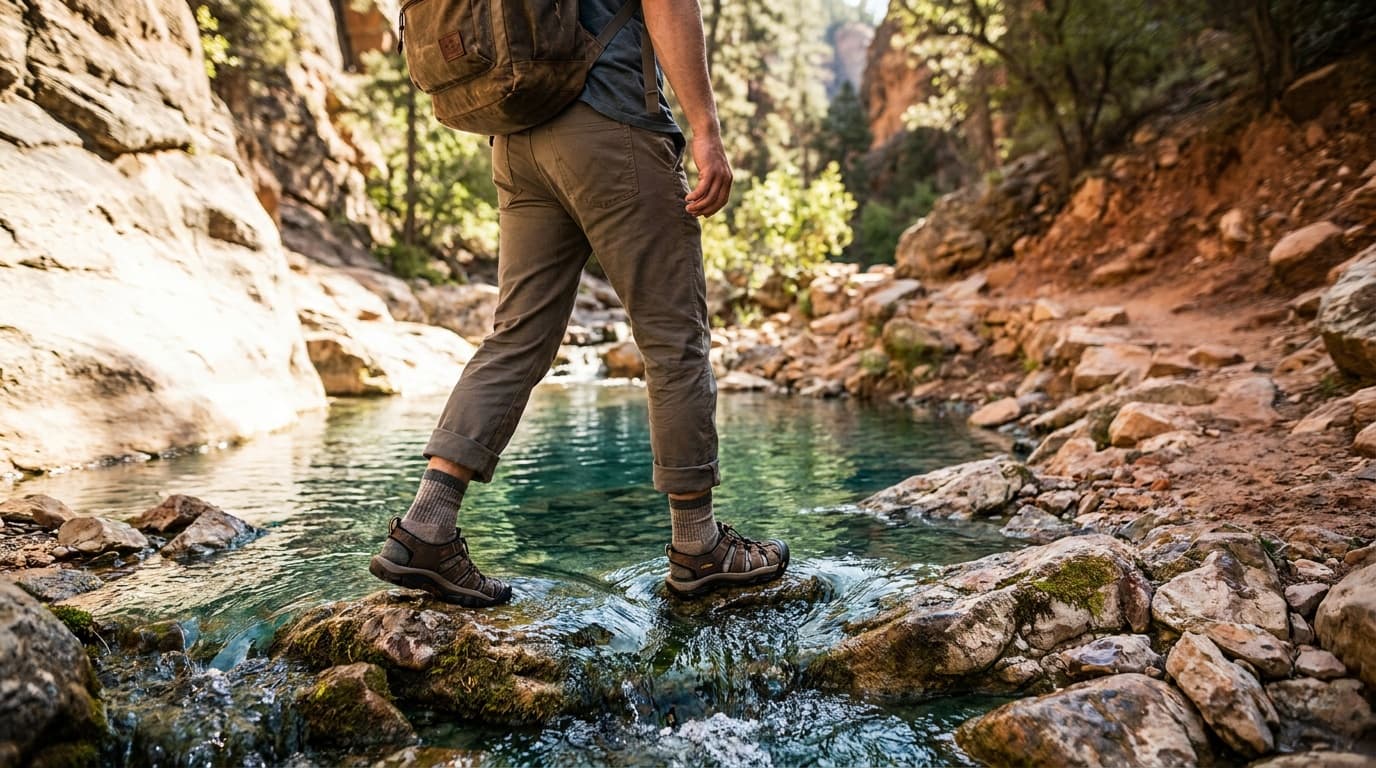
Buying guide
Best hiking sandals in 2026: 4 picks for trails and water
The best hiking sandals for summer trails, river crossings, and travel, ranked by support, grip, and durability. Four research-backed picks for every budget.
Read guideResearched, not personally tested: picks come from specs, verified-owner reviews, and expert sources, scored into the Kit Score. As an Amazon Associate I earn from qualifying purchases. We may earn a commission from links here, at no extra cost to you. How we research →