
We may earn a commission from links on this page, at no extra cost to you.
A hydration bladder that does not get dried properly after every outing will grow mold. That is not a scare tactic: bacteria can reach 1–2 million colony-forming units per mL in a reusable water vessel in as little as one day without proper rinsing and drying. The fix is a repeatable routine, not a specialty product.
Why bladders get gross fast
Three spots concentrate bacteria and mold on every reservoir: the bottom pooling zone where water sits after a partial drain, the full length of the drink tube, and the silicone bite valve channel. All three need individual attention at every cleaning session, not just a swish of the main body.
After every use: the baseline routine
This takes three minutes and is what makes deep cleans less urgent.
Post-use routine (every outing)
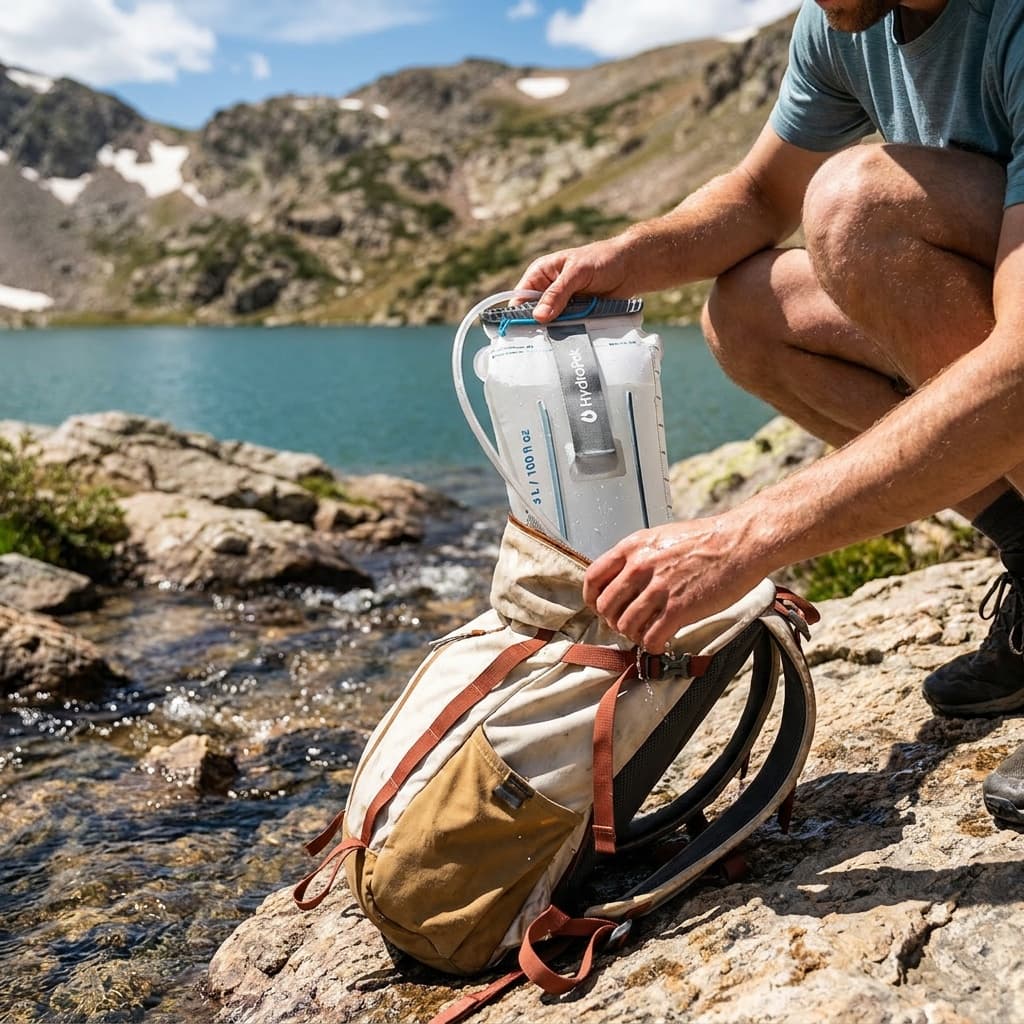
Drain it completely
Turn the bladder upside down and squeeze out every drop before you pack up. Leftover water is what mold needs.
Detach the hose and bite valve
Residual moisture hides in both. They need to dry separately, not still clipped to the bladder.
Rinse with warm water
Fill, swirl, drain through the tube. Do this twice. If you used a sports drink or electrolytes, rinse immediately rather than waiting until you get home; the sugar feeds bacterial growth faster than plain water does.
Hang inverted with the opening propped
Use the drying hanger from your brush kit, a kitchen whisk, or a spatula slipped inside. The walls need to stay apart so air can circulate. Dry in a low-humidity room, not a bathroom.
Dry the tube with both ends open
Hang it with both ends exposed or swing it in a wide circle (the centrifugal method) to push water droplets out, then let it air-dry for a full day or two. Hoses hold moisture longer than the main body.
Deep cleaning: two methods that work
Use a deep clean after any sports-drink use, before storing for more than a week, and at minimum a few times per season if you use only plain water.
Method 1: effervescent cleaning tablets
Purpose-made reservoir tablets (Camelbak Cleaning Tablets, Hydrapak's brand, and similar) fizz when dropped in water and loosen biofilm from the interior walls. Drop one tablet into the filled bladder, wait 5 minutes, then hold the hose below the opening and open the bite valve to flush the soapy water through the full length of the tube. Rinse once with clean water, then dry as described above.
Method 2: baking soda soak (Platypus method)
Platypus recommends 1/4 cup of baking soda dissolved in 3/4 cup of water per liter of reservoir capacity. Fill the bladder with this solution, let it sit for 20 minutes, then rinse three times with hot water, flushing each rinse through the hose. The contact time matters: a 5-minute baking soda soak does not accomplish what 20 minutes does.
For active mold: dilute bleach disinfection
Visible mold or a persistent smell needs disinfection, not just cleaning. Platypus recommends 2–5 drops of unscented household bleach per liter of water; for a heavier pass, some sources cite 1 oz of bleach per liter. Fill the bladder, let the solution sit for 20–30 minutes, flush through the hose, then rinse thoroughly three times with clean water. The bleach smell dissipates on drying. Do not use scented bleach.
Any residual moisture after packing away is enough for mold to establish. The bladder is not ready to store until you feel no dampness inside, including the corners near the seal.
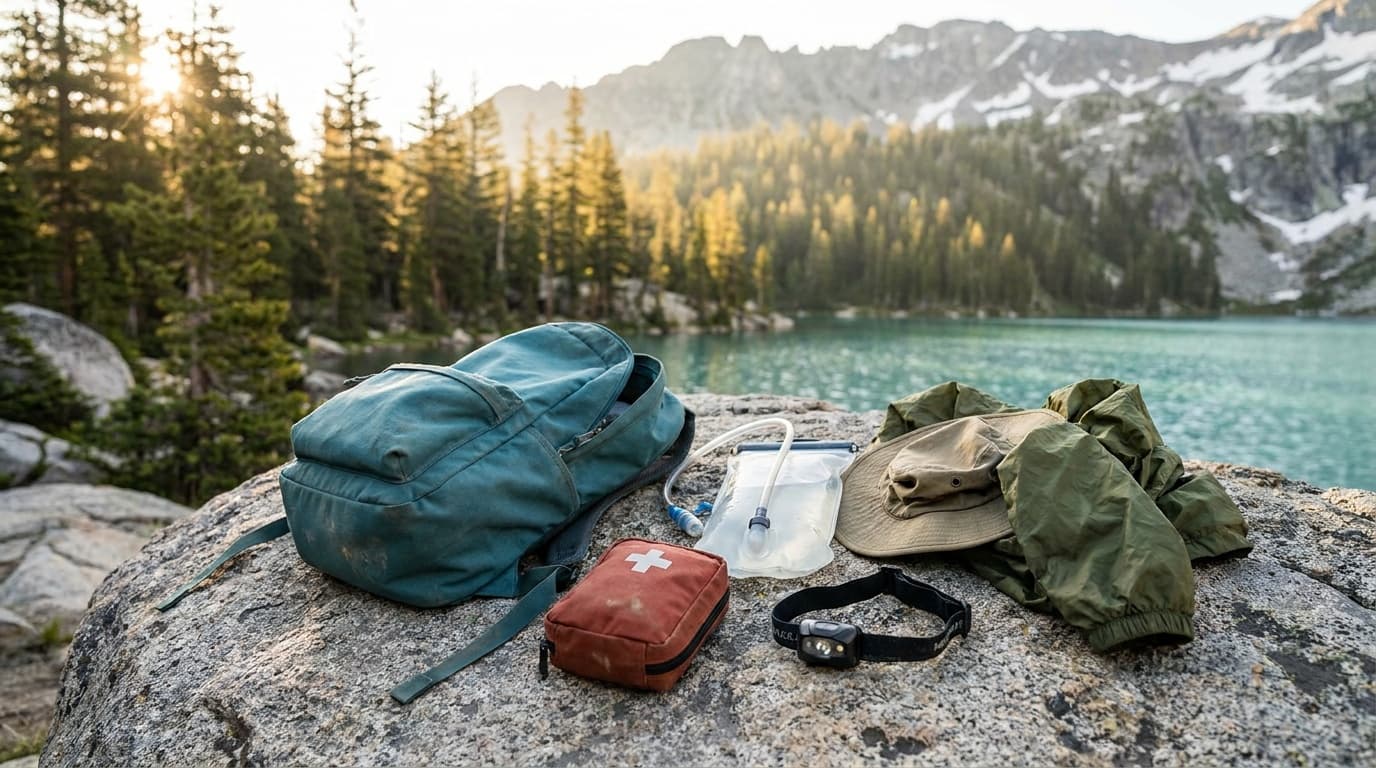
The brush kit: what you actually need
A purpose-made brush kit runs $10–20 and covers all three problem zones. That is roughly the same cost as a replacement drink tube, so a kit pays for itself on the first use.
What each brush in the kit does
Wide reservoir brush
Scrubs the interior walls and bottom corners where biofilm builds up. Improvised bottle brushes often cannot reach the sealed edges.
Long flexible tube brush
Threads through the full length of the drink hose. Nothing else reliably clears the inside of the tube.
Small nub bite valve brush
Clears the silicone channel inside the bite valve. Skip this and the valve stays contaminated even after a full bladder clean.
Drying hanger
Props the bladder opening wide so air circulates inside. The hanger is not a frill: without it the walls press together and trap moisture.
Drying methods compared
Getting the bladder bone dry
Invert with opening propped
The standard method. Hang upside-down with a hanger, whisk, or spatula holding the walls apart. Works for all models.
Turn inside-out
Only possible on designs that allow it (Hydrapak models like the [HydraPak Contour](/api/go?product=hydrapak-contour-3l&retailer=amazon&article=how-to-clean-a-hydration-bladder) are built for this). Faster drying, more surface exposure to air.
Low-humidity room
Dry in a kitchen or bedroom, not a bathroom. Bathroom humidity keeps the interior damp for far longer.
Centrifugal tube dry
Swing the detached hose in a wide circle to push water droplets out by centrifugal force, then hang with both ends open for a full day or two.
Freezer storage for long gaps
For storage between seasons or multi-week breaks, the freezer is the correct approach. Subzero temperatures stop mold spore multiplication entirely. Two non-negotiable rules: the bladder must be completely empty and completely dry before freezing. Water expands roughly 9% in volume when frozen, and a bladder stored with even a small amount of liquid inside risks split seams. Seal it in a zip-lock bag to keep out freezer odors.
Choosing the right reservoir makes the cleaning routine easier: the slide-top Platypus Big Zip EVO opens wide for brush access, and some designs are built to turn inside-out for fast drying. See our guide to the best hydration bladders for models that hold up to regular cleaning without seam wear.
FAQ
How often do I need to deep-clean my hydration bladder?
Deep-clean after any use with sports drinks or electrolytes, before storing for more than a week, and at minimum a few times per season if you only use plain water. A quick rinse and full dry after every outing is the baseline that makes deep cleans less urgent.
Can I put my hydration bladder in the dishwasher?
It depends on the brand and model. Hydrapak reservoirs are designed to be top-shelf dishwasher safe. Most CamelBak bladders are not: the heat and pressure can warp the bite valve housing and degrade seals over time. Check the manufacturer spec before loading one in. When in doubt, hand-wash.
What is the best way to dry a hydration bladder so it does not grow mold?
Disassemble everything, detach the hose and bite valve, and hang the reservoir inverted with the opening propped wide using the drying hanger from your brush kit, a kitchen whisk, or a spatula slipped inside. Dry in a low-humidity room, not a bathroom. The hose needs both ends open and a full day or two of hang-dry time. The bladder is not ready to store until you can feel no residual moisture inside.
How do I tell if my hydration bladder is moldy?
Look, smell, and feel. Mold shows up as black, dark green, pink, or orange spots or fuzz, most often in the three trouble zones: the bottom pooling area, along the inside of the drink tube, and in the bite-valve channel. A musty, sour, or earthy smell when you open the reservoir is the earliest sign, usually before spots are visible. Run a finger inside: a slippery or slimy film is biofilm, the layer mold grows on. Small spots and a musty smell come clean with a dilute bleach or effervescent-tablet soak followed by a thorough dry. Replace the bladder if you see mold embedded in a scratched or cracked surface, or if a deep bleach clean does not remove the smell, since porous or damaged plastic can hold spores you cannot reach.
Browse all hike gear or read how we research and rate.
Recommended gear
Our current top picks from the Best hydration bladders for hiking (2026) guide, if you are ready to buy.
HYDRAPAK
HydraPak Contour Hydration Reservoir (1.5L, 2L, or 3L)
- Capacity
- 1.5L / 2L / 3L
- Weight (3L)
- 5.4 oz (155 g)
- Closure
- Zip Slide-Seal, fully reversible
- Bite valve
- Comet self-sealing, thumb shutoff
- Dishwasher safe
- Yes (top rack)
- Hose connection
- Quick-disconnect, magnetic clip
The Contour's 3D-welded shell and internal Shape-Loc baffles keep it flat and slim so it slides into a loaded pack without fighting the sleeve. Its fully reversible body and dishwasher-compatible materials make it the easiest bladder on the market to clean and dry completely.
- Reverses inside-out for thorough drying in under 90 minutes, far faster than twist-cap designs
- 3D-welded slim profile slides into stuffed pack sleeves where other bladders bind
- Slide-Seal opening can be harder to fill from shallow water sources than a wide-mouth screw cap
CAMELBAK
CamelBak Crux 3L Water Reservoir
- Capacity
- 1.5L / 2L / 3L
- Weight (2L)
- 7 oz
- Closure
- Twist screw-cap with ergonomic handle
- Bite valve
- Big Bite Valve, on/off lever
- Flow rate
- Highest tested: 1.25 cups per 10 sec
- BPA/BPS/BPF
- Free
The Crux is a proven performer with the highest measured flow rate among major bladders tested, a large ergonomic handle that simplifies stream fills, and clean-tasting water straight out of the packaging. At around $42, it delivers genuine all-around reliability at an honest price.
- Best-in-class flow rate delivers noticeably more water per sip than competing designs
- Large twist handle makes one-handed stream and sink fills straightforward
- Heavier and bulkier than ultralight alternatives; the rigid handle reduces packability
SOURCE
SOURCE Widepac 2L Hydration Bladder
- Capacity
- 1.5L / 2L / 3L
- Closure
- Widepac Slide Closure (wide-mouth)
- Film technology
- Multi-layer PE, Glass-Like coating
- Bite valve
- Helix high-flow self-sealing
- Antimicrobial
- Yes, built into film
- BPA/Phthalates
- Free
SOURCE's co-extruded polyethylene film is 2,000% smoother than standard TPU and adds zero plastic taste to water, even after months of use. The wide-mouth Slide Closure opens wide enough for ice cubes and makes cleaning and draining fast and mess-free.
- Glass-Like PE film technology delivers genuinely taste-free water over the long term, outperforming most TPU-based competitors
- Wide Slide Closure opens fully for easy ice filling, cleaning, and draining
- Wider body profile can conflict with narrow pack sleeves designed for slimmer bladders
Make the next decision
Complete hike loadout
Day hike kit
Seven slots for a full trail day, from the pack and water system to light and weather protection.
Build the complete kitRelated guides
Buying guide
Best hydration bladders for hiking (2026)
The four best hydration bladders for hiking, ranked by capacity, leak-proof design, ease of cleaning, bite-valve flow, and trail durability. Picks for every budget.
Read guide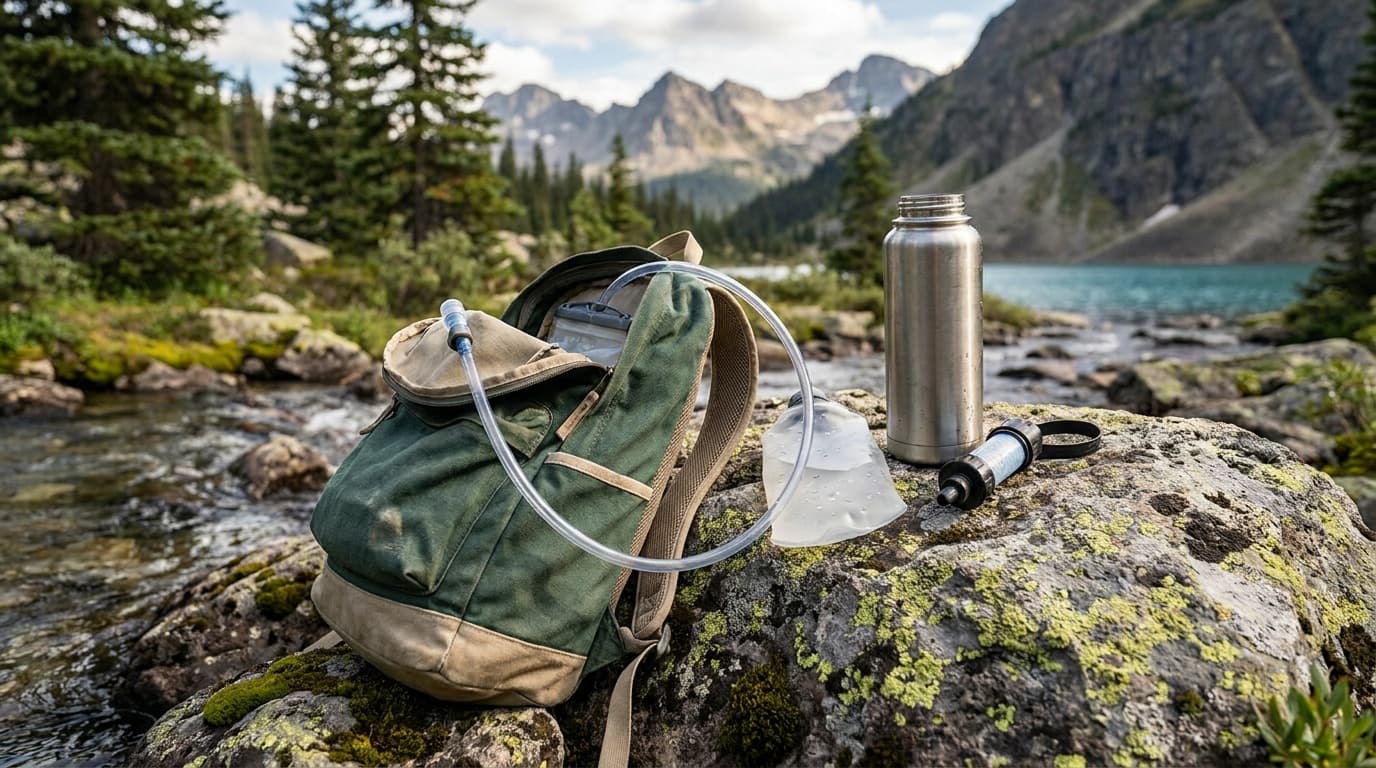
Field guide
How much water to bring hiking
Plan your hiking water right: 500 ml per hour baseline, heat and altitude adjustments, when to filter on trail, and why electrolytes matter on longer days.
Read guide
Buying guide
Best hydration vests for trail running and hiking 2026
Four hydration vests compared across capacity, bounce control, fit, and ventilation, so you can pick the right pack for your distance.
Read guide
Buying guide
The best hiking socks for blister-free miles
The best hiking socks ranked on cushion, fit, blister prevention, and durability, plus how to pick the right height and material for your trail.
Read guideResearched, not personally tested: picks come from specs, verified-owner reviews, and expert sources, scored into the Kit Score. As an Amazon Associate I earn from qualifying purchases. We may earn a commission from links here, at no extra cost to you. How we research →