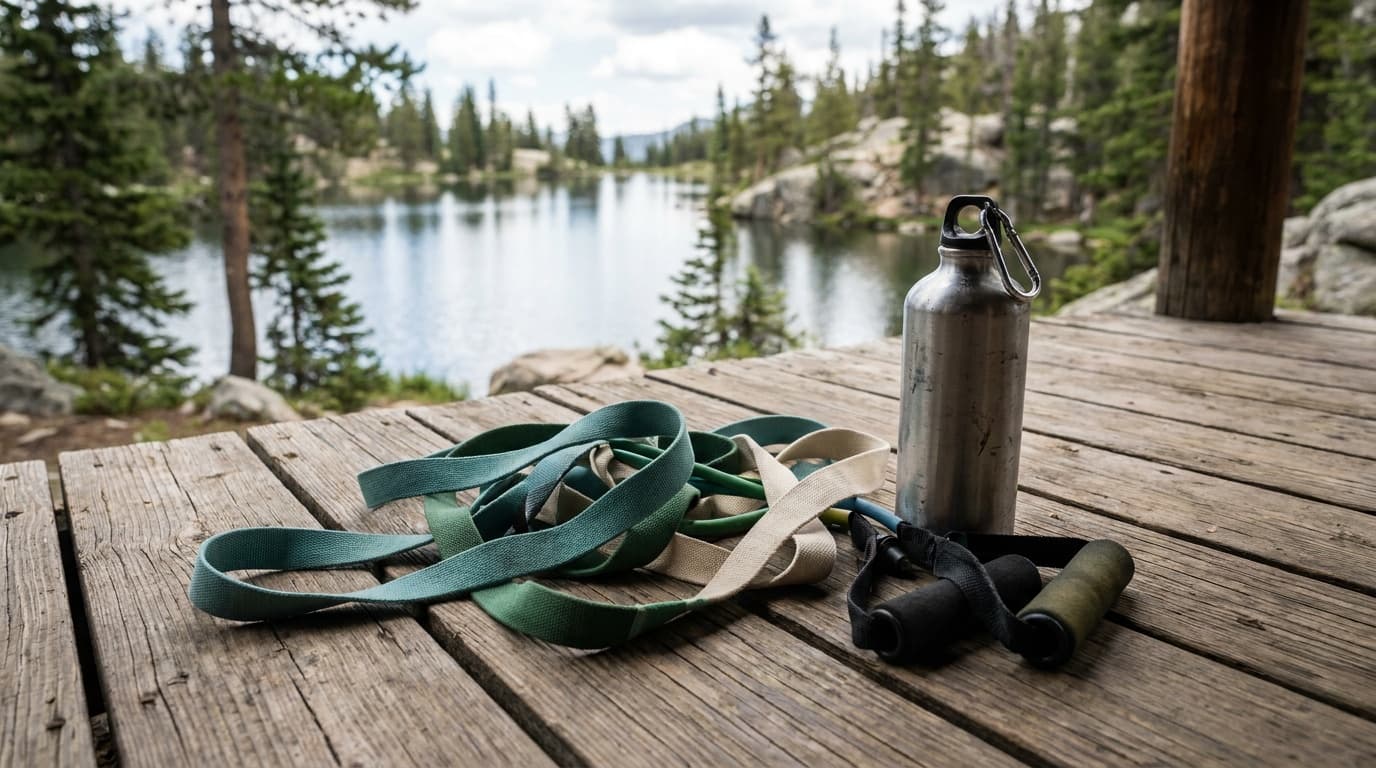
We may earn a commission from links on this page, at no extra cost to you.
Resistance bands look simple, and that is exactly what makes people underestimate them. Used correctly, with proper anchoring, controlled tempo, and a clear progression plan, they are not a compromise for when you cannot reach the gym. They are a legitimate training tool that research puts on equal footing with free weights for building strength.
What the research actually says
The case for bands is stronger than their gym-bag reputation suggests.
A meta-analysis comparing elastic resistance training to conventional resistance training found no statistically significant difference in upper or lower limb strength gains between the two methods. Where bands do differ from free weights is in which muscles carry the load: activation studies show bands produce slightly lower activation in primary target muscles (the pectoralis major in a chest fly, for example) but substantially higher activation in stabilizers like the anterior deltoid at equivalent loads. That is not a bug. For building balanced, joint-stable strength, it is a meaningful advantage.
Anchoring safely: the details most people skip
A band that fails mid-rep snaps back with force. Getting anchoring right before you load the band is non-negotiable.
Safe anchoring for common setups
Door anchor, hinge side only
Loop your door anchor attachment on the hinge side of the door, not the latch side. Close the door fully before loading any tension. The hinge-side frame handles the lateral pull far better than the latch mechanism.
Floor exercises, center of foot
Position the band under the center of your foot, not the heel or toe. Heel placement lets the band ride forward and snap off. Toe placement reduces grip surface. Center of foot gives you the most stable hold through the full range of motion.
Wall anchor for permanent setups
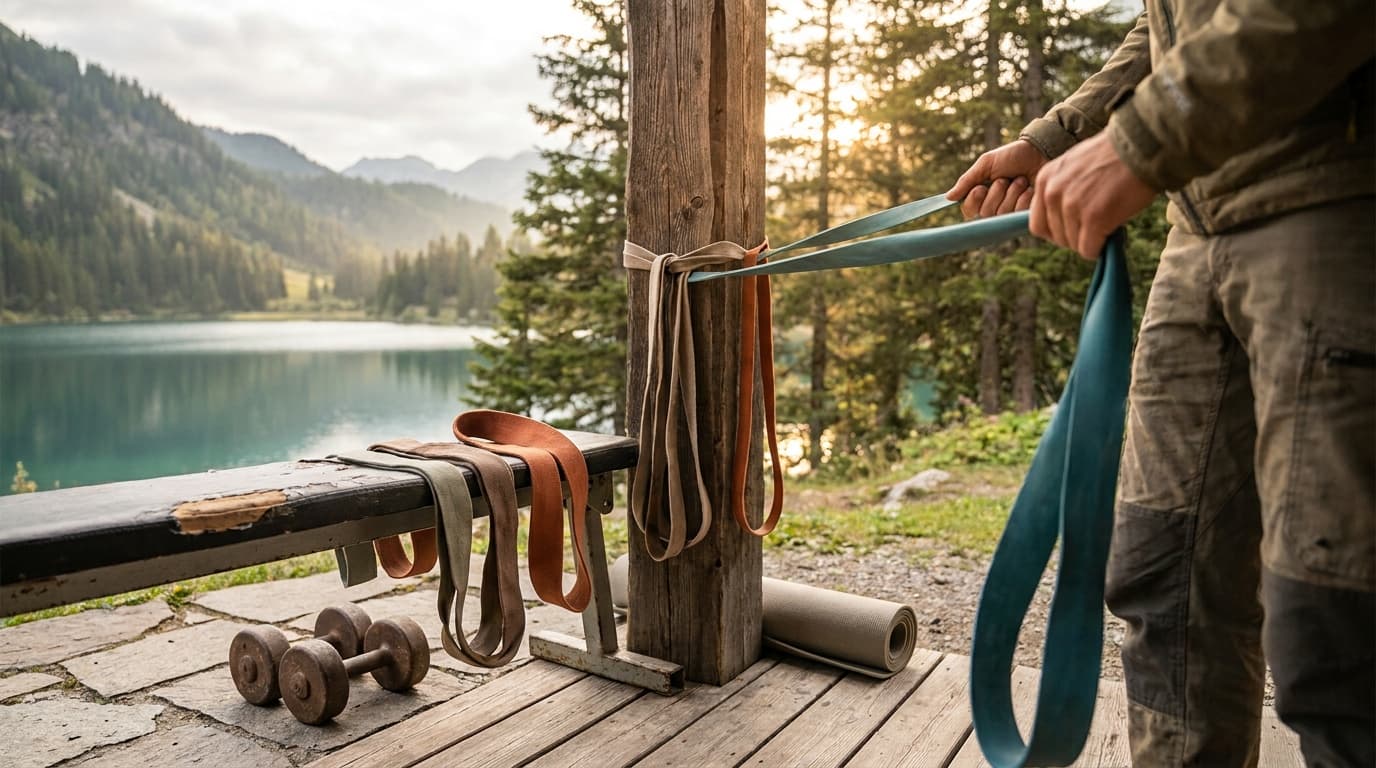
A dedicated wall anchor drilled into a stud is the safest long-term solution if you train at home regularly. It removes the door-mechanism variable and lets you set exact height for each exercise.
Never knot latex loop bands
Tying a loop band around furniture or a pole to use it as an anchor is one of the most common ways bands fail. Knotting latex creates a stress concentration point that dramatically increases snap risk. Use a proper anchor attachment or a handled tube band with a clip.
Inspect your bands before every session. Check for nicks, small tears, peeling at the seals, discoloration, or any thinning in the latex. A compromised band can fail mid-rep, which is why designs with internal snap-reduction cords, like the Bodylastics Resistance Band Set, add a useful safety margin. Replace at the first sign of degradation. The cost of a new band is trivial compared to the cost of taking one to the face.
Upper body exercises
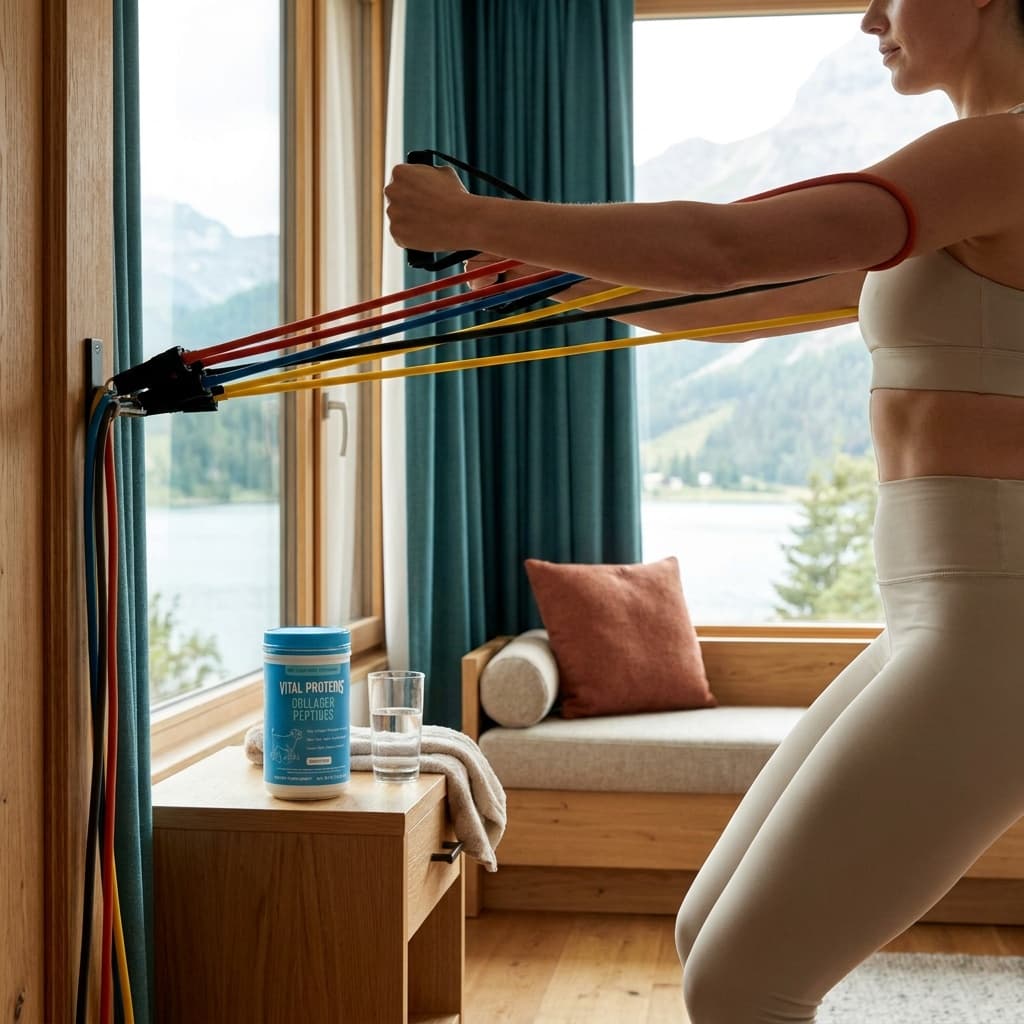
For all upper body band work, anchor height determines which muscles carry the primary load; a handled tube set with a door anchor, like the Whatafit Resistance Bands Set, covers every movement below. Match the anchor to the plane of pull.
Rows: anchor at chest height, step back to create tension before you pull, drive elbows straight back, pause at the top. Let the band return under control.
Chest press: anchor behind you at chest height, press straight forward, avoid letting the bands swing inward.
Overhead press: stand on the band, press directly overhead, keep ribs down through the full range.
Bicep curls: stand on the band with feet hip-width apart, curl with a controlled 2-second eccentric (the lowering phase).
Tricep extensions: anchor overhead or behind the neck, extend fully, avoid flaring the elbow outward.
Face pulls: anchor at face height, pull toward your forehead with elbows high, externally rotate at the top. One of the most underused exercises for shoulder health in a band-friendly format.
Lower body exercises
Squats (band over shoulders or across upper back): the band adds load at full extension, where a barbell squat is mechanically easiest. This is the same ascending-resistance principle that makes banded barbell squats effective.
Glute bridges with band above knees: place a mini loop band like the Fit Simplify Resistance Loop Bands just above the knee, push knees outward through the full range, hold at the top for one count.
Lateral band walks: loop band above knees or around ankles, maintain a quarter-squat position, step laterally with control. Keep the torso upright throughout.
Romanian deadlift: stand on the band, hinge at the hips, maintain a neutral spine, feel the stretch in the hamstrings at the bottom.
Lying or seated leg curls: anchor the band at a low point, loop it around your ankle, curl your heel toward your glute. Slow the eccentric to 2-3 seconds.
How to progress resistance
The standard progression threshold is completing 12-15 reps of an exercise with clean form while still feeling capable of more. That signals adaptation and means the band resistance is no longer sufficient to drive further strength gains.
Before jumping a full resistance tier, work through these intermediate steps in order:
Progression options from simplest to largest jump
Shorten the band
Wrap the band once more around your hand, or step your foot wider on a foot-anchored exercise. Less slack equals more resistance at the start position.
Widen your stance
For any floor-anchored pull or press, stepping further from the anchor stretches the band more at its start position, increasing baseline tension.
Stack two lighter bands
Clip or loop two bands together on the same handles. This adds resistance without requiring a tier jump, and lets you tune load more precisely between color categories.
Move to the next resistance tier
General color coding runs light (5-15 lb), medium (15-35 lb), heavy (35-55 lb), extra-heavy (50-80+ lb). Note that color coding is not standardized across brands: a "medium" in one brand may match another brand's "heavy." Always verify by the stated resistance range, not the color alone.
Rushing to heavier bands before your form is solid is the most common mistake in band training. The intermediate progression steps exist precisely to avoid that jump.
Combining bands with free weights
For experienced lifters, combining elastic and free weight loading is the most effective protocol. The reason is the strength curve.
With a barbell squat or bench press, the load from gravity is constant but your mechanical advantage changes through the range of motion. At full extension (lockout on a squat, top of a bench press), you are in your strongest position and the weight feels easiest. A band attached to the bar and anchored to the floor adds resistance precisely at that lockout, where you need the additional challenge. The result is a more evenly loaded lift across the full range.
A 24-week controlled study found novice lifters using simultaneous elastic and free weight loading outperformed those using free weights alone on muscular performance measures.
The three most common applications are the banded squat (band around the bar and under the feet or over floor anchors), banded bench press (band over the bar looped under the bench), and banded deadlift (band over the bar anchored under the feet). Each one adds ascending resistance at the lockout, demanding more from the muscles where gravity-based loading is the least challenging.
Common form mistakes and how to fix them
Most band training errors fall into a handful of patterns:
Using momentum instead of control: the elastic nature of bands invites snap-and-release technique. Slow each rep down. If you are moving too fast to feel the muscle working, you are not training it effectively.
Neglecting the eccentric phase: most adaptation happens on the return phase, not the pull. A 2-3 second eccentric on every rep doubles the effective training stimulus with no additional reps needed.
Selecting too much resistance too early: oversized resistance forces compensations. The shoulder rounds, the neck juts forward, the hips rotate. Those compensations do not just reduce effectiveness. They create injury patterns.
Letting the band drift mid-set: on floor exercises, the band can migrate from the center of the foot to the toe. On cable-style movements, the band can shift off-center on the grip. Reset before the next rep if you feel the band move.
Wrong anchor height: anchoring too high on a row turns it into a face pull. Anchoring too low on a chest press loads the wrong pull plane. Match anchor height to the horizontal line of the target movement.
Frequently asked questions
Are resistance bands as effective as free weights for building muscle?
Yes, for most people and most goals. A meta-analysis of multiple studies found elastic resistance training produces comparable strength gains to conventional resistance training, with no statistically significant difference for upper or lower limb strength. Bands shift more load to stabilizer muscles, while free weights load primary movers more directly. The most effective approach combines both: 24-week research shows trainees using bands alongside free weights outperformed those using free weights alone.
How do I know when to move up to a heavier resistance band?
Progress when you can complete 12-15 reps of an exercise with clean form and feel you could keep going. Before jumping a full color tier, try shortening the band (wrap it around your hand or step wider) or stack two lighter bands together. Those intermediate steps let you build strength more gradually and reduce injury risk from jumping resistance too fast.
What is the safest way to anchor a resistance band at home?
A dedicated wall anchor drilled into a stud is the safest permanent option. If you use a door, loop the anchor on the hinge side, not the latch side, and close the door fully before loading the band. For floor exercises, position the band under the center of your foot, not the heel or toe, where it is more likely to slip and snap back. Never tie latex loop bands in knots around furniture or poles: knotting weakens the material and dramatically increases snap risk.
Once you know how to use them well, choosing the right band for your training matters. See our guide to the best resistance bands for specific recommendations across resistance levels and band types. Browse all fitness gear or learn how we research and rate every piece of kit on this site.
Recommended gear
Our current top picks from the Best resistance bands: top picks for home and travel guide, if you are ready to buy.
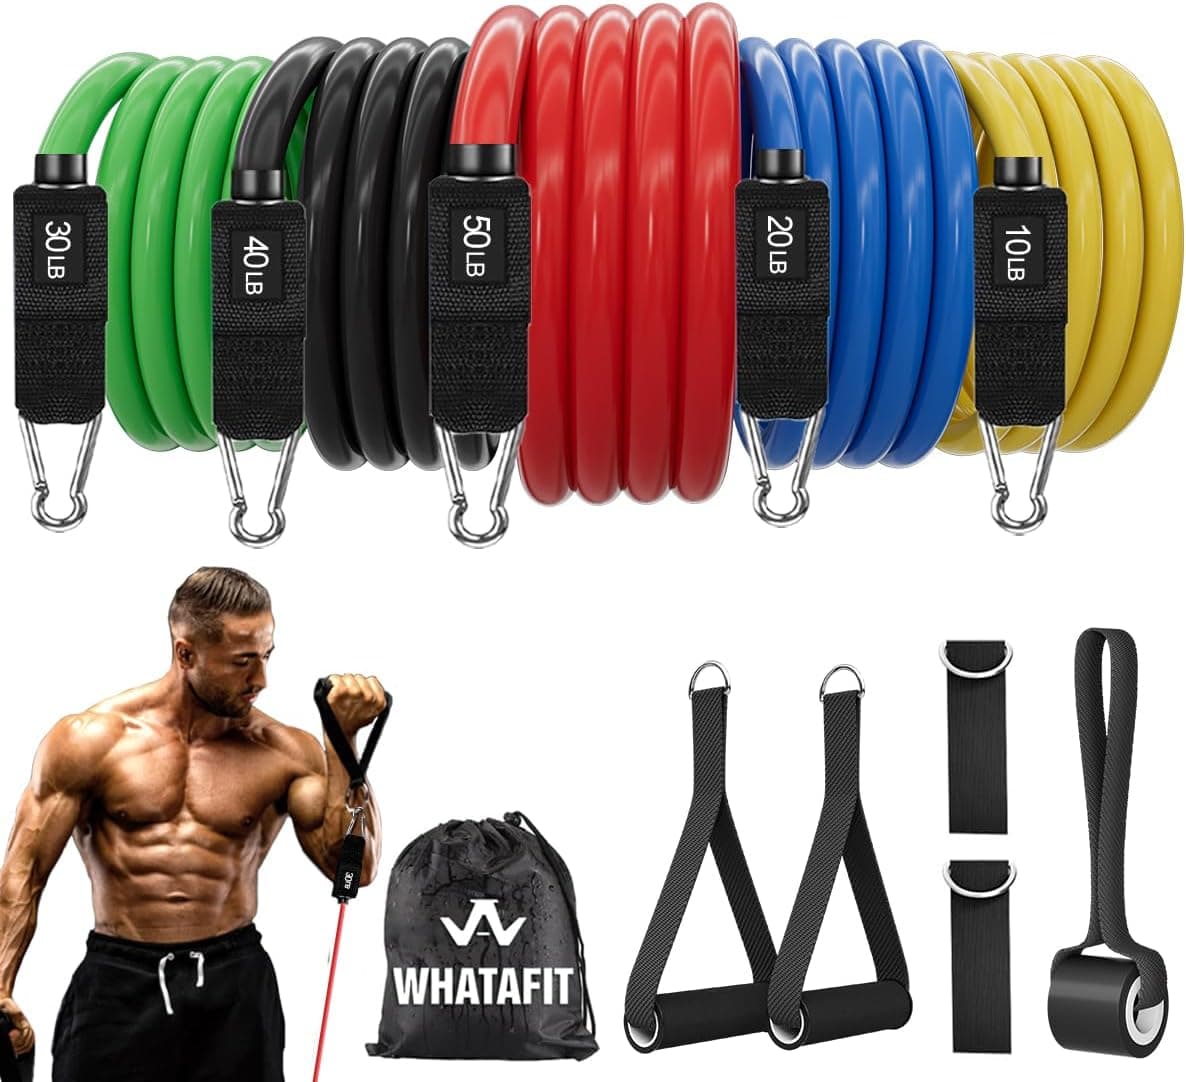
WHATAFIT
Whatafit Resistance Bands Set (11pcs)
- Type
- Tube bands with handles
- Resistance levels
- 10, 20, 30, 40, 50 lbs (stackable to 150 lbs)
- Material
- 100% natural latex tubes, foam-wrapped handles
- Band length
- 36 inches
- Included accessories
- Door anchor, ankle straps, carry bag
- Pieces in set
- 11 (5 bands, 2 handles, 1 door anchor, 2 ankle straps, 1 carry bag)
A complete tube-band kit covering the full resistance range from rehab-level pulls to heavy cable-substitute work. Five color-coded bands stack to 150 lbs, and the cushioned foam handles give a cable-machine feel for rows, presses, and curls at home or on the road.
- Five stackable bands let you dial in resistance precisely and add load progressively over months
- Complete kit out of the box: door anchor and ankle straps expand exercise variety without extra purchases
- The lightest band (10 lbs) can feel stiff for very light mobility or therapy work
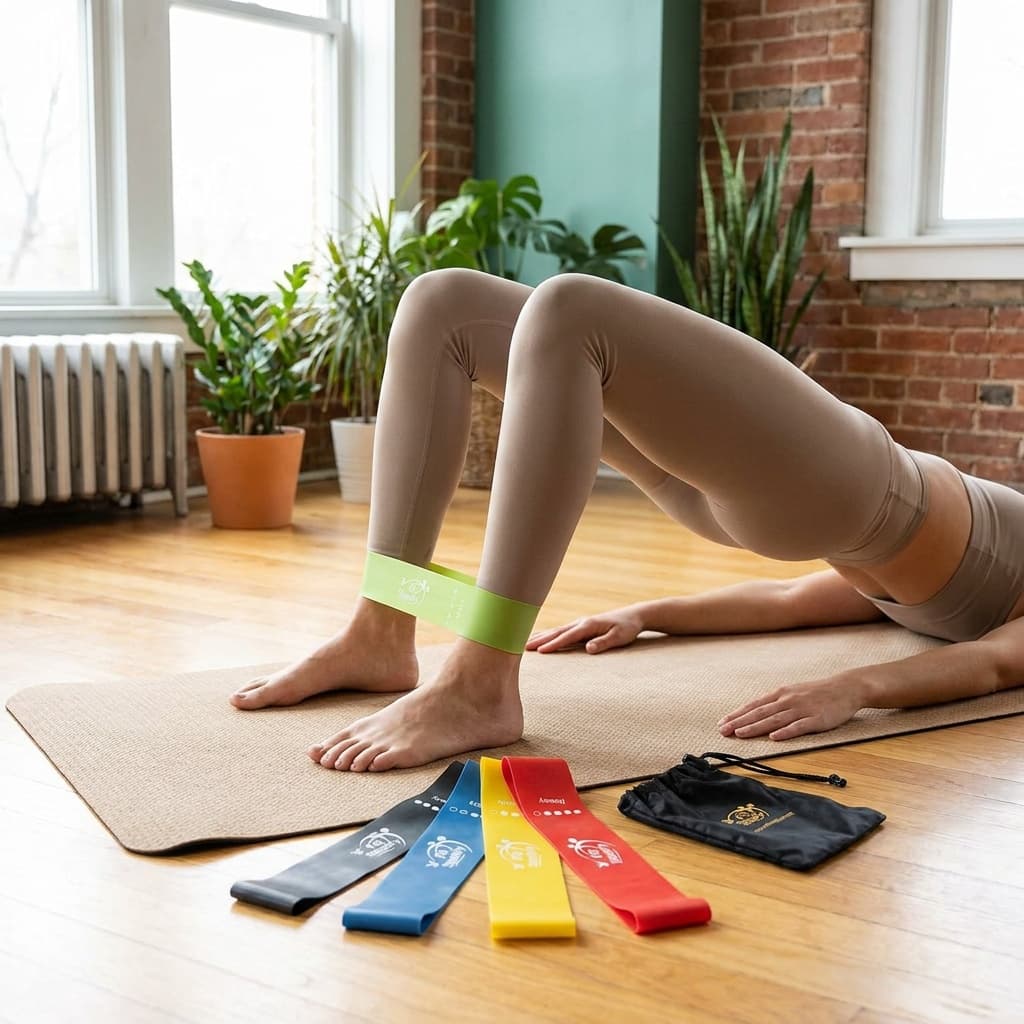
FIT SIMPLIFY
Fit Simplify Resistance Loop Exercise Bands, Set of 5
- Type
- Mini loop (flat, continuous)
- Dimensions
- 12 in. x 2 in. per band
- Resistance range
- Extra-light through extra-heavy (up to ~74 lbs at full stretch)
- Material
- 100% natural latex
- Pieces in set
- 5 color-coded bands plus carry bag and instruction guide
- Included accessories
- Carry bag, illustrated exercise guide
Five color-coded latex loops cover the full spectrum from gentle hip-activation warm-ups to loaded glute work and physical therapy progressions. The flat, no-roll design stays put around thighs and ankles better than round tube-style loops, and the set is small enough to live in a gym bag permanently.
- Exceptional price-to-value ratio for a complete five-level loop set with carry bag included
- Flat band design resists rolling during lateral walks, clamshells, and hip hinges better than round alternatives
- The lighter resistance loops can curl or bunch during fast lower-body movements
BODYLASTICS
Bodylastics Patented Resistance Band Set with Snap Reduction Tech
- Type
- Tube bands with handles, patented internal safety cord
- Resistance levels
- 3, 5, 8, 13, 19 lbs individually; stackable to 190 lbs
- Material
- Malaysian latex with internal nylon anti-snap cord
- Included accessories
- Handles, ankle straps, door anchor, carry bag
- Safety feature
- Patented internal cord shortens if a tube fails, containing the band
- Warranty
- Limited lifetime replacement guarantee on bands
Bodylastics built its reputation on the patented snap-reduction inner cord: if a latex tube fails, the internal nylon cord stays intact and contains the band instead of letting it whip back. Five resistance levels spanning 3 to 19 lbs stack to 190 lbs total, and the limited lifetime replacement guarantee backs long-term daily use.
- Patented internal anti-snap cord is a genuine safety differentiator, not marketing copy: it physically stops a failing tube from snapping back
- Five resistance levels spanning 3 to 19 lbs individually stack to 190 lbs, covering everything from light rehab to serious strength work
- Higher price than budget tube-band sets for what is functionally a similar exercise experience
See all picks in Best resistance bands: top picks for home and travel
Related guides
Buying guide
Best resistance bands: top picks for home and travel
The best resistance bands, ranked by type, resistance range, and durability, with picks for home training, travel, and physical therapy starter kits.
Read guide
Comparison
Resistance bands vs dumbbells: which is right for you?
Strength outcomes, resistance curves, cost, and joint-friendliness compared with research backing. Find out which tool fits your goals and situation.
Read guide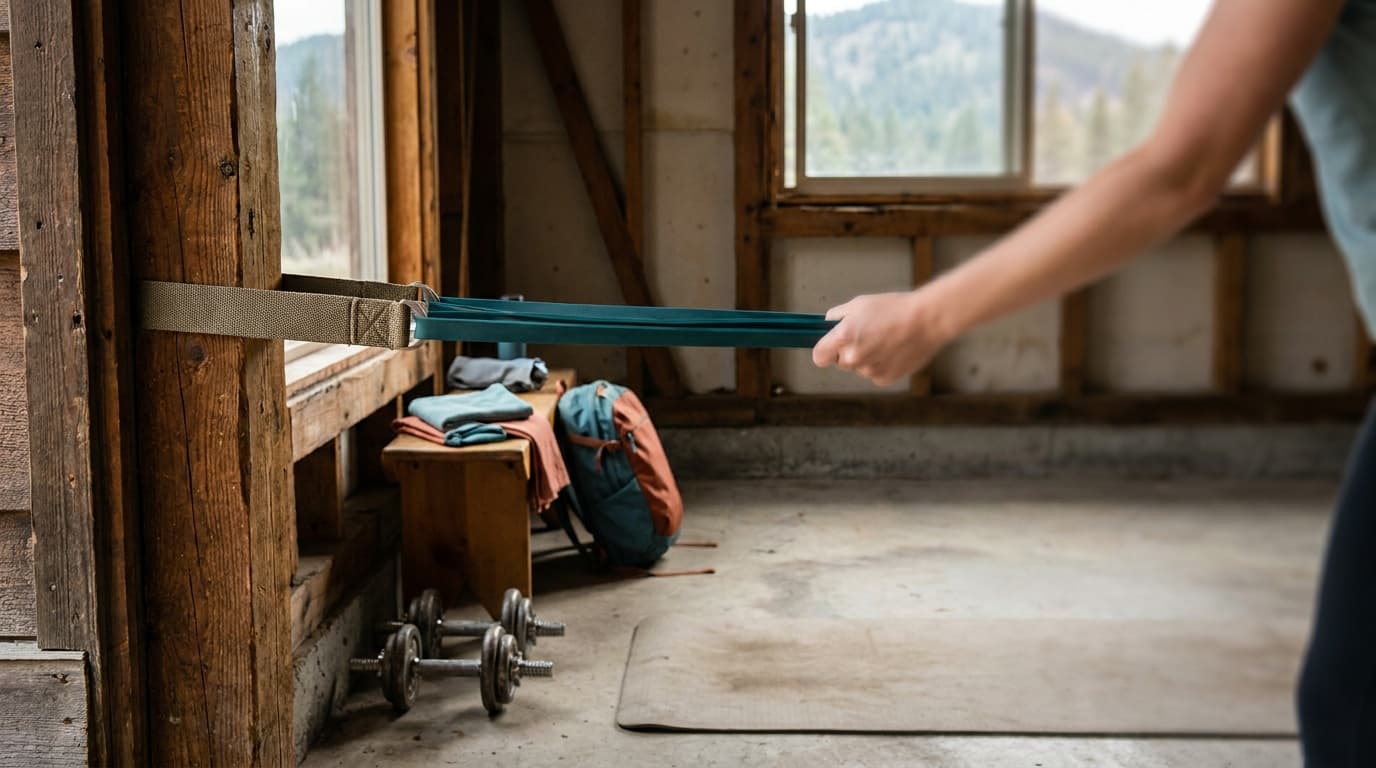
Field guide
How to anchor resistance bands: door, post, ankle setups
Set the door anchor at the right height and direction, wrap posts safely, and run the 2-minute snapback inspection before every session. Full setup guide.
Read guide
Buying guide
Best resistance tubes with handles (2026)
Four tube band sets that cover every resistance level, handle, door anchor, and ankle strap you need for full-body home workouts and travel.
Read guideResearched, not personally tested: picks come from specs, verified-owner reviews, and expert sources, scored into the Kit Score. As an Amazon Associate I earn from qualifying purchases. We may earn a commission from links here, at no extra cost to you. How we research →