We may earn a commission from links on this page, at no extra cost to you.
Foam rolling works, but the research is more specific than most people realize. The technique matters, the timing matters, and there are a handful of spots you should not roll at all.
What the research actually says
Foam rolling has a solid track record for short-term range of motion and post-workout recovery, but the effects are more modest than the fitness-industry marketing suggests. Here are the numbers worth knowing.
Before vs. after exercise
Rolling serves two different purposes depending on when you do it, and the optimal duration shifts between them.
Before your workout: activation and range of motion
Keep it short
30–60 seconds per area, 5–7 minutes total. You want increased blood flow and range of motion, not fatigued tissue going into training.
Target the areas you will use
Focus on quads, hip flexors, calves, and upper back before lower-body or full-body sessions.
Use lighter pressure
This is priming, not deep-tissue work. Enough pressure to feel the roller, not enough to make you brace.
Roll, then move
Follow rolling with a few dynamic movements (leg swings, hip circles) to convert the mobility gain into usable range of motion before it fades.
Research shows pre-workout rolling improved sprint speed by 0.7% and flexibility by 4% without the strength and performance reduction linked to static pre-workout stretching.
After your workout: recovery and soreness reduction
Go longer
60–90 seconds per area, up to 120 seconds if your goal is measurable recovery. Studies using shorter interventions (under 30 seconds) show minimal tissue change.
Do it within 30 minutes
The closer to the session end, the more useful it is for limiting delayed-onset muscle soreness.
Cover all the major groups worked
If you ran, hit the quads, hamstrings, calves, and hip flexors. If you lifted, add upper back and lats.
Stay under 2 minutes per spot
Beyond 2 minutes on a single area you get diminishing returns and risk irritating the tissue.
Post-exercise foam rolling reduced muscle pain perception by 6% and helped limit sprint and strength performance reductions by roughly 3–4% in the sessions that followed, compared to not rolling.
The major muscle groups and how to roll them
Work slowly through each area: about an inch per second, using your bodyweight for pressure rather than actively pressing. When you find a tender spot, pause for 20–30 seconds and breathe through it, then continue.
Main areas to cover
Quads (front of thigh)
Lie face-down, roller under one thigh, hands on the floor. Roll from just above the knee to just below the hip flexor. One of the highest-payoff areas for runners and anyone who sits for long periods.
Hamstrings (back of thigh)
Sit on the floor with the roller under one thigh, hands behind you. Cross the opposite ankle over to add load. Roll from just above the knee to just below the glute.
Glutes
Sit on the roller with one ankle crossed over the opposite knee (figure-4 position). Lean toward the hip you are rolling. This position targets the piriformis and surrounding tissue effectively.
Calves
Sit with the roller under one calf, hands behind you. Stack one ankle on top of the other to increase pressure. Roll from just above the heel to just below the back of the knee.
Upper back (thoracic spine)
Sit in front of the roller, lean back so it sits across your mid-to-upper back, hands behind your head to support your neck. Roll from the mid-back to the base of the neck. Never roll the lower back (see below).
Hip flexors
Lie face-down with the roller positioned at the crease of your hip and upper thigh. This area is often neglected and consistently tight in anyone who spends time seated.
Lats (side of the back)
Lie on your side with the roller under your armpit and arm extended. Roll from the armpit to just above the hip. Useful after pulling exercises or overhead work.
The goal is not to hurt yourself into looseness. A 3 out of 10 on the discomfort scale: noticeable pressure, not pain that makes you hold your breath.
Pressure and pain: what is normal
Some discomfort on tight areas is expected and is not a signal to stop. The guideline that holds up across coaches and physical therapists: target a 3–4 out of 10 on a discomfort scale. Pressure that is noticeable but tolerable, not sharp or shooting.
Back off immediately if you feel nerve-like pain, burning, or pain that radiates down a limb. These are signals that you have found a nerve or are near a compressed structure, not a signal to push through.
Breathe steadily through tight spots rather than bracing. Bracing creates tension in the tissue you are trying to release and defeats the neurological mechanism that makes rolling useful.
Areas to avoid
These are the spots where rolling either does nothing useful or carries a real injury risk.
- Lumbar spine (lower back): The lumbar vertebrae have no rib cage for lateral support. Rolling here destabilizes the spine rather than releasing the erector muscles alongside it. If your lower back is tight, roll the glutes, hip flexors, and thoracic spine instead.
- Cervical spine (neck): Same structural concern as the lower back. Use a lacrosse ball or targeted manual pressure on the upper trapezius and suboccipitals instead.
- IT band insertion at the outer knee: The IT band cannot lengthen under foam-roller pressure. Direct rolling near the knee insertion can aggravate the bursa. Target the tensor fasciae latae (the hip) and lateral quad instead, which have contractile tissue that responds to pressure.
- Bony prominences: The kneecap, shinbone, elbow point, and outer ankle. Rolling directly over bone does nothing and can bruise the periosteum.
- Acutely inflamed or swollen areas: Rolling an acutely injured area increases inflammation and delays healing. Wait until the acute phase has passed.
Common mistakes
Mistakes that make rolling less effective (or harmful)
Rolling too fast
A quick pass over a muscle does not give the nervous system time to register and release tension. One inch per second is the practical target. If a full-body session takes less than 8 minutes, you are moving too fast.
Sitting on one spot for more than 2 minutes
After about 2 minutes on a single area the benefit plateaus and you start irritating the tissue. Pause 20–30 seconds on a tender spot, then keep moving.
Rolling directly on a joint or bone
Pressure on the kneecap, shinbone, or lumbar spine does not release muscle tissue and can cause bruising or joint irritation.
Holding your breath
Bracing creates tension in the tissue you are trying to release. Slow, steady breathing is part of the technique, not an afterthought.
Rolling an area that is acutely swollen or injured
Foam rolling increases local blood flow. On a fresh sprain or strain that means more inflammation, not less. Rest the acute phase first.
Skipping the areas that are actually causing the problem
Lower-back tightness is often driven by tight hip flexors and glutes. If you only roll where you feel the symptom, you miss the source.
Foam roller selection
Technique matters more than the specific roller, but density, texture, and length affect how sessions feel; most beginners do well with a medium-density roller like the 321 STRONG Foam Roller. For a breakdown of which rollers suit different goals and body types, see our guide to the best foam rollers.
Frequently asked questions
How long should you foam roll each muscle group?
Research supports 30–90 seconds per area for general mobility and warm-up use. For measurable recovery effects post-workout, aim for at least 120 seconds per group. Exceeding 2 minutes on a single spot offers diminishing returns and can irritate tissue. A complete session covering six to eight areas takes 10–15 minutes.
Should you foam roll before or after a workout?
Both have different purposes. Before: keep it short (30–60 seconds per area, 5–7 minutes total) to increase range of motion and blood flow without fatiguing the muscle before training. After: go longer (60–90 seconds per area) to reduce delayed-onset muscle soreness and support recovery. Research shows pre-workout rolling improves sprint speed and flexibility without the performance cost of static stretching.
Is foam rolling painful and how much pressure is normal?
Some discomfort is expected, especially on tight areas. Target a 3–4 out of 10: noticeable pressure, not sharp or shooting pain. If you feel nerve-like pain, burning, or pain that radiates down a limb, ease off immediately. Never roll directly on a joint, bone, or an acutely swollen area. Breathe steadily through tight spots rather than bracing and holding.
For more on building a sustainable fitness routine, browse fitness gear and guides or read how we research and rate.
Recommended gear
Our current top picks from the Best foam rollers for recovery (2026) guide, if you are ready to buy.

TRIGGERPOINT
TriggerPoint Grid 1.0 Foam Roller
- Dimensions
- 13" x 5.12" diameter
- Density
- Standard (multi-density surface)
- Surface
- Patented 3-zone GRID: flat panels, tubular ridges, dense nodules
- Core
- Hollow rigid EVA over structural core
- Weight limit
- 300 lb
- Warranty
- 1 year
The Grid 1.0 packs three surface textures into a compact 13-inch roller: flat zones for broad muscle work, tubular ridges for kneading, and dense nodules for targeted trigger-point pressure. The rigid hollow core holds its shape through years of daily use where cheaper solid-foam rollers compress and flatten.
- Three distinct surface zones let you modulate pressure without switching tools
- Hollow core retains shape and firmness after years of regular use
- 13-inch length limits coverage for rolling the full back or hamstrings in a single pass

321 STRONG
321 STRONG Medium Density Foam Roller
- Dimensions
- 12.75" x 5.25" diameter
- Density
- Medium
- Surface
- Triple-zone 3D texture: fingertip, thumb, and palm zones
- Material
- Closed-cell BPA-free EVA foam
- Core
- Solid EVA
- Includes
- Free 4K video instructional library
A solid-core medium-density roller with a patented three-zone texture that mimics fingertips, thumbs, and palms. It sits between a smooth beginner roller and the firmer TriggerPoint, making it approachable for daily use while still driving enough pressure to flush lactic acid and address common trigger points.
- Medium density is accessible for beginners yet effective enough for experienced users
- Solid EVA core resists deformation with daily use over multiple years according to owner reports
- 12.75-inch length is compact but limits one-pass back coverage

AMAZON BASICS
Amazon Basics High-Density Foam Roller (36 inch)
- Dimensions
- 36" x 6" diameter
- Density
- High
- Surface
- Smooth (no texture)
- Material
- Molded polypropylene foam
- Core
- Solid
- Available lengths
- 18", 24", 36"
A no-frills smooth high-density roller at a price point most people can justify without thinking twice. The 36-inch length covers the full back and long muscle groups in one pass, a practical advantage over shorter textured competitors at twice the price.
- Full 36-inch length handles the entire thoracic spine and long leg muscles in a single roll
- Smooth surface is less intimidating for beginners and easier on sensitive or freshly post-workout tissue
- Smooth surface provides uniform pressure only, with no option to vary intensity by zone the way textured rollers do
Related guides
Buying guide
Best foam rollers for recovery (2026)
The four best foam rollers, research-backed: top picks for density, texture, and size with honest verdicts on who each suits.
Read guideProduct review
TriggerPoint Grid 1.0 review: the durable do-everything foam roller
A researched review of the TriggerPoint Grid 1.0 foam roller: a firm hollow-core EVA roller with a patented multi-density GRID surface, 13 inches long, rated for 300 lb. Specs, pros and cons, and how it compares.
Read guide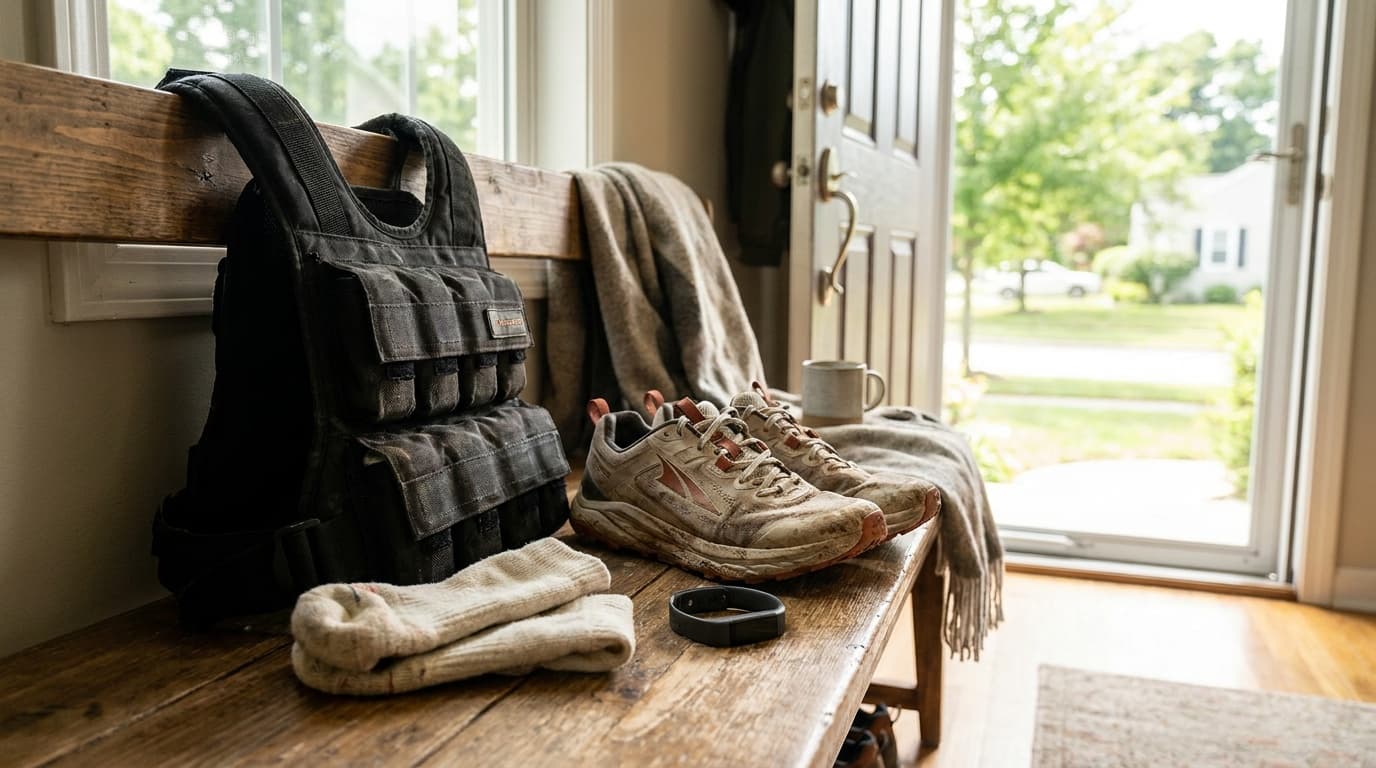
Complete kit
Weighted vest starter kit: everything you need to begin
The complete beginner weighted vest setup: one adjustable vest, walking shoes, merino socks, and a simple tracker. What to buy, what to skip, and how to progress conservatively.
Read guide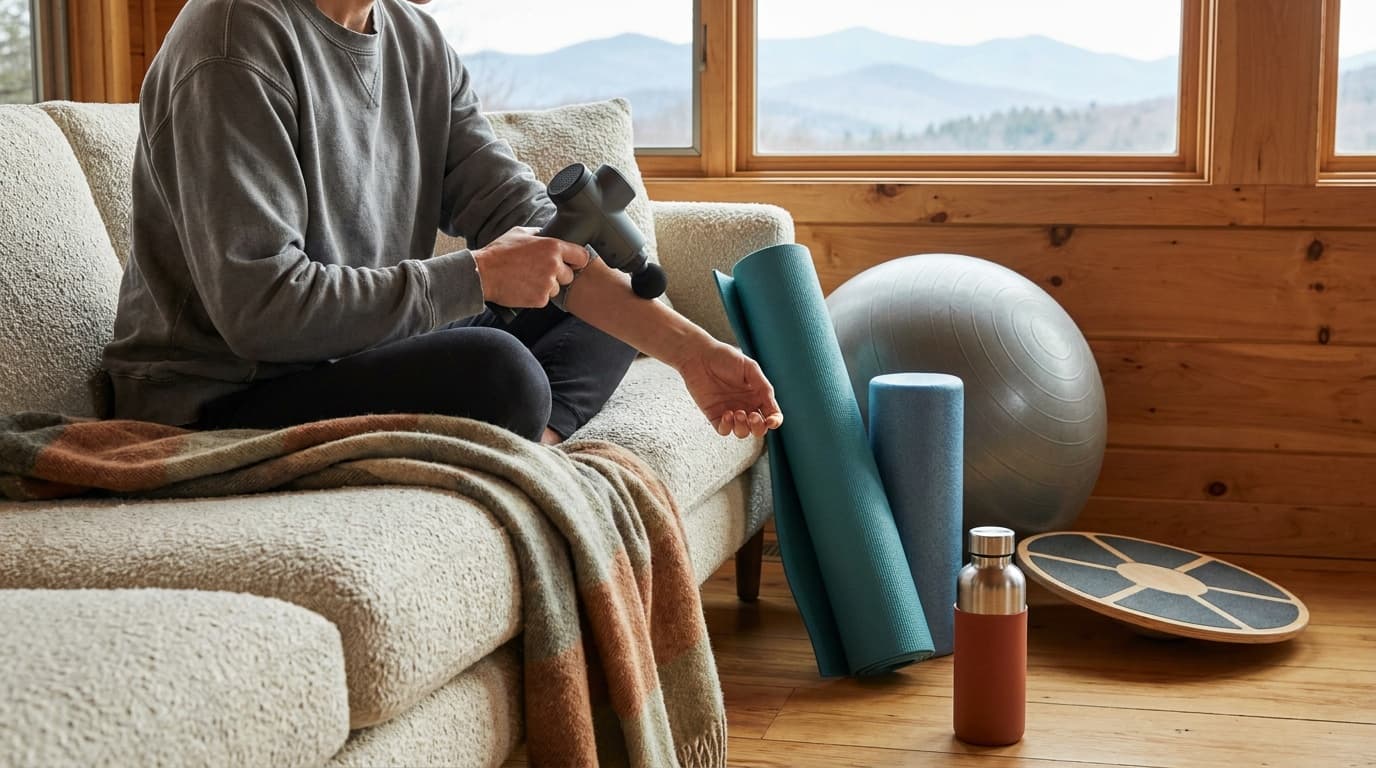
Field guide
How to use a massage gun: technique, timing, and what to avoid
Percussion massage gun technique, timing, attachment heads, and safety rules, grounded in peer-reviewed research. Before vs after workouts, duration per area, common mistakes.
Read guideResearched, not personally tested: picks come from specs, verified-owner reviews, and expert sources, scored into the Kit Score. As an Amazon Associate I earn from qualifying purchases. We may earn a commission from links here, at no extra cost to you. How we research →