We may earn a commission from links on this page, at no extra cost to you.
Blisters end more hiking trips than bad weather, and they are almost always preventable. Research across long-distance hikers and backpackers puts blister incidence between 54% and 86% depending on conditions, which tells you two things: they are extremely common, and a significant portion of hikers are avoiding them through deliberate choices.
Why blisters form
Blisters are not a mystery. Three things compound: bone motion inside the foot, friction between skin and sock, and repetition of that shear event over thousands of steps. Moisture amplifies all three by raising the coefficient of friction at the skin-sock interface. A 10% increase in relative humidity inside your footwear raises blister incidence by over 40%, which is why moisture management is not a minor detail.
The friction event happens before you see any fluid. Skin that feels warm, tender, or slightly irritated is a hot spot, and that is your intervention window. A blister is what you get when you walk through the warning.
The two-sock system
The most reliable single change you can make is adding a thin liner sock under your hiking sock.
The mechanism is straightforward: the liner shifts the shear interface from skin-to-outer-sock down to liner-to-outer-sock. Sock-on-sock friction is less damaging than sock-on-skin because the fabrics can slide against each other instead of pulling at your skin. Friction still happens; it just happens in the right place.
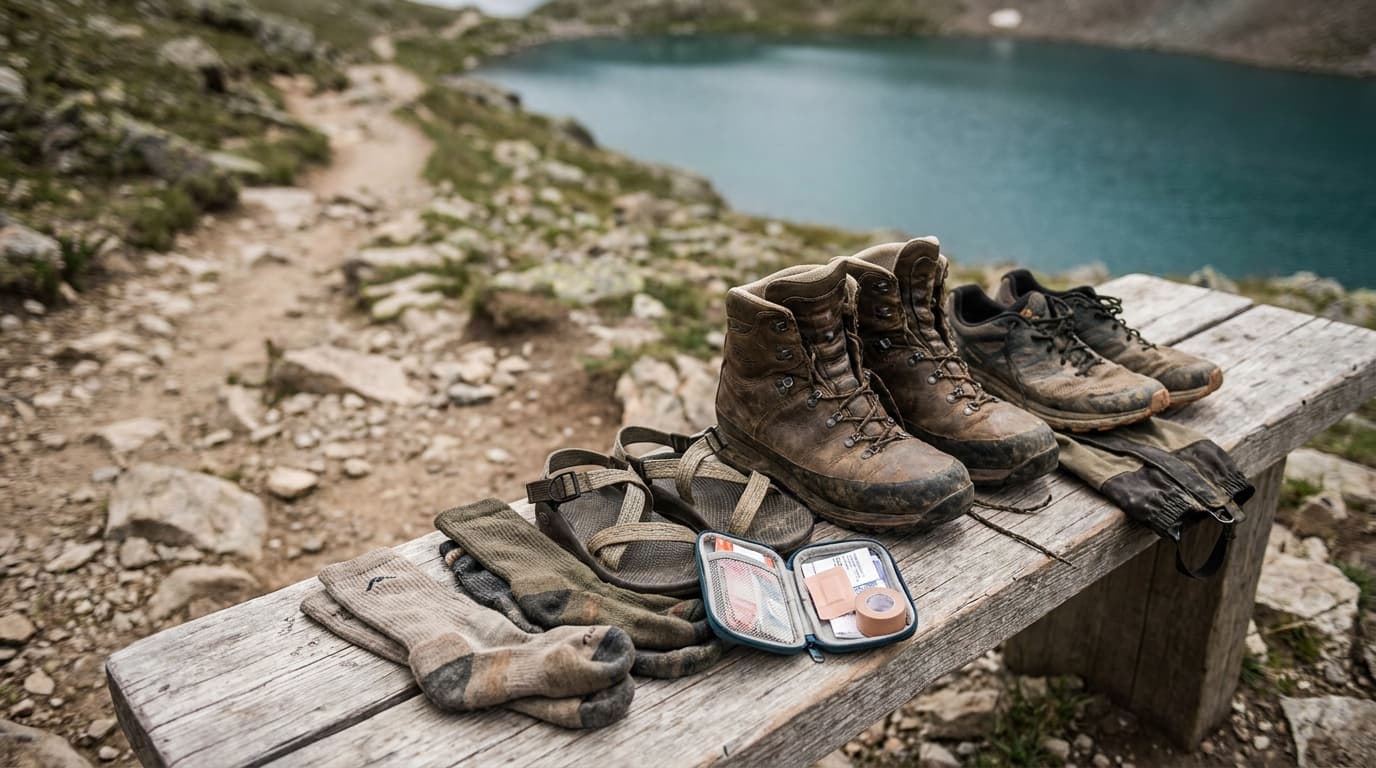
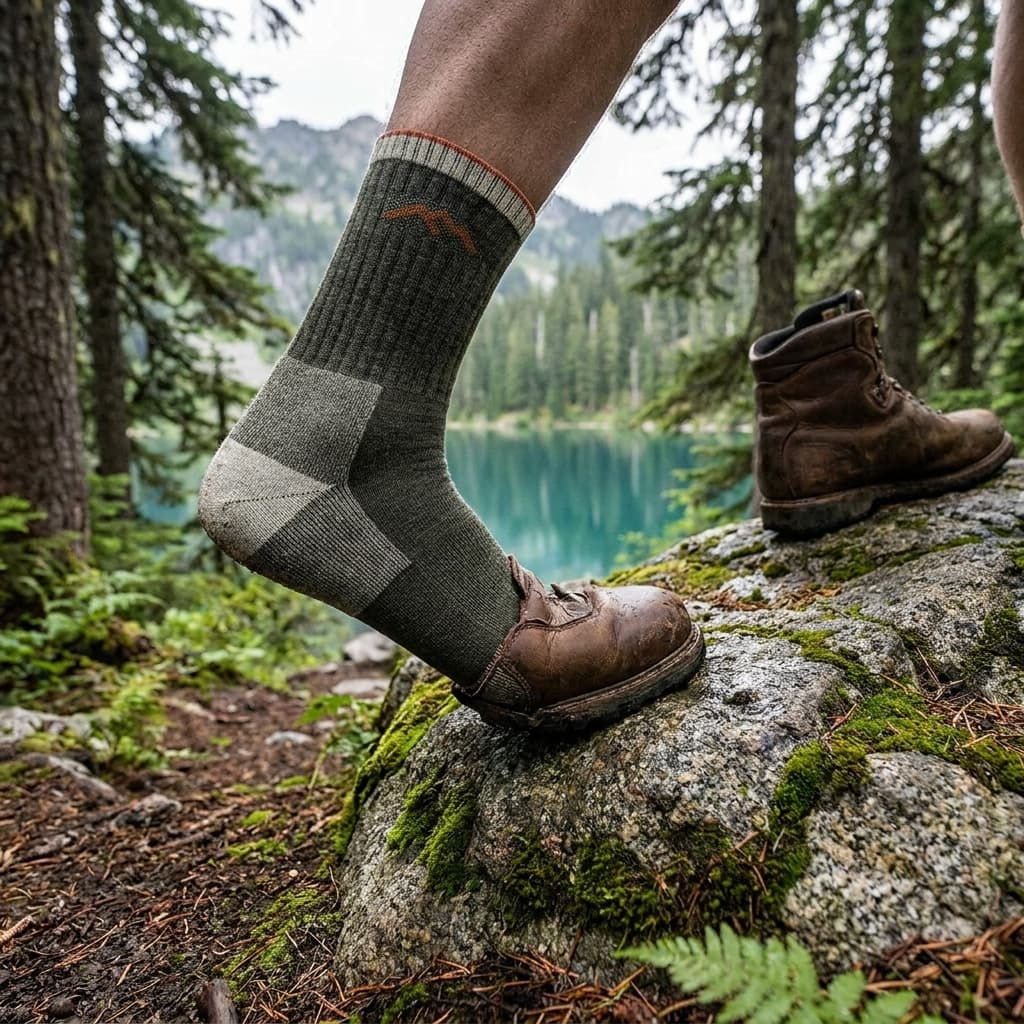
The correct setup is a thin synthetic liner (Coolmax or polypropylene) plus a merino wool or merino-blend outer sock like the Darn Tough Hiker Micro Crew. Avoid cotton in any layer. Cotton absorbs moisture and holds it against the skin, increasing friction and offering no moisture management. It is the single worst sock fiber for hiking.
Merino wool transports sweat as vapor, which is why it stays comfortable through temperature swings and feels dry longer than synthetics. For multi-day trips, merino is the right outer sock: a single pair can go two to three days between washes without the odor or clammy sensation you get from synthetic. For high-output single-day hikes in hot, humid conditions, a fast-wicking synthetic outer may be a better choice because it moves liquid sweat faster.
For a full breakdown of sock construction, cushion weights, and specific picks, see our guide to the best hiking socks.
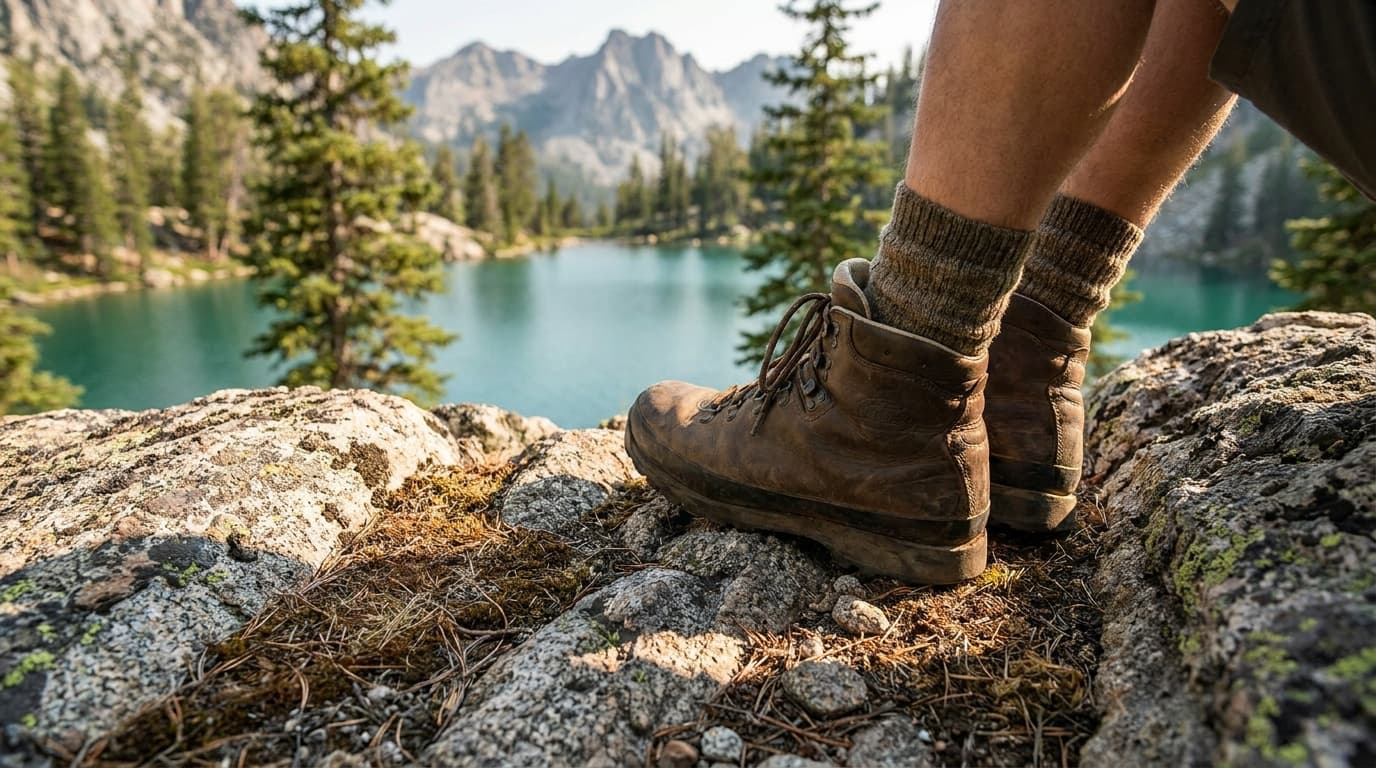
Boot fit: the non-negotiables
A sock system cannot compensate for a poorly fitted boot. Boot fit has two requirements that are not negotiable.
First: approximately a thumb-width of clearance (roughly 0.5 inches) between your longest toe and the front of the boot. Feet swell half a size or more over a full day of hiking, and a boot that fits flush at the trailhead will compress your toes by mile five. Compressed toes equal blisters on the tops and tips of toes.
Second: zero heel slip when laced correctly. Even slight heel movement, once per step, multiplies into thousands of shear repetitions over the course of a day. Heel blisters are almost always a fit or lacing problem, not a sock problem.
Fit boots after several hours on your feet with the socks you will actually hike in. A boot that fits in the morning before your feet swell is not a boot that fits on trail.
Test by standing on a slight downhill slope inside the store and pressing your foot forward. If the heel slips under that load, the fit is wrong. A slightly narrower last, a different brand, or a half size down is the fix, not a different sock.
Lacing techniques that prevent blisters
Lacing is the most underused blister-prevention tool available on trail, and it requires no additional gear.
Three lacing techniques worth knowing
Heel-lock lacing
Thread the top eyelet on each side to create a loop before tying. Pass the lace through the opposite loop before cinching. This locks the heel into the boot cup and is the single most effective lacing technique for preventing heel blisters. It eliminates nearly all heel movement under load.
Surgeon's knot
Add an extra wrap when tying your knot. The surgeon's knot holds lace tension across boot flex points and prevents the loosening that develops after an hour of hiking. Use it anywhere you want tension to stay put.
Window lacing
Skip two or three eyelets at the point of pressure (commonly across the top of the foot). Threading around the skipped section creates a tension gap, relieving a hot spot without removing the boot. This is the on-trail fix when a specific pressure point develops mid-hike.
Do not wait until a hot spot develops to experiment with lacing. Practice heel-lock lacing before your first long day out.
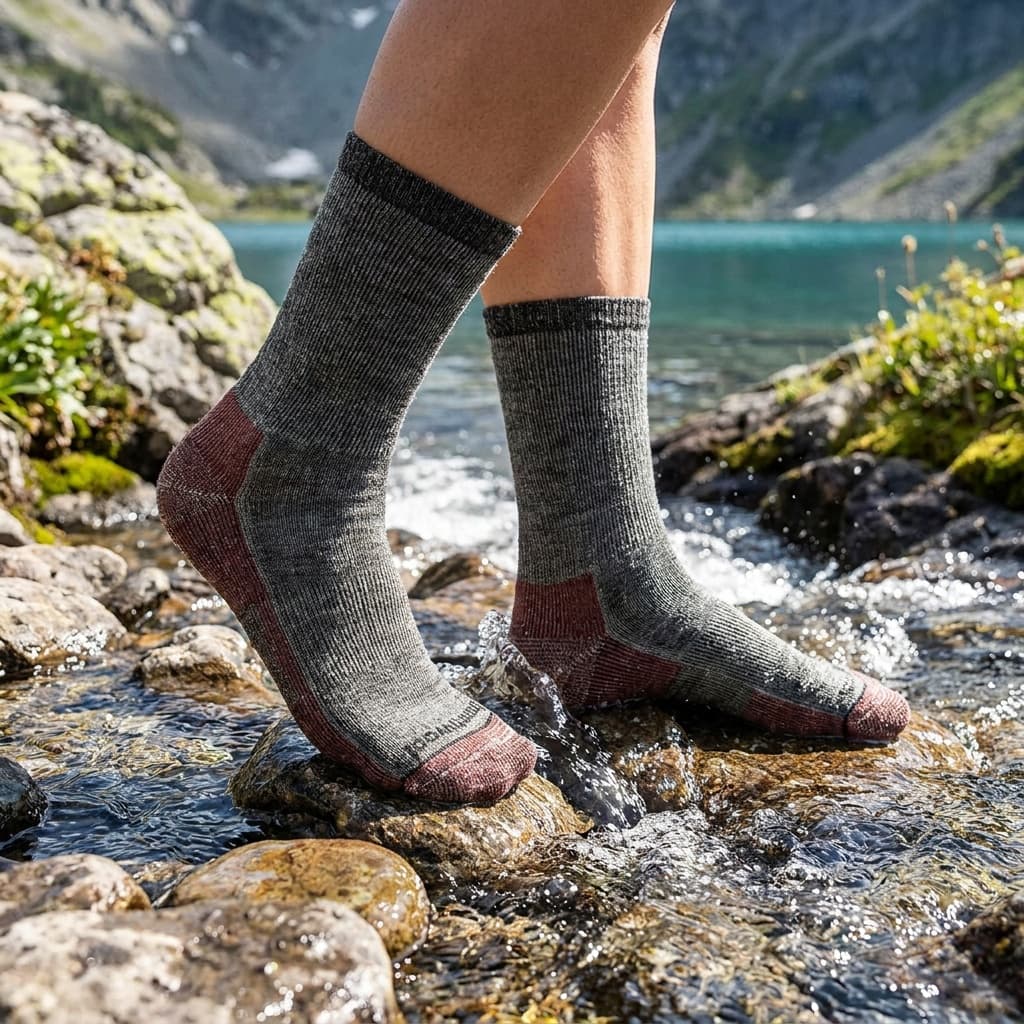
Managing moisture
Boot hygiene matters more than most hikers expect. Moisture does not just come from outside: your feet produce sweat, and a sealed boot captures all of it.
Gaiters in wet conditions keep water from pouring into the boot from above, but they also reduce ventilation. The trade-off is worth it on wet trails. In dry conditions, leave low-cut gaiters off and let airflow work.
Merino socks help because they manage vapor rather than just liquid, keeping the microclimate inside the boot drier over time. The most practical step remains what you do at rest stops: remove your boots, air your feet for five minutes, and let your socks begin to dry before continuing.
Lubricants
Anti-friction lubricants (Body Glide Foot Glide, Trail Toes, Vaseline) reduce friction at known hot spots by lowering the coefficient of friction at the skin surface. Apply them to heels, pinky toes, and the ball of the foot before putting on socks.
The application rule is simple and easy to get wrong: a thin, even coat is correct. Thick application is counterproductive. Over-lubricating increases shear forces rather than reducing them, because excess product allows layers to slide against each other in ways that amplify rather than dissipate friction. Apply as you would sunscreen, not as you would butter.
Vaseline is the cheap version and works adequately. Body Glide and Trail Toes are cleaner to apply and less likely to break down the inner lining of your boot over time.
Taping hot spots before they become blisters
Tape is more effective as prevention than as treatment. The goal is to get tape on skin before any fluid forms.
Leukotape P is the standard for on-trail taping. It has an aggressive adhesive that stays on through sweat, stream crossings, and wet conditions. Thru-hikers often tape known friction zones (heels, little toes, the ball of the foot) as part of their morning routine on long sections, and ruckers do the same before loaded miles, a routine Ruck Authority details in its foot care and blister prevention guide. For someone with a history of blisters in a specific location, that daily prevention habit is faster than treating the blister repeatedly.
Application technique matters. Clean and dry the skin before taping. Round the corners of any tape piece to prevent edges from peeling. If the hot spot is on a bony area (heel, pinky toe), smooth the tape into the contours carefully to avoid edge friction. Tape that bunches creates its own pressure point.
If you feel friction returning through the tape, the root cause is lacing or fit. Address that first, then re-tape.
What to do once a blister forms
A formed blister is a decision point based on size, location, and how much hiking you have left.
Blister treatment by situation
Small intact blister, manageable pain
Protect with a hydrocolloid bandage (Compeed or equivalent). The gel pad cushions the dome without sticking to the roof. Leave the roof in place. It is your natural wound covering and removing it dramatically increases infection risk and pain.
Large, tense, or pain-limiting blister
Drain it. Sterilize a needle with an alcohol wipe or flame. Puncture the lower edge, press the fluid out gently with clean gauze, leave the roof intact, apply antibiotic ointment, and cover with a non-stick dressing secured with Leukotape. The roof stays on even after draining.
Blood blister
Do not drain on trail unless pain is severe enough to change your gait. Blood blisters carry a significantly higher infection risk than clear-fluid blisters, and the reward (modest pain reduction) rarely justifies that risk.
Signs of infection
Increasing redness, warmth spreading outward from the blister, pus, or red streaking are signals to stop and evacuate if you are deep in the backcountry. Clean it, apply antibiotic ointment, and get to a clinic.
The prevention system, in order of impact
Building a prevention system is more effective than leaning on any single intervention. Here is the hierarchy, roughly ordered by how much difference each element makes.
Blister prevention priority order
Sock system
Start with a thin synthetic liner under a merino-blend outer sock. No cotton in any layer. This single change reduces blister risk more consistently than anything else.
Boot fit
A thumb-width of toe clearance, zero heel slip, and boots tried on after several hours of walking with your actual hiking socks. No sock or lacing fix can compensate for a fundamentally poor fit.
Heel-lock lacing
Use the heel-lock technique before the first step, not after the first hot spot develops. Add a surgeon's knot at the tension point below the ankle flex.
Moisture management
Merino socks, gaiters in wet conditions, five-minute airing at rest stops. Drier feet are less blister-prone feet.
Lubricants
Thin coat of Body Glide or Vaseline on heels and pinky toes for long days or known friction zones.
Tape known trouble spots
Leukotape P on chronic hot spots before the hike, not after the blister starts. If you always blister in the same spot, tape it every time as prevention.
Antiperspirant pre-treatment
20% aluminum chloride hexahydrate for two or three nights before a major outing can roughly halve blister incidence, but test it first on a short hike given the skin irritation risk.
FAQ
Do I actually need a liner sock or can I just use a good hiking sock?
A liner sock is not mandatory, but it is the most consistent blister reducer available. The liner shifts the friction interface from skin-to-sock to sock-to-sock, which is far less damaging. If your outer sock fits like a second skin with no bunching (the Balega Blister Resist Quarter is built around exactly this) and you hike in dry conditions, you may be fine without one. On wet days, long days, or if you have a history of blisters, add the liner first before trying anything else. If you size up half a size to fit the liner system, that toe clearance is also working in your favor.
When should I tape a hot spot versus just adjusting my laces?
Do both, in order. First, stop and fix the root cause: re-lace using a heel lock or window lace to relieve the pressure point. Then tape the hot spot. Tape over a lacing problem will slow the blister but not stop it. If adjusting the laces alone eliminates the sensation within a few minutes, you may not need tape. If warmth or rubbing returns after re-lacing, the friction is from boot shape or sock movement, and tape is necessary. The two-minute stop to do both properly is faster than treating a blister at camp.
Is it safe to drain a blister on trail and keep hiking?
Yes, for a clear-fluid blister large enough to cause pain or gait changes. Puncture the lower edge with a sterilized needle, drain by pressing gently, leave the roof intact, apply antibiotic ointment, and cover with a hydrocolloid bandage or Leukotape over a non-stick pad. The roof is your sterile wound covering; removing it increases infection risk and pain significantly. Do not drain a blood blister (dark red or purple fluid) unless pain is severe, as infection risk is notably higher. After draining, tape over the site and check it at the next stop.
Browse all hike gear or read how we research and rate to understand the methodology behind our recommendations.
Recommended gear
Our current top picks from the The best hiking socks for blister-free miles guide, if you are ready to buy.
DARN TOUGH
Darn Tough Hiker Micro Crew Midweight with Cushion
- Material
- 61% merino wool, 36% nylon, 3% Lycra spandex
- Cushion
- Midweight (terry loops underfoot, targeted Achilles zone)
- Height
- Micro crew (approx. 8.5 in. from heel to cuff)
- Warranty
- Lifetime, no-questions replacement
- Sizing
- Men's XS–XXL (shoe 2.5–17); Women's Style 1903 S–L
- Origin
- Knit in Vermont, USA
The 1466 earns its reputation across tens of thousands of thru-hiker miles: a tight merino knit with just enough midweight cushion to absorb trail impact without adding volume in a snug boot. The unconditional lifetime warranty removes the durability question entirely.
- Goldilocks cushion level works for day hikes and multi-week backpacking without sizing up footwear
- Lifetime warranty with a real no-hassle replacement policy makes the per-wear cost competitive over time
- Some owners note the fit runs slightly large and recommend sizing down
SMARTWOOL
Smartwool Hike Classic Edition Full Cushion Crew
- Material
- 66% merino wool, 33% nylon, 1% elastane
- Cushion
- Full cushion throughout the footbed
- Height
- Crew (mid-calf coverage for boot hiking)
- Toe seam
- Flat-knit, reduces friction at toe box
- Arch support
- Elasticized arch brace for secure fit under load
- Sizing
- Men's S–XXL; Women's version ASIN B0B197LLLK
Smartwool's full-cushion crew sits a step below Darn Tough on price while delivering plush merino comfort that owners consistently rate at 4.8 stars on Amazon. The elasticized arch brace and flat toe seam add refinement that cheaper merino socks skip.
- Full-footbed cushion reduces fatigue on long descents and rocky terrain more noticeably than midweight options
- 76% of Zappos reviewers gave 5 stars, and Amazon owners rate it 4.8 out of 5 across 1,000-plus reviews
- Full cushion adds thermal bulk, making this sock warm in hot weather or a tight fit in low-volume footwear
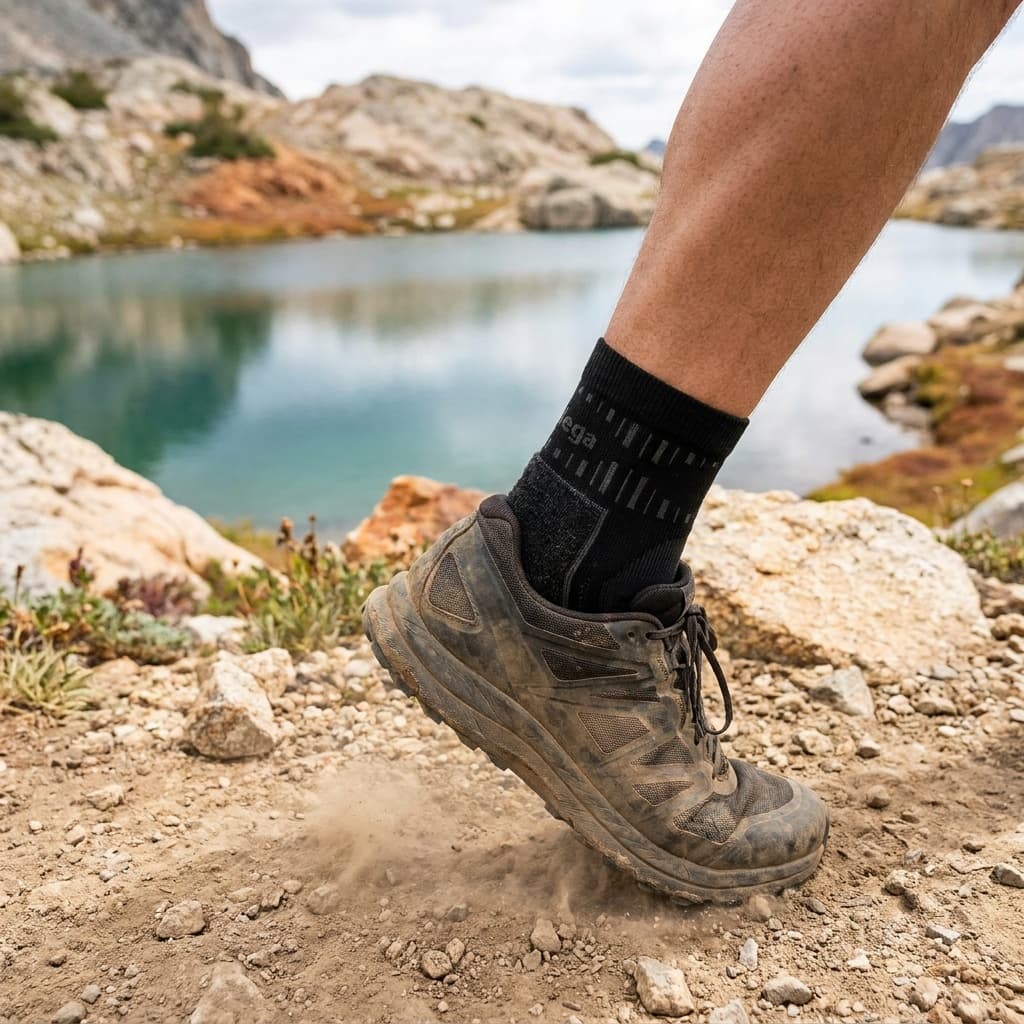
BALEGA
Balega Blister Resist Quarter
- Material
- Mohair, merino wool, Drynamix polyester, acrylic, nylon, elastane blend
- Cushion
- High-volume cushioning throughout footbed
- Height
- Quarter (ankle coverage, debris-resistant rib top)
- Toe construction
- Hand-linked seamless toe, eliminates top-of-foot abrasion
- Heel fit
- Extra-deep heel pocket for a locked, second-skin fit
- Sizing
- SM, MD, LG, XL (unisex; women's and men's shoe size ranges listed)
Balega combines mohair and merino with synthetic Drynamix fibers to target blister prevention directly: seamless toe, deep heel pocket, ventilation panels, and high-volume cushion work together to reduce friction at every pressure point. Quarter height keeps the profile low for trail runners and hikers using low-cut shoes.
- Mohair-plus-merino blend is exceptionally soft against sensitive skin and regulates temperature across seasons
- Seamless toe and deep heel pocket address the two most common blister origin points confirmed by owner reviews
- Quarter height leaves the ankle exposed, less suited to boot hiking where debris entry is a concern
See all picks in The best hiking socks for blister-free miles
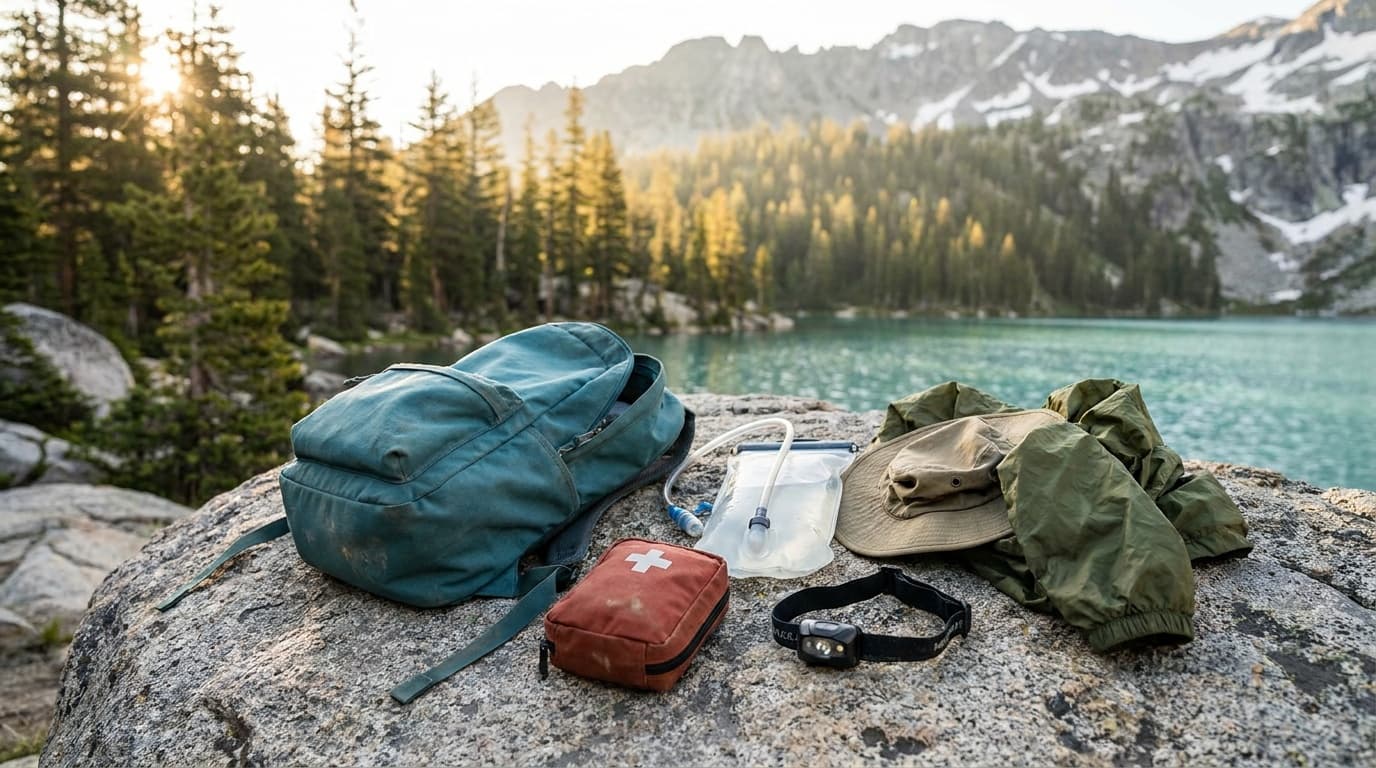
Complete hike loadout
Day hike kit
Seven slots for a full trail day, from the pack and water system to light and weather protection.
Build the complete kitRelated guides
Buying guide
The best hiking socks for blister-free miles
The best hiking socks ranked on cushion, fit, blister prevention, and durability, plus how to pick the right height and material for your trail.
Read guide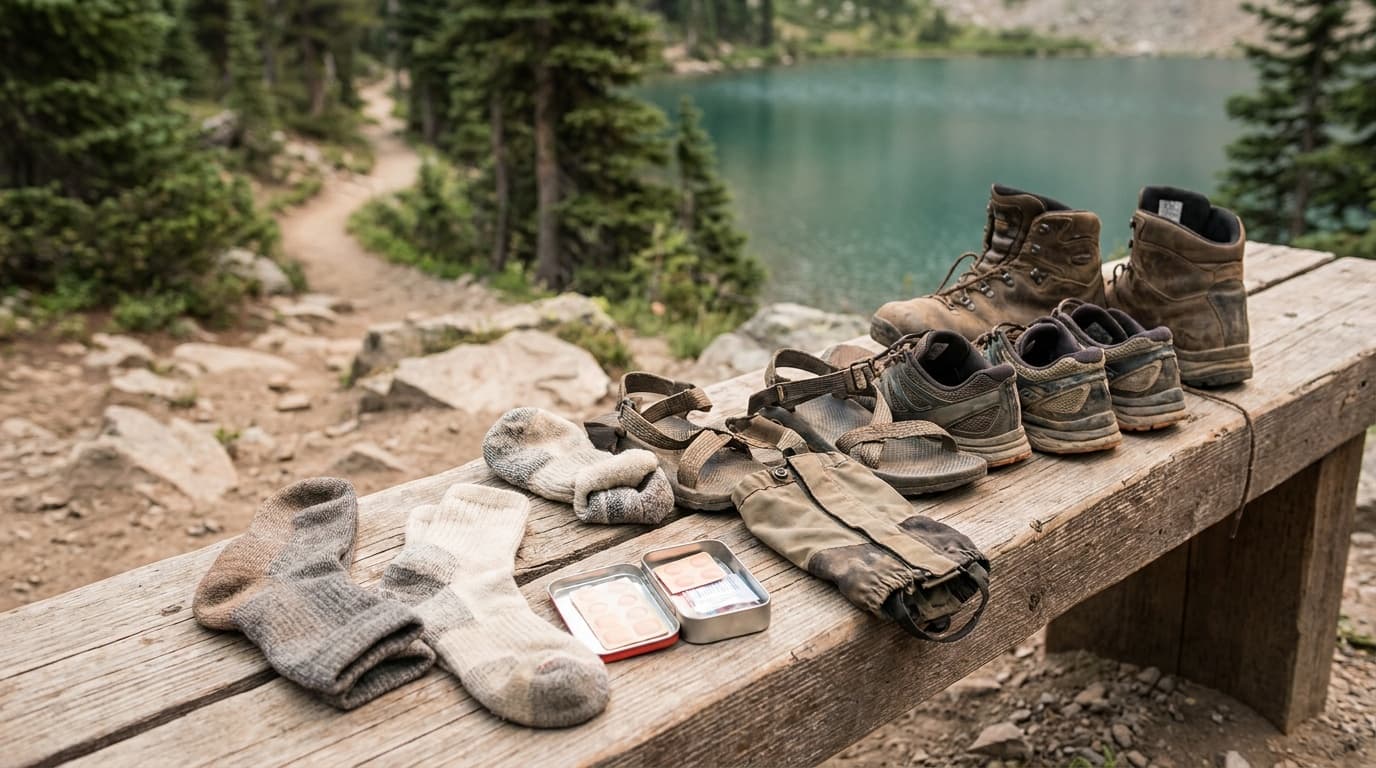
Field guide
How to choose hiking socks
Cushion level, sock height, merino vs synthetic, fit, liner socks, and how many pairs to pack. Everything that actually prevents blisters on trail.
Read guide
Buying guide
Best hydration vests for trail running and hiking 2026
Four hydration vests compared across capacity, bounce control, fit, and ventilation, so you can pick the right pack for your distance.
Read guide
Buying guide
Best daypacks for hiking: top picks for 15–30 L
Our research picks for the best hiking daypacks in the 15–30 L range, ranked by fit, ventilation, organization, and value.
Read guideResearched, not personally tested: picks come from specs, verified-owner reviews, and expert sources, scored into the Kit Score. As an Amazon Associate I earn from qualifying purchases. We may earn a commission from links here, at no extra cost to you. How we research →