We may earn a commission from links on this page, at no extra cost to you.
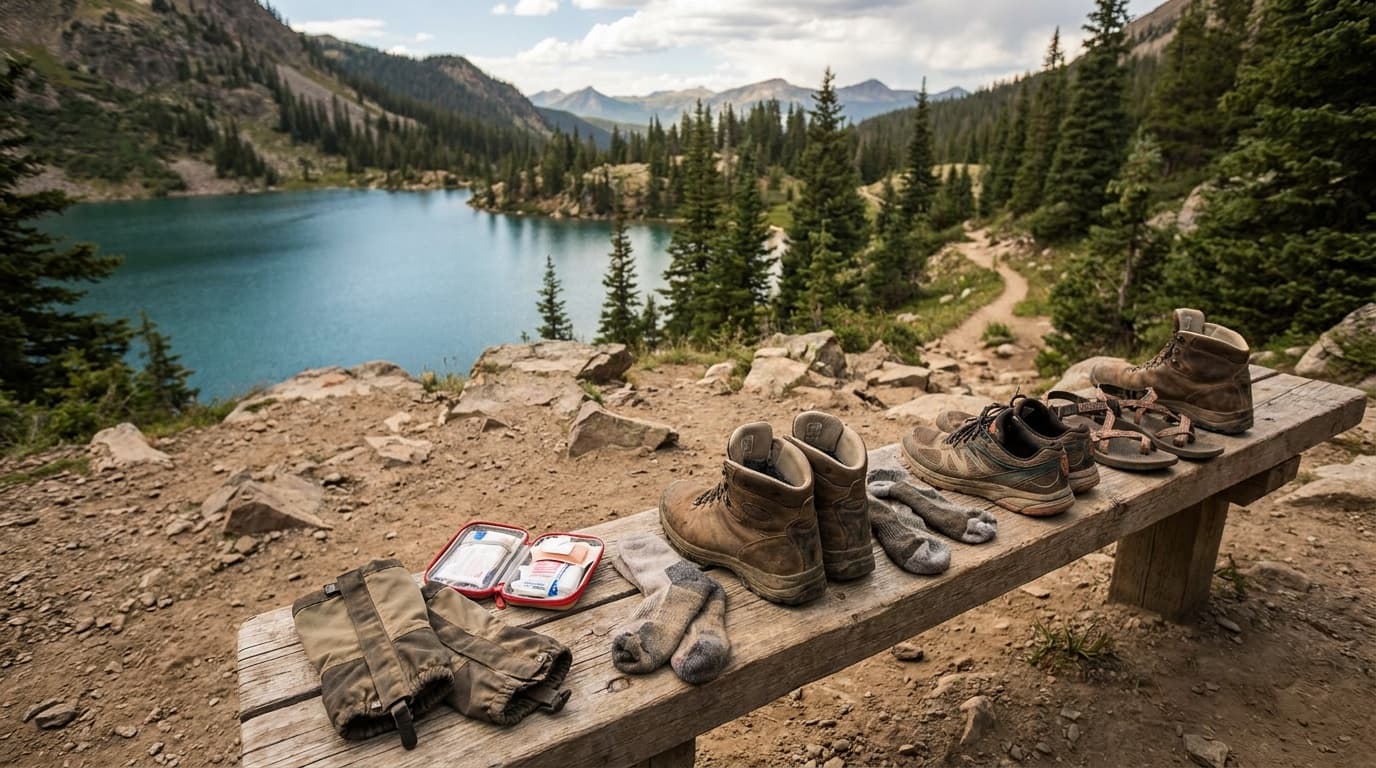
Breaking in hiking boots is not about suffering through pain until the leather submits. It is a gradual conditioning process that adapts both the boot material and your foot skin to each other. Do it right and blisters become the exception rather than the rule.
Why break-in time varies so much
The short answer is that boot construction determines almost everything. A modern lightweight trail shoe flexes easily out of the box; a full-grain leather mountaineering boot is essentially a rigid shell that must be progressively softened to match your foot's shape.
HANWAG's head of R&D Andreas Settele puts it plainly: "Many of our modern hiking boots are quick to break in and you can hike in some of them pretty much straight away." The rule of thumb that follows: the stiffer the boot, the more break-in it needs.
That last figure matters for trip planning. Buy lightweight boots at least one month before the trip date. Buy heavy leather boots two or more months out: that window covers the full break-in period plus time to exchange if the fit turns out to be wrong.
The step-up wear schedule
The goal is progressive adaptation: boot material softens to your foot shape, and foot skin toughens to handle trail friction. Skipping steps collapses that process and skips straight to blisters.
Step-up break-in schedule
Week 1, around the house
Wear the boots with your hiking socks for 30–60 minutes of indoor walking each day. This starts flexing the sole and upper without loading the skin hard. Pay attention to any immediate pressure points.
Week 1–2, short neighborhood walks
Move to 1–3 mile walks on pavement and gentle terrain. Keep sessions to 30–45 minutes and increase by 10–15 minutes as sessions feel comfortable. Wearing your full hiking sock setup here is not optional.
Week 2–3, loaded walks
Add your day pack at trail weight. Walk on mixed surfaces: pavement, gravel, grass, slight incline. This introduces the ankle load and foot spread that flat walking does not replicate, and it is essentially [rucking with a regular backpack](https://ruckauthority.com/guides/ruck-with-regular-backpack), so break-in walks double as training.
Week 3–4, shorter hikes
First real trail sessions, starting at 3–5 miles with modest elevation change. Stop and adjust lacing mid-hike rather than pushing through pressure. Note any recurring hot spots and address them before the next session.
Week 4 and beyond, progressive terrain
Longer hikes with real elevation gain. By this point mid-weight boots should be noticeably more pliable. Full-grain leather boots are still conditioning; continue building distance before committing to a long trip.
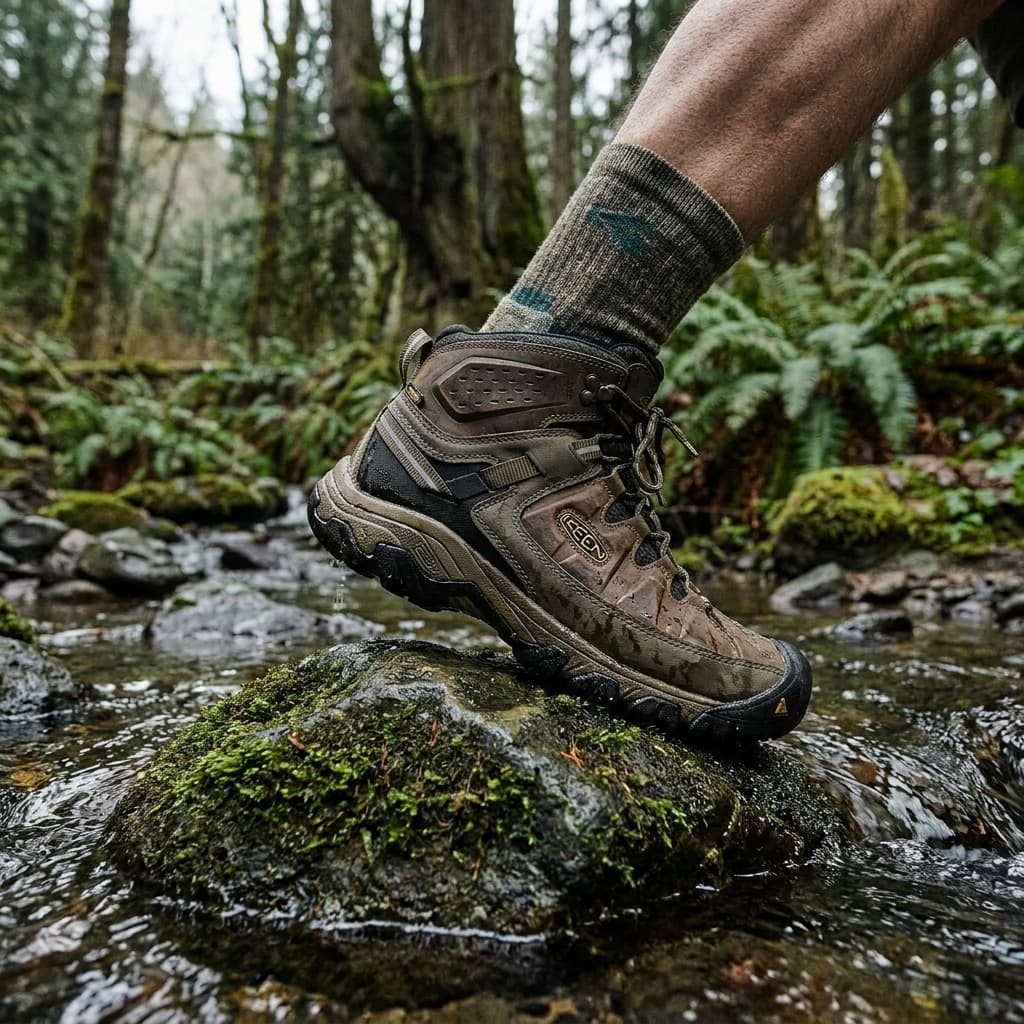
Socks are not interchangeable
Sock thickness changes how the boot fits, which changes where it presses, which changes where blisters form. Breaking in your boots with a thin daily sock and then hiking in a thick merino wool sock means your foot has never actually conditioned the boot to its real fit geometry.
Wear the exact sock you plan to hike in during every break-in session, from day one.
Merino wool blends like the Darn Tough Hiker Micro Crew are the preferred choice over cotton for all the reasons that matter here: merino transports moisture as vapor rather than holding it against skin, maintains cushioning when damp, and resists odor across multiday wear. Cotton absorbs sweat and holds it against skin, which increases friction significantly as miles accumulate.
For long days, a thin liner sock under a merino outer sock is worth considering. The two layers slide against each other rather than against your skin, which shifts shear forces away from the blister-forming zone. If you size boots for this setup, go a half size up to avoid compression.
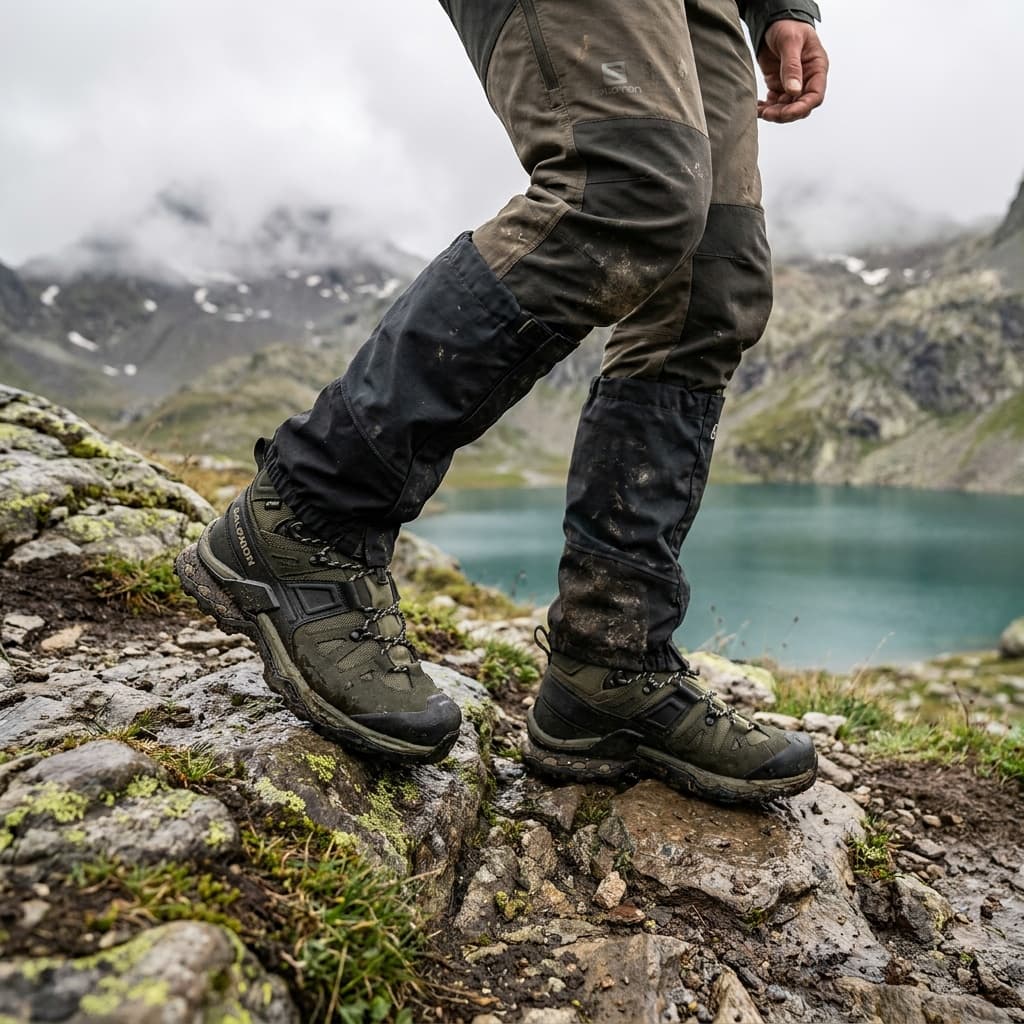
A reminder that also applies to boot sizing: hiking boots fit best at roughly half a size larger than everyday shoes. Foot swelling on trail is real, and a boot that fits correctly in the shop may pinch after four hours of climbing. Always try boots wearing the exact socks you will hike in.
Lacing tactics that solve specific problems
Most hikers lace uniformly tight from toe box to ankle and wonder why they get blisters or numb toes. Lacing should be adjusted zone by zone because different parts of the foot need different tension.
Lacing techniques by problem
Heel blisters: use heel lock lacing
Thread each lace back through the loop at the second-to-last eyelet, creating a small loop. Cross both laces through the opposite loops before pulling snug. This cinches the heel cup tight and eliminates the vertical sliding that generates heel blisters.
Numb or cramped toes on descents: skip the first two toe eyelets
Leaving the first pair of eyelets unlaced gives the toe box room to expand during downhill sections. Toes pressing the front of the boot on descents is a common pain point that this lacing adjustment fixes.
Pressure over the arch or a hot spot on the instep: window lacing
Skip the eyelet directly over the pressure point by lacing across rather than through it. This reduces local pressure without changing fit elsewhere.
General ankle security without toe pressure
Lace moderately through the toe zone, snug across the midfoot, and firmer from the ankle eyelets to the top. The ankle collar should hold without cutting off circulation.
Heel lock lacing cinches the heel into the boot cup and eliminates the vertical sliding that causes heel blisters. It takes 30 seconds to set up and is the single highest-return lacing adjustment for most hikers.
Acting on hot spots before they become blisters
A hot spot is a warm, mildly tender patch of skin that friction is working on. It is not yet a blister. The window between hot spot and blister is short, and stopping to treat a hot spot costs five minutes. Stopping to treat a blister costs more.
The moment you notice persistent warmth or redness on your foot, stop. Remove the boot, check the skin, and apply a Spenco 2nd Skin pad or moleskin directly over the area before the skin breaks. Cut moleskin into a donut shape if there is already a raised blister: the hole sits over the blister and the surrounding pad takes the friction load.
Adjust lacing in the zone near the hot spot before putting the boot back on. Many hot spots are a lacing tension problem as much as a friction problem.
When the boot is too stiff to break in
Normal stiffness in a new boot eases with progressive wear. Most mid-weight boots become noticeably more pliable after 20–50 miles. The signs that point to a fit problem rather than a break-in problem are different:
- Toe pinching or numbness that does not improve after 15–20 miles
- Blisters recurring in the exact same spot on every outing despite lacing adjustments
- Discomfort that gets worse with more miles rather than better
- Sole delamination or a midsole that no longer springs back when compressed
That last point is worth separating out. A midsole that feels stiff, thin, or does not rebound is structural breakdown, not break-in stiffness. Most hiking boots last 500–1,000 miles depending on construction and terrain. A worn-out midsole is a replacement signal, and no amount of progressive wear will restore it.
Leather softens and conforms to foot shape over time; a boot on the wrong last for your foot shape will not change its fundamental geometry. If a specialist retailer has confirmed the fit is correct and the boot still causes pain after 30–40 miles, try a different model rather than extending the break-in window.
FAQ
Do modern hiking boots still need breaking in?
Depends on the construction. Many lightweight trail shoes and modern synthetic hiking boots, like the Merrell Moab 3 Mid Waterproof, need little to no break-in and can be worn on shorter hikes right out of the box. Stiff mid-weight and leather backpacking boots still need a genuine step-up schedule of several weeks. As HANWAG's R&D lead puts it, the rule holds: the stiffer the boot, the more break-in it needs.
What socks should I wear when breaking in hiking boots?
Wear the exact socks you plan to hike in, every session. Sock thickness changes how the boot fits, so breaking in with a thin daily sock and then hiking in a thick merino wool sock means your foot has never conditioned the boot to its real fit. Choose merino wool or a moisture-wicking synthetic blend over cotton. Cotton holds moisture against skin, which increases friction significantly and raises blister risk on any meaningful distance.
How do I know if my boots are too stiff to break in, or just need more time?
Normal stiffness eases with progressive wear over 20–50 miles. The signs that point to a fit problem rather than a break-in problem: toe pinching or numbness that does not improve, blisters recurring in the exact same spot on every outing despite lacing adjustments, or discomfort that gets worse rather than better over time. Leather softens to your foot shape; a boot on the wrong last for your foot will not change its geometry. If a specialist confirms the fit is correct but the boot still hurts after 30–40 miles, try a different model.
When you are ready to choose the boot you will be breaking in, see our guide to the best hiking boots. Browse all hike gear or read how we research and rate to understand the methodology behind our recommendations.
Recommended gear
Our current top picks from the Best hiking boots for day hikes and light backpacking guide, if you are ready to buy.
MERRELL
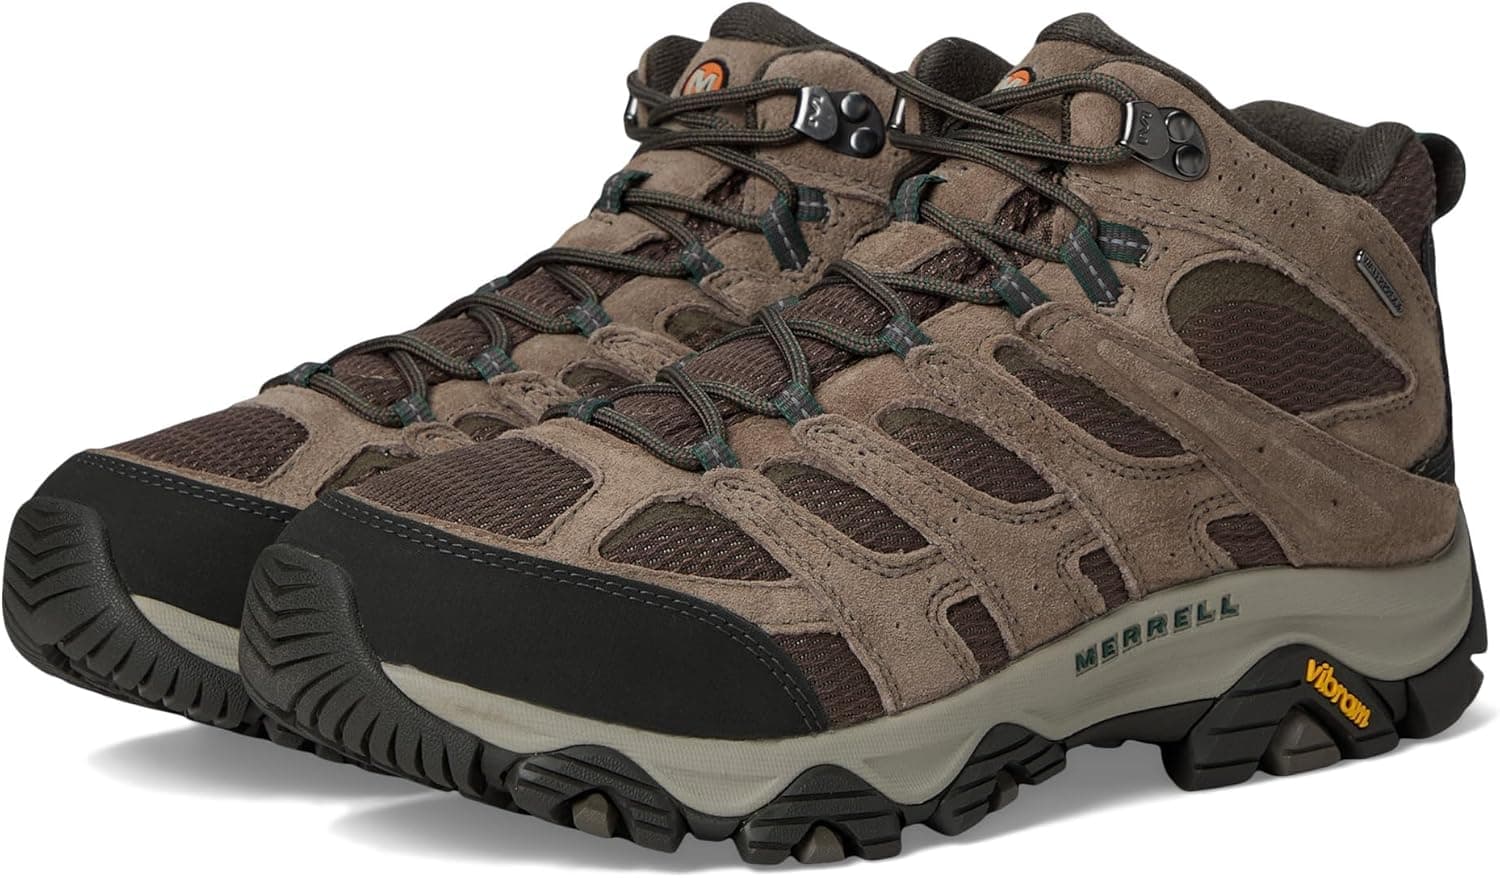
Merrell Men's Moab 3 Mid Waterproof Hiking Boot
- Weight (men's, per shoe)
- 1 lb 6 oz approx.
- Waterproofing
- M.Select Dry membrane
- Outsole
- Vibram TC5+, 5mm lugs
- Heel-to-toe drop
- 11.5mm
- Midsole
- Lightweight EVA + Merrell Air Cushion heel
- Women's version
- Available (B0988BDSG7)
The Moab 3 Mid Waterproof is Merrell's workhorse day-hike boot: pigskin leather and mesh upper, M.Select Dry waterproofing, and a Vibram TC5+ outsole with 5mm lugs. Owners consistently praise the out-of-the-box comfort and wide toe box with near-zero break-in required.
- Near-zero break-in period: wide toe box and cushy collar are comfortable from mile one
- Vibram TC5+ outsole provides reliable grip across most trail surfaces
- Proprietary waterproofing is less breathable than Gore-Tex, so feet can warm up on long summer days
KEEN
KEEN Men's Targhee III Mid Waterproof Hiking Boot
- Weight (men's, per shoe)
- Approx. 1 lb 1.5 oz
- Waterproofing
- Keen.Dry waterproof/breathable membrane
- Outsole
- KEEN All-Terrain rubber, 4mm multidirectional lugs
- Upper
- Durable leather with mesh paneling
- Toe protection
- Large rubber bumper cap
- Women's version
- Available (separate ASIN)
KEEN's Targhee III Mid pairs a roomy toe box (KEEN's signature fit) with Keen.Dry waterproofing and an all-terrain rubber outsole. It stands out for wide-foot comfort and multi-season durability. Note: the Targhee IV is the current-generation model; the III is now available at a reduced price as legacy inventory, making it a sharp value pick for budget-focused buyers.
- Generous KEEN toe box fits wide and high-volume feet comfortably from the first wear
- Keen.Dry membrane keeps feet dry in creek crossings and wet grass
- Keen.Dry breathes less than Gore-Tex, which can lead to warmer feet on long warm-weather hikes
SALOMON
Salomon Men's Quest 4 Gore-Tex Hiking Boot
- Weight (men's, per pair)
- Approx. 2 lbs 14 oz
- Waterproofing
- Gore-Tex Performance Comfort
- Outsole
- Contagrip TA rubber
- Midsole
- EnergyCell EVA + 4D Advanced Chassis
- Collar height
- Mid-cut, approx. 5.5 inch flood height
- Women's version
- Available (Quest Echo GTX)
The Quest 4 Gore-Tex is Salomon's dedicated backpacking boot: a full-grain leather and mesh upper with Gore-Tex waterproofing, an EnergyCell EVA midsole, and Salomon's 4D Advanced Chassis for torsional stability under load. Weighing in at about 2 lbs 14 oz per pair, it is built for multi-day trips and technical terrain rather than speed.
- 4D Advanced Chassis delivers torsional control that reduces ankle fatigue under a loaded pack
- Contagrip TA outsole is slow to wear and grips reliably on hard and loose surfaces
- Heavier than most day-hike-focused boots at roughly 2 lbs 14 oz per pair
See all picks in Best hiking boots for day hikes and light backpacking
Complete hike loadout
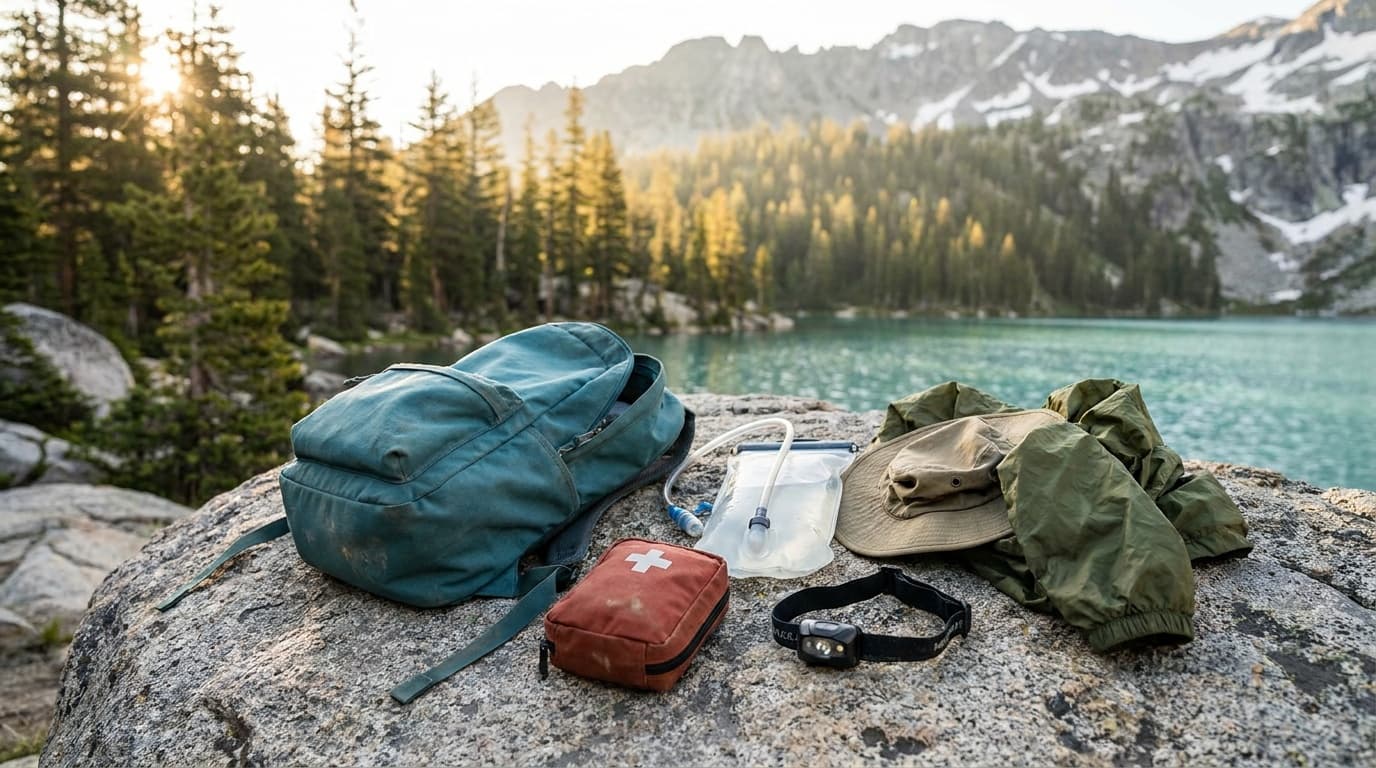
Day hike kit
Seven slots for a full trail day, from the pack and water system to light and weather protection.
Build the complete kitRelated guides
Buying guide
Best hiking boots for day hikes and light backpacking
Four hiking boots for every budget and foot type: a Gore-Tex backpacking workhorse, a max-cushion premium pick, a reliable value mid, and a wide-foot-friendly deal.
Read guide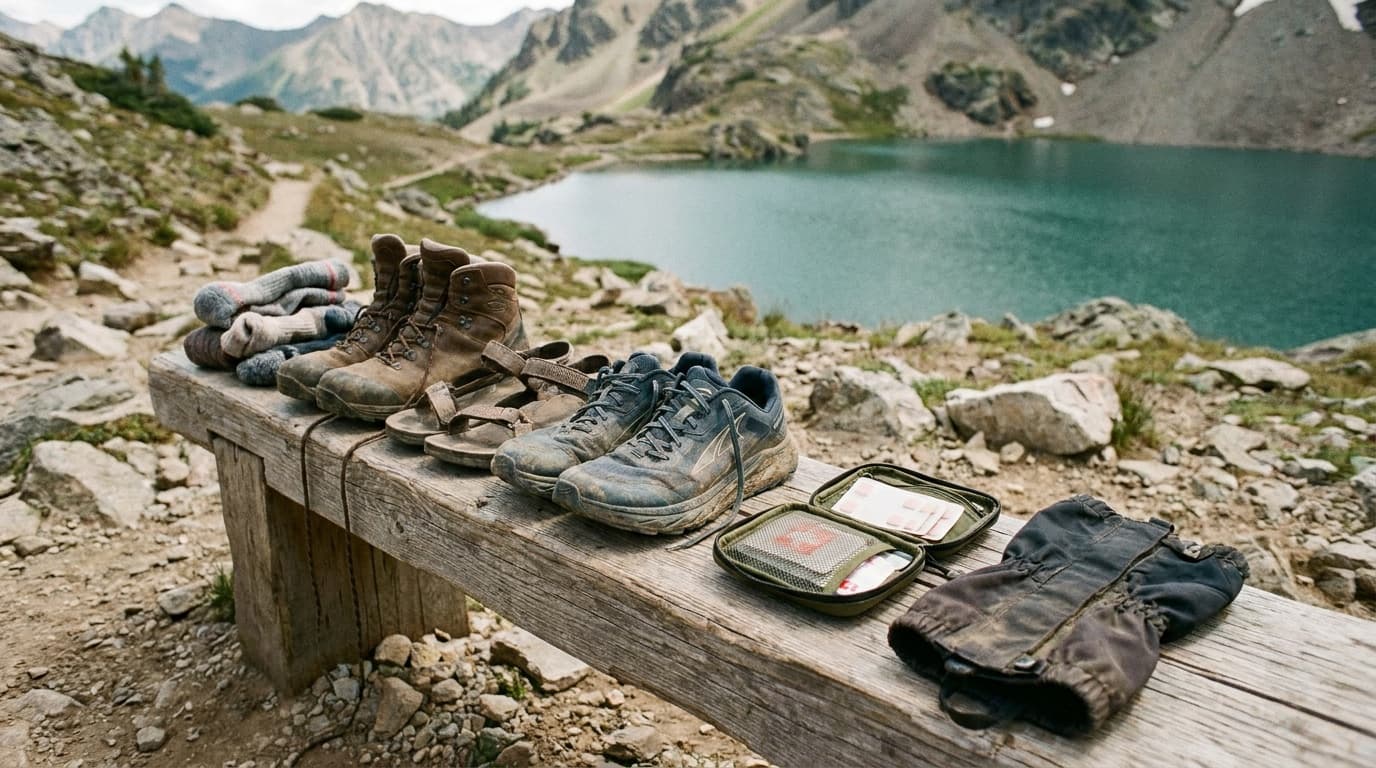
Comparison
Hiking boots vs trail runners: which should you wear?
Weight, ankle support, durability, pack weight thresholds, waterproofing tradeoffs. A research-backed guide to choosing hiking boots or trail runners for your terrain.
Read guideProduct review
Merrell Moab 3 Mid Waterproof review: the safe first hiking boot
A researched review of the Merrell Moab 3 Mid Waterproof: comfortable out of the box, a grippy Vibram outsole, M.Select Dry waterproofing, and strong value. Specs, pros and cons, and how it compares.
Read guide
Buying guide
The best hiking socks for blister-free miles
The best hiking socks ranked on cushion, fit, blister prevention, and durability, plus how to pick the right height and material for your trail.
Read guideResearched, not personally tested: picks come from specs, verified-owner reviews, and expert sources, scored into the Kit Score. As an Amazon Associate I earn from qualifying purchases. We may earn a commission from links here, at no extra cost to you. How we research →