We may earn a commission from links on this page, at no extra cost to you.
A dull knife is a dangerous knife. It slips off food, forces you to push harder, and eventually fails you at the moment you need it most.
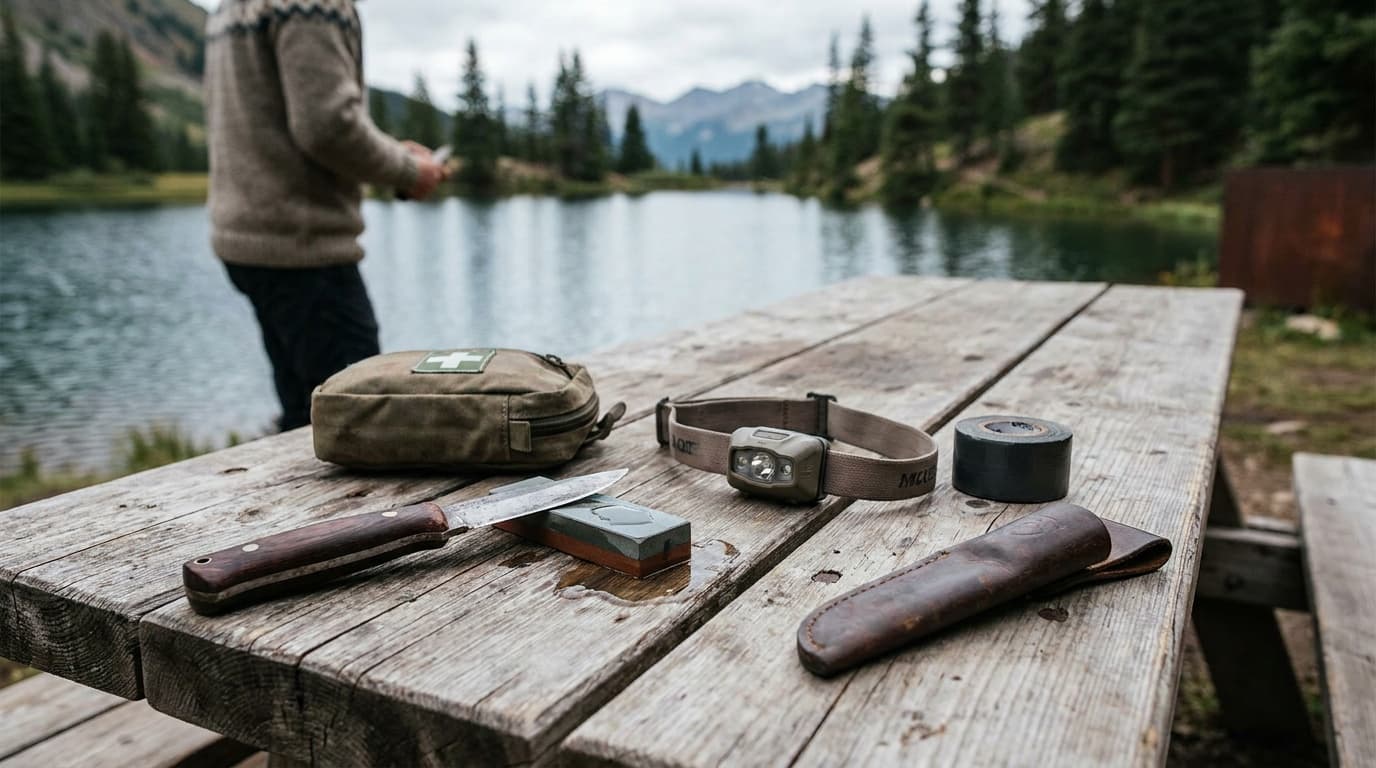
Whetstone basics: grit, water, and angle
A whetstone is the most versatile and most rewarding sharpening tool you can own. The grit rating tells you how aggressive the stone is.
For most camping knives that are maintained regularly, a dual-sided 1000/6000 stone handles 90 percent of your sharpening needs. Keep a coarser stone in your kit only if you carry a hard-use fixed blade like the ESEE-4 that sees rough work.
Angle is everything. Hold the blade at roughly 20 degrees to the stone surface. A practical cheat: stack two quarters under the spine of the blade. That lifts it to about 20 degrees. Hold that angle consistently through each stroke. Inconsistency is what creates a rounded, ineffective bevel over time.
Wet the stone with water (or honing oil if it is an oil stone) before you begin. Keep it wet throughout. The slurry that forms actually assists the cutting action.
Consistent angle matters more than stroke count. Ten passes at the same angle beat fifty wandering ones.
Grit progression: maintaining vs repairing
How you approach sharpening depends on the condition of the edge.
Maintenance (used regularly, never neglected): Start at 1000 grit. Ten to fifteen alternating strokes per side, edge-leading, then refine on 3000–6000. Strop to finish. Total time: under five minutes.
Repair (notched, rolled, or badly dull): Start at 200–400 grit to remove material and reset the bevel. Work until you raise a burr on the opposite side, which tells you you have reached the apex. Then step up through 800, 1000, and 3000. Do not rush the coarse stage. Skipping ahead to fine grit on a damaged edge just polishes dullness.
To check for a burr, run the pad of your thumb lightly across the edge at 90 degrees (never along it). You will feel a faint wire edge on the side opposite your strokes.
Pull-through and field sharpeners
A whetstone lives at home or in base camp. Pull-through and pocket rod sharpeners are your field tools.
Choosing the right field sharpener
Pull-through carbide
Fast material removal, good for quick repair on heavily worn edges; removes more steel per pass than ceramic
Pull-through ceramic
Finer action than carbide; use for touchups and maintenance in the field
Diamond rod (pocket)
Lightweight, works wet or dry; angle it freehand at 20 degrees for precise control
Folding paddle sharpener
Compact, often dual-grit; place flat on a log and drag the blade across it edge-leading
Ceramic rod (tapered)
Great for deburring and light honing between sharpening sessions
Pull-throughs are fast but less precise. Use them for kitchen-style camp prep knives and folder blades where speed matters more than perfection. For a quality fixed blade you care about long-term, use a whetstone at home and save the pull-through for genuine field emergencies.
Stropping: the step most people skip
Stropping does not remove metal. It realigns the microscopic edge teeth that fold over during sharpening and use. A leather strop, or even the smooth back of a leather belt, is enough.
After your final sharpening pass, hold the blade at the same 20-degree angle but reverse direction. Draw the spine first, edge trailing. Five to ten passes per side. The difference in slicing performance before and after stropping is immediately noticeable.
If you strop regularly between sharpening sessions, you can go weeks longer without needing a stone. Stropping is maintenance; sharpening is repair.
Carbon vs stainless: what changes
The sharpening technique is identical. What differs is the effort and the aftercare.
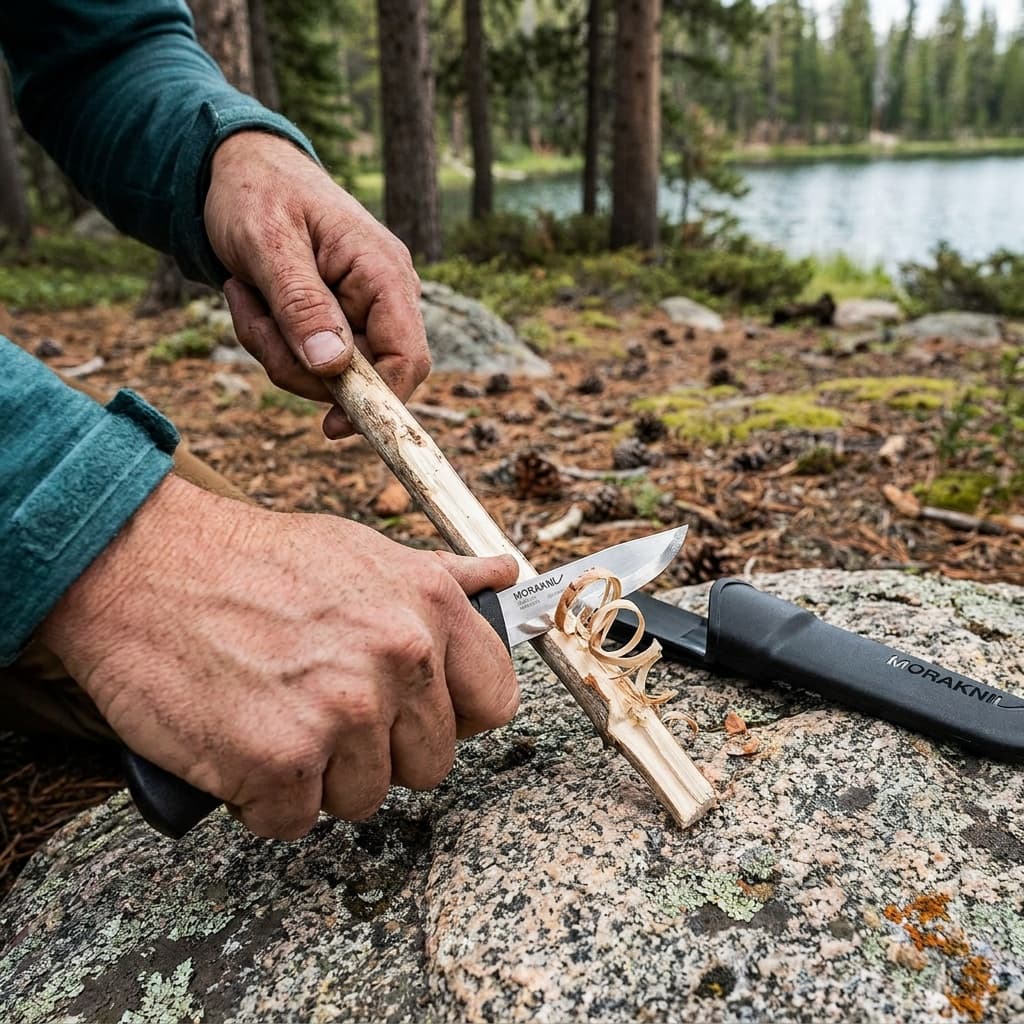
Carbon steel (1095, O1, Scandi grinds like the Morakniv Companion) takes an edge faster and sharpens to a finer apex more easily. It also rusts quickly if you leave moisture or food acids on the blade. After any field use, wipe it dry and apply a thin coat of mineral oil or food-safe wax (beeswax works well). A patina will develop with use, which actually increases corrosion resistance over bare metal.
Stainless steel (440C, VG-10, 154CM) resists rust without special care but is harder to sharpen. You may need more passes on the coarse stone to raise a burr, and the edge may not reach quite the same razor finish. The trade-off is obvious: less maintenance in wet environments.
If you are camping in high humidity or near salt water, stainless is more forgiving. If you sharpen often and value a keen edge above all else, carbon is the rewarding choice.
Testing sharpness safely
Three reliable tests, none of which require running a blade across skin:
- Paper test: Hold a sheet of printer paper vertically and slice down through it. A sharp edge cuts cleanly with no tearing. A dull edge drags or folds.
- Thumbnail test: Rest the blade flat on your thumbnail at 45 degrees. A sharp edge catches and does not slide. A dull edge glides right off. Apply zero pressure.
- Arm hair test: Hold your forearm hair-side up and hover the blade an inch above. A truly sharp edge shaves arm hair without touching the skin. If you are not comfortable with this, stick with the paper test.
Never drag your thumb along the edge to test. That is how cuts happen.
Frequently asked questions
How often should I sharpen my camping knife?
For a regularly used camp knife, a light touch-up on a fine stone or ceramic rod every few trips keeps the edge in shape. A full whetstone session every few months is usually sufficient. If the paper test fails or the edge feels like it is pushing rather than slicing, sharpen before your next trip rather than in the field.
Can I use any oil on my whetstone?
It depends on the stone type. Water stones (the most common for kitchen and camp use) use only water. Oil stones use honing oil or mineral oil. Do not mix them: putting oil on a water stone clogs the pores and ruins it. Check the stone packaging or manufacturer spec if you are unsure.
Is a 20-degree angle right for every camping knife?
Twenty degrees per side is a reliable default for most camping and outdoor knives. Japanese-style blades (gyutos, some slicers) are often ground at 15 degrees per side for a finer edge. Chopping tools like machetes and bushcraft knives sometimes use 25 degrees per side for extra durability. When in doubt, match the existing bevel angle by laying the blade on the stone and noting where it sits flat before lifting to your sharpening angle.
For specific picks on blades worth keeping sharp, see our guide to the best camping knives. Browse all camp guides or read how we research and rate gear.
Recommended gear
Our current top picks from the Best camping knives for bushcraft and camp tasks (2026) guide, if you are ready to buy.
MORAKNIV
Morakniv Companion Heavy-Duty Carbon Steel Fixed-Blade Knife with Sheath, 4.1 Inch
- Blade length
- 4.1 in
- Blade steel
- C100S carbon steel, 57.5 HRC
- Blade thickness
- 3.2 mm (heavy duty)
- Grind
- Scandi, 27-degree edge
- Handle
- Patterned high-friction rubber
- Sheath
- Hard plastic with belt clip and drain hole
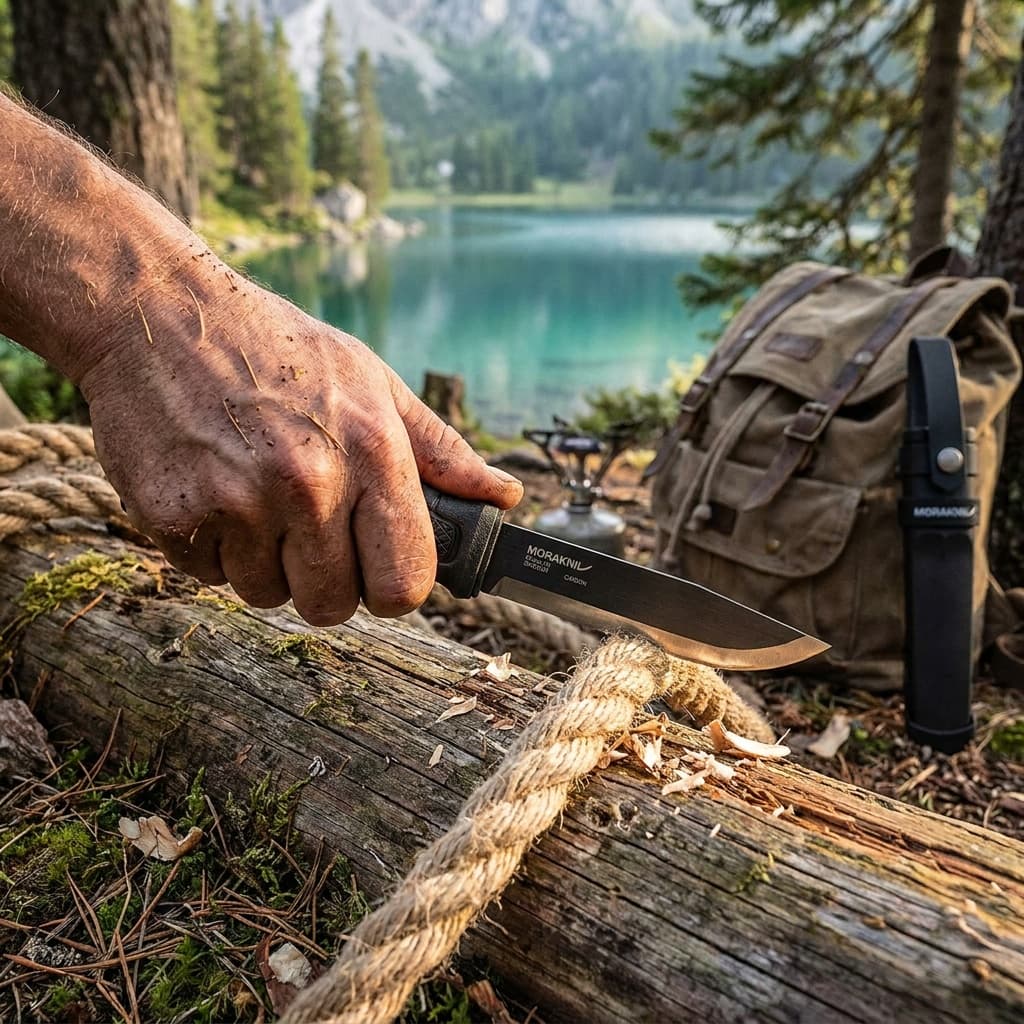
Sweden's most-recommended entry-level bushcraft knife, the Companion Heavy Duty ups the standard Companion's blade thickness from 2.0 mm to 3.2 mm for serious camp work. The thicker spine takes ferro rod sparks poorly, but the carbon steel edge sharpens faster in the field than almost any knife at this price.
- Remarkable quality-to-price ratio: owners consistently report it performs far above its cost
- Carbon steel (C100S) sharpens quickly on a flat stone or strop, a real advantage in the field
- Carbon steel requires wiping and oiling after use to prevent rust, especially in wet conditions
MORAKNIV
Morakniv Garberg Full Tang Fixed Blade Knife with Carbon Steel Blade, 4.3 Inch
- Blade length
- 4.3 in (109 mm)
- Blade steel
- High-carbon steel, Scandi grind
- Blade thickness
- 3.2 mm (0.125 in)
- Construction
- Full tang
- Handle
- Polyamide with rubber grip coating
- Overall length
- 9.0 in (229 mm)
The Garberg is Morakniv's full-tang answer to campers who need more than a partial-tang knife can offer. The carbon steel blade features a square-ground spine sized for firesteel use, and the versatile MOLLE multi-mount sheath clips to packs, belts, or gear loops with equal ease.
- Full tang construction handles batoning and hard camp tasks that partial-tang knives cannot
- Square spine works reliably with a firesteel for fire starting
- Carbon steel demands consistent maintenance; neglect leads to surface rust quickly in humid conditions
ESEE KNIVES
ESEE-4 Fixed Blade Knife with Sheath, 1095 Carbon Steel, Outdoor Knife with 3D Contoured Handle, Made in USA
- Blade length
- 4.5 in (4.1 in cutting edge)
- Blade steel
- 1095 high carbon steel, 55-57 HRC
- Blade thickness
- 0.188 in (4.8 mm)
- Grind
- Flat grind, drop point
- Handle
- 3D contoured Blue/Black G10
- Sheath
- Injection-molded polymer with MOLLE clip plate
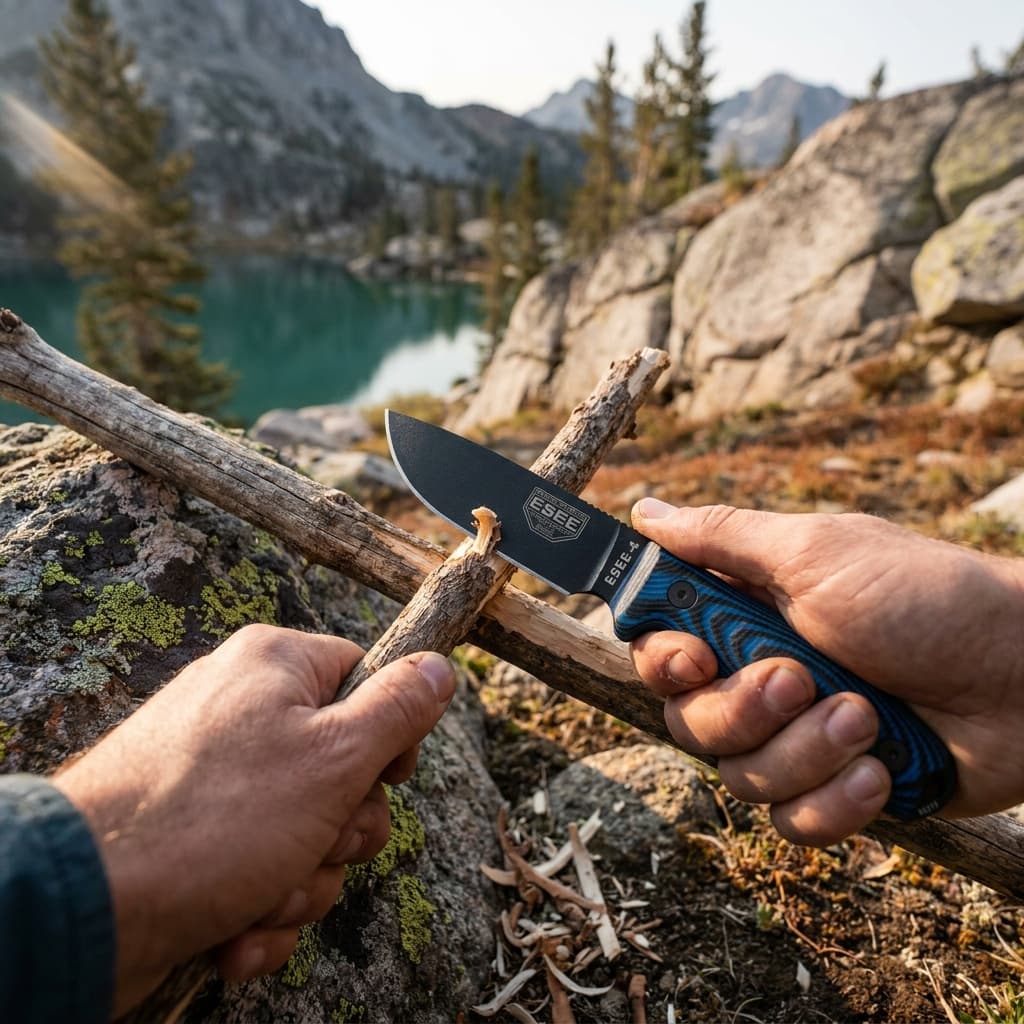
Field-tested by survival instructors and backcountry guides, the ESEE-4 is a proven full-tang fixed blade built around 1095 carbon steel, a steel prized for its ease of sharpening in the field and its toughness under hard use. Made in the USA and backed by an unconditional lifetime warranty.
- 1095 carbon steel resharpens quickly on a basic stone or strop, a real field advantage on longer trips
- Full tang with 3D contoured G10 handle provides confident grip during batoning and wood processing
- 1095 steel requires consistent oiling and drying to prevent rust; the coated blade resists sparking with a ferro rod
See all picks in Best camping knives for bushcraft and camp tasks (2026)
Complete camp loadout
Car-camping starter kit
The first-trip essentials across shelter, sleep, cooking, lighting, seating, and water, with the extras left out.
Build the complete kitRelated guides

Buying guide
Best camping knives for bushcraft and camp tasks (2026)
The four best camping knives ranked by blade steel, tang, grind, and field performance. Fixed-blade picks for bushcraft, batoning, and camp food prep, from $20 to $175.
Read guide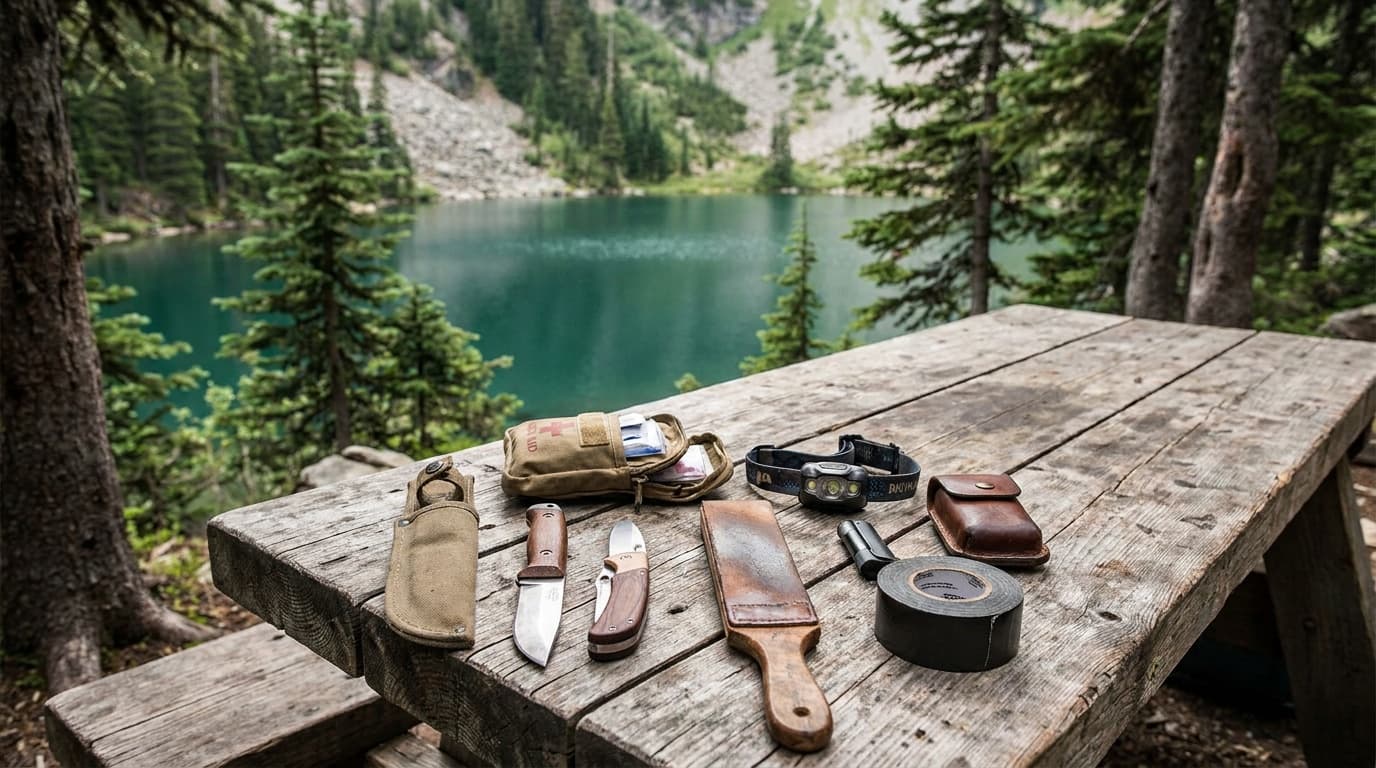
Comparison
Fixed-blade vs folding knife for camping: which do you need?
Fixed-blade knives dominate on strength and hard camp tasks; folders win on portability and everyday carry. Here is how to pick the right one for your kit.
Read guide
Buying guide
The best camping coolers for car camping, budget to premium
The best car camping coolers ranked on ice retention, build, size, and value, plus how to make a bag of ice last twice as long.
Read guide
Buying guide
Best camping cookware sets for backpacking and car camp (2026)
Four camping cookware sets compared by packed weight, capacity, material, and group size, from a 6.2 oz titanium solo set to a four-person camp kitchen.
Read guideResearched, not personally tested: picks come from specs, verified-owner reviews, and expert sources, scored into the Kit Score. As an Amazon Associate I earn from qualifying purchases. We may earn a commission from links here, at no extra cost to you. How we research →