
We may earn a commission from links on this page, at no extra cost to you.
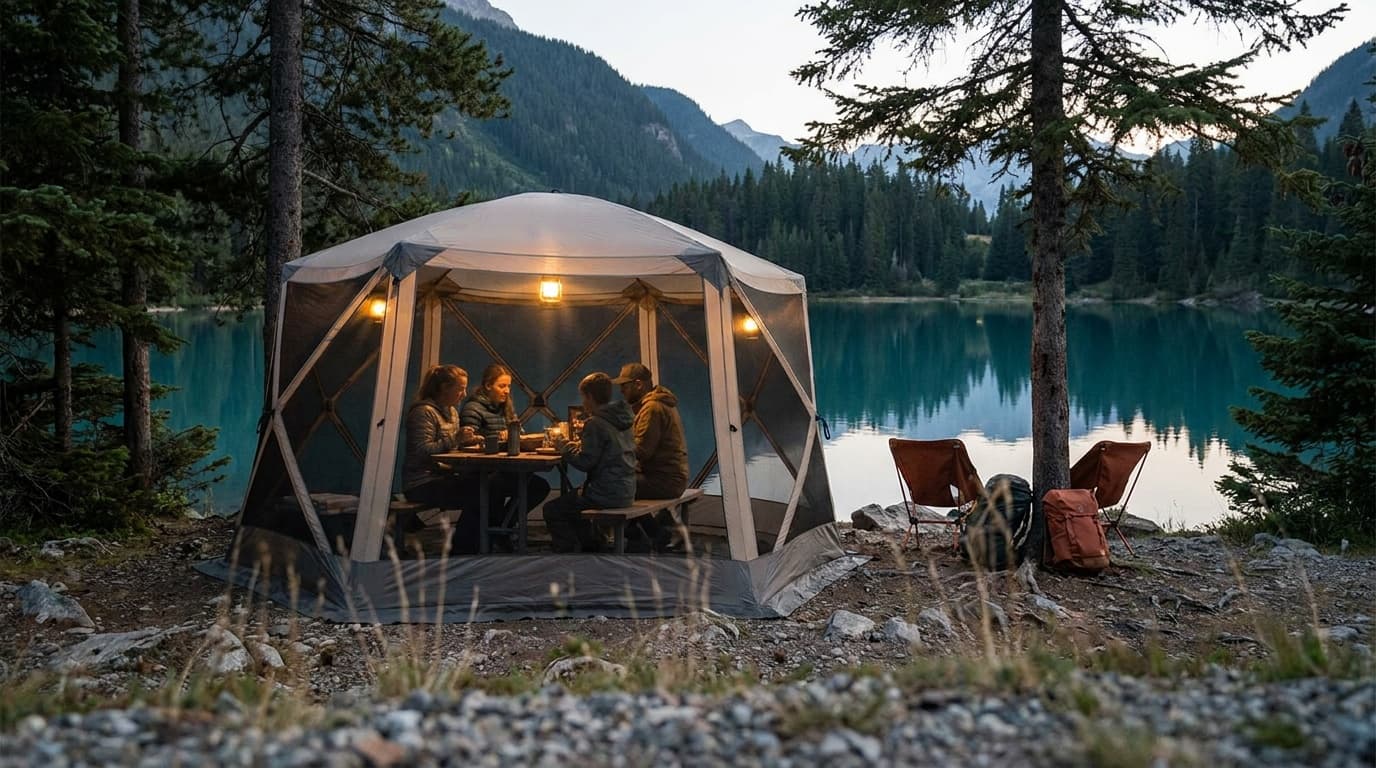
A screen house turns a buggy campsite into a usable outdoor room, but only if you set it up right. Here is exactly how to do it.
Choosing the right spot
Ground choice decides most of your problems before you unpack anything. You want a site that is as level as possible, preferably within a few degrees of flat. Tilt the screen house and every door zip pulls at an angle, panels gap at the base, and water pools toward one corner during rain.
Shade is the other priority. A screen house has little insulation, so full afternoon sun turns it into a greenhouse. Aim for dappled or east-facing shade that gives you morning light and afternoon relief. Avoid the shade directly under a tree with heavy drip lines, since sap and debris clog mesh fast.
Distance from water matters more than campers expect. Mosquitoes breed and concentrate within about 25–50 feet of standing water. You cannot always camp far from a lake, but you can orient your door away from the water and avoid pitching in low, wet ground where water collects after rain.
Clear the ground of sticks, pinecones, and rocks before you lay anything down. Even small debris under the floor skirt creates gaps for insects.
Pop-up vs. hub vs. pole: setup differences
The frame type changes your steps considerably.
Pop-up (instant) screen houses unfold from a compressed disc. Twist and release, then guide the structure open. The main task is staking immediately after it opens, before wind catches the panels. These pack back into a flat disc, which is harder to repack than hub or pole versions.
Hub (geodesic-style) screen houses like the Gazelle Tents G6 Deluxe use pre-attached shock-corded poles that meet at a central hub. Lay the fabric flat, attach the poles to their corners, then raise the hub. This style is the most wind-stable and easiest to repack.
Hub screen house setup
Lay flat
Spread the canopy on cleared ground with the door facing your preferred direction.
Attach poles
Clip or sleeve each pole end into its corner or grommet before lifting anything.
Raise the hub
Lift the center hub first, then walk each leg out to tension the canopy evenly.
Stake corners
Drive all stakes at 45 degrees away from the structure for maximum hold.
Attach guy lines
Clip and tension guy lines from the roof anchor points outward before using the space.
Pole (traditional) screen houses use a center pole or two end poles with cross poles at the peak. Assemble poles first, then drape the canopy, then stake. These are the most packable but take the longest to pitch.
Staking and guy lines for wind
Staking is not optional. A screen house has a large sail area and will move in any wind above about 10 mph if it is not anchored. Manufacturers include stakes for a reason.
Drive stakes at a 45-degree angle away from the screen house, not straight down. This geometry puts the stake in tension, which is how stakes hold. Straight-down stakes pull out under lateral load.
For rocky or hard ground, carry 6-inch nail stakes and a rubber mallet. Sand and soft ground benefit from wider sand anchors or spiral stakes.
Guy lines extend from the peak or roof anchor points out to the ground at roughly 45 degrees. Tension them snug but not so tight that they distort the roof panel. In open campgrounds with sustained wind, four roof guy lines (one per corner) reduce flex that fatigues the mesh seams over time.
The 60 seconds it takes to stake every corner is the difference between a screen house and a kite.
Positioning over a picnic table
Many campgrounds have fixed concrete or wood picnic tables. Center the screen house over the table before you stake so you have clearance on all sides to zip doors without dragging mesh on the table edge. Most 10×10 and 12×12 screen houses, the Coleman Skylodge 10 x 10 Instant Screenhouse included, fit a standard 6-foot picnic table with 1–2 feet to spare per side.
If the table sits on uneven ground or off-center in the site, you may need to offset the screen house slightly so the door aligns with the table end rather than the middle. Walking around inside a screen house is easier when you enter from the narrow end of the table.
Use a ground cloth or the screen house's included floor skirt to bridge the gap between the table legs and the edge of the structure. That gap is the main bug entry point when you have furniture inside.
Sealing the bug gap at the base
Every screen house has some gap between the lower mesh edge and the ground. This gap is where mosquitoes, gnats, and ants enter, especially after you have been zipping in and out for a while and the skirt has shifted.
If the model includes a sewn-in ground skirt or valance, weight it with the stakes, shoes, a camp chair base, or a rolled tarp. The goal is continuous contact with the ground around the full perimeter.
For screen houses without a valance, tuck the lower mesh edge under gear bags around the perimeter or lay a thin tarp section under the mesh and fold the edge over it. It takes two minutes and cuts bug intrusion significantly.
Check the skirt seal whenever someone enters or exits. Wind and foot traffic shift it more than you expect.
Takedown and drying to prevent mildew
Mildew is the main cause of screen house failure over multiple seasons. Mesh holds moisture in every tiny fiber, and packing wet traps that moisture for days.
If the screen house is dry at takedown, shake out debris, fold or stuff loosely into the carry bag, and store in a cool dry place. If it is wet from rain or dew, the right move is to pitch it again at home or drape it over a fence or railing until it is fully dry before storing.
Never compress a wet screen house into a small bag and leave it for more than a few hours. Even one storage cycle wet is enough to start mildew in the seams and along the mesh borders.
For cleaning, a soft brush with mild soap and cold water removes most mildew and sap. Avoid bleach on coated fabrics; it degrades the water-resistant finish. Rinse fully and dry again before storage.
Frequently asked questions
How do I keep bugs out when entering and exiting?
Zip the door fully closed behind you every time, no exceptions. Consider a two-panel door (inner mesh plus outer solid panel) if your model has one, so you can step through without the mesh swinging open. A simple bungee at ankle height inside acts as a reminder. Bugs find the gap in seconds.
Can I use a screen house in rain?
Most screen houses are not waterproof shelters. The mesh panels shed light mist, but sustained rain will come through. Some models include a solid rain fly that clips over the roof and extends past the walls. If yours does, deploy it before rain starts. Without a fly, a screen house is a windbreak and bug barrier only.
What is the right screen house size for four people around a picnic table?
A 10×10 screen house fits a standard 6-foot picnic table with room to pull chairs out on three sides. For a larger group or if you want space for camp chairs in a circle, a 12×12 gives noticeably more usable floor space. Avoid oversizing on a site with fixed picnic table placement, since you may not have enough clear ground to stake properly.
For specific picks, see our guide to the best screen houses. Browse all camp guides or read how we research and rate gear.
Recommended gear
Our current top picks from the Best screen houses for camping: bug-free shelter that sets up fast guide, if you are ready to buy.
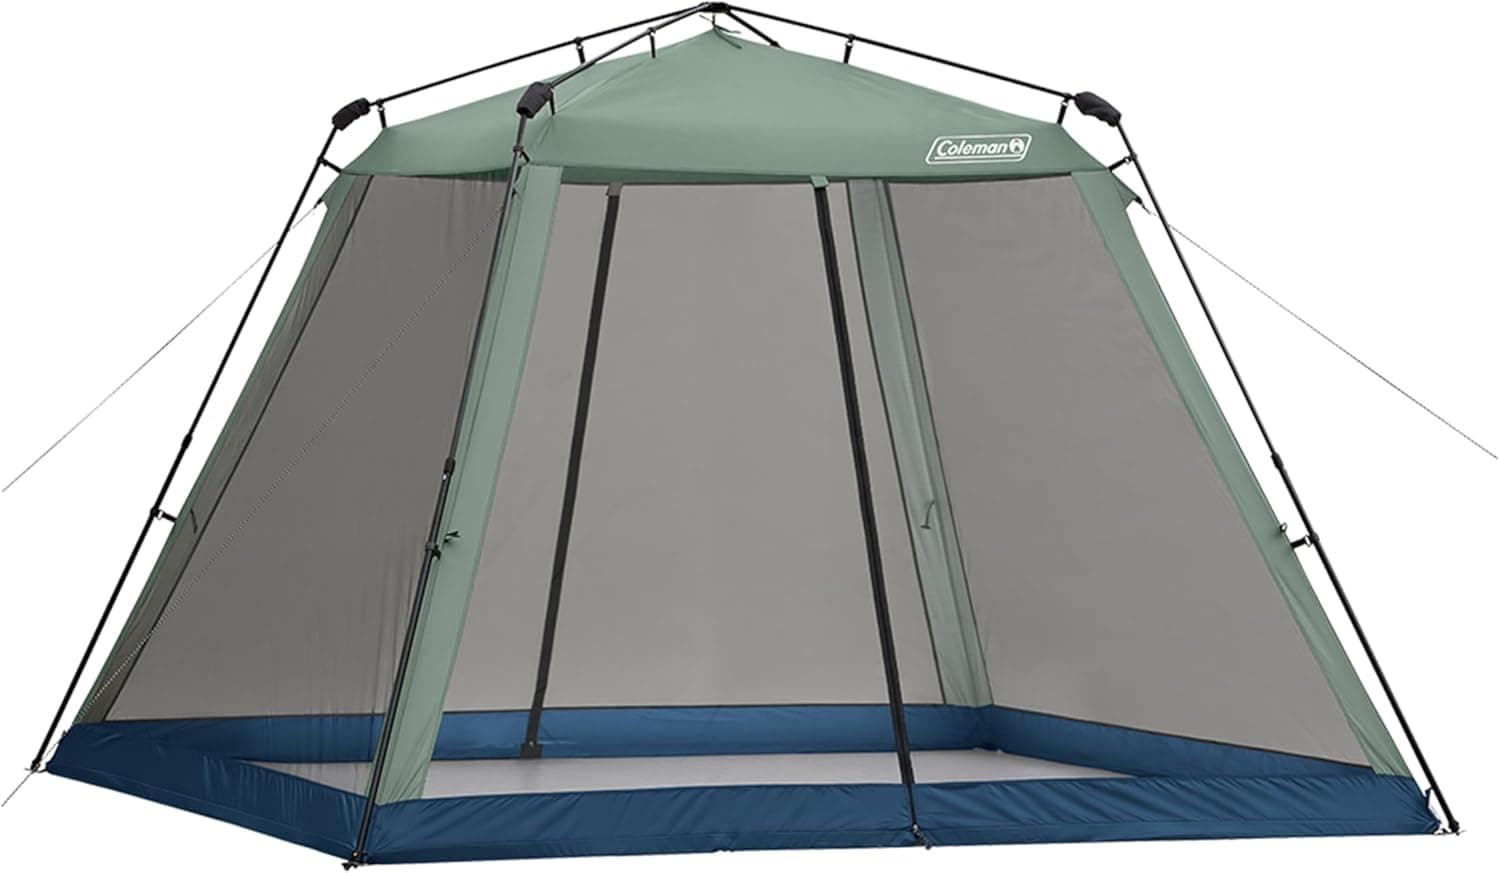
COLEMAN
Coleman Skylodge 10 x 10 Instant Screenhouse
- Footprint
- 10 x 10 ft (100 sq ft)
- Center height
- 7 ft
- Packed weight
- 14.9 lbs
- Setup
- Instant, under 1 minute
- Floor
- Floorless
- Frame
- Steel, one-piece folding
Coleman's push-button instant frame deploys in under a minute, giving you a 100-square-foot bug-free zone that one person can manage solo. UPF 50+ mesh walls and two zippered doors cover the basics without the weight or complexity of a pole shelter.
- Solo-deployable instant frame goes up in under 60 seconds
- 14.9 lbs makes it the lightest full-size option in its class
- Roof is not waterproof: seek cover in rain
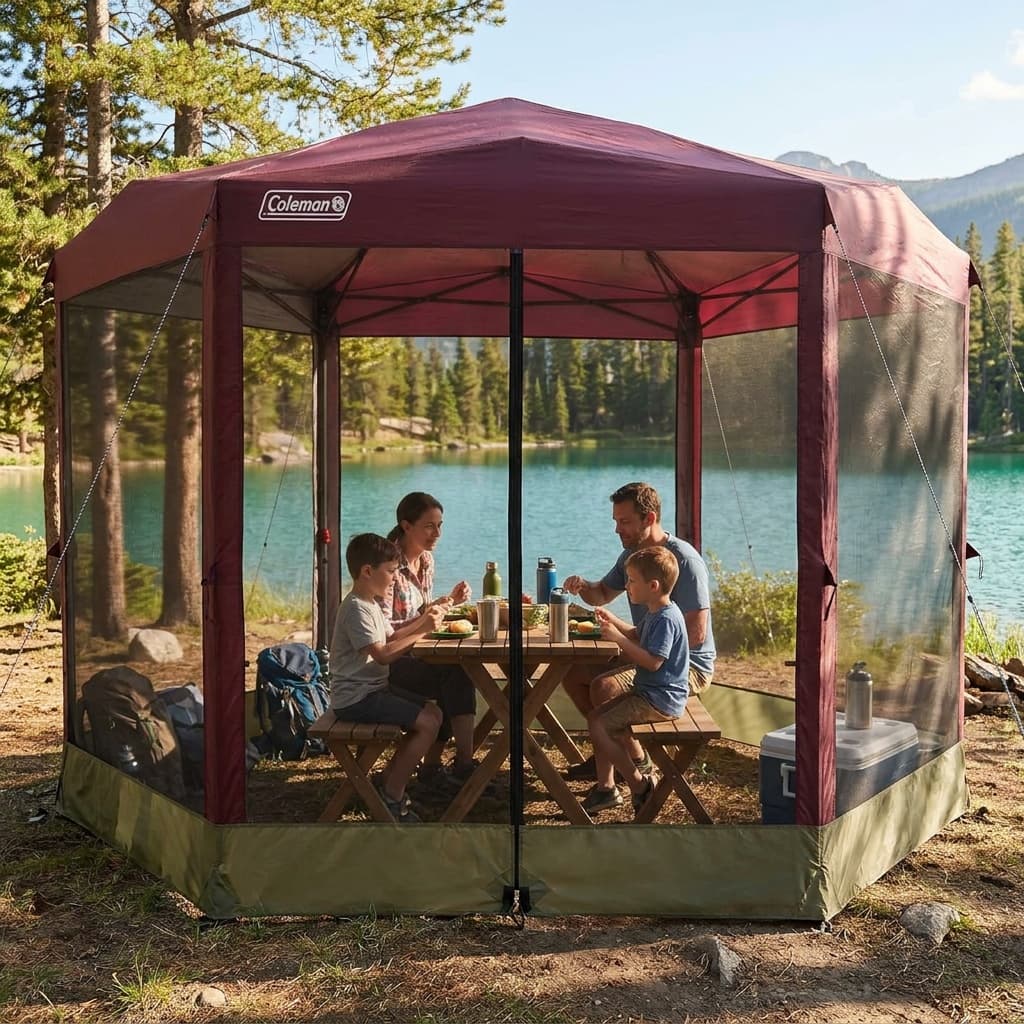
COLEMAN
Coleman Back Home Screened Canopy Tent with Instant Setup
- Footprint
- 10 ft 8 in x 9 ft 2 in (approx. 98 sq ft)
- Center height
- 9 ft
- Packed weight
- 48.7 lbs
- Setup
- Approx. 3 minutes, one-push center hub
- Floor
- Floorless
- Roof
- UPF 50+, water-resistant polyester
The Back Home's OnePeak one-push center hub deploys in about three minutes and stands a full 9 feet at the peak, giving genuine stand-up headroom at the doors. The footprint fits over a standard camp picnic table with room to spare, and the included wheeled carry bag makes transport manageable despite the weight.
- 9 ft center height: one of the tallest in the value segment
- Fits over a picnic table, making it a practical dining shelter at busy campgrounds
- At 48.7 lbs with a bulky packed size, it is not small-car friendly
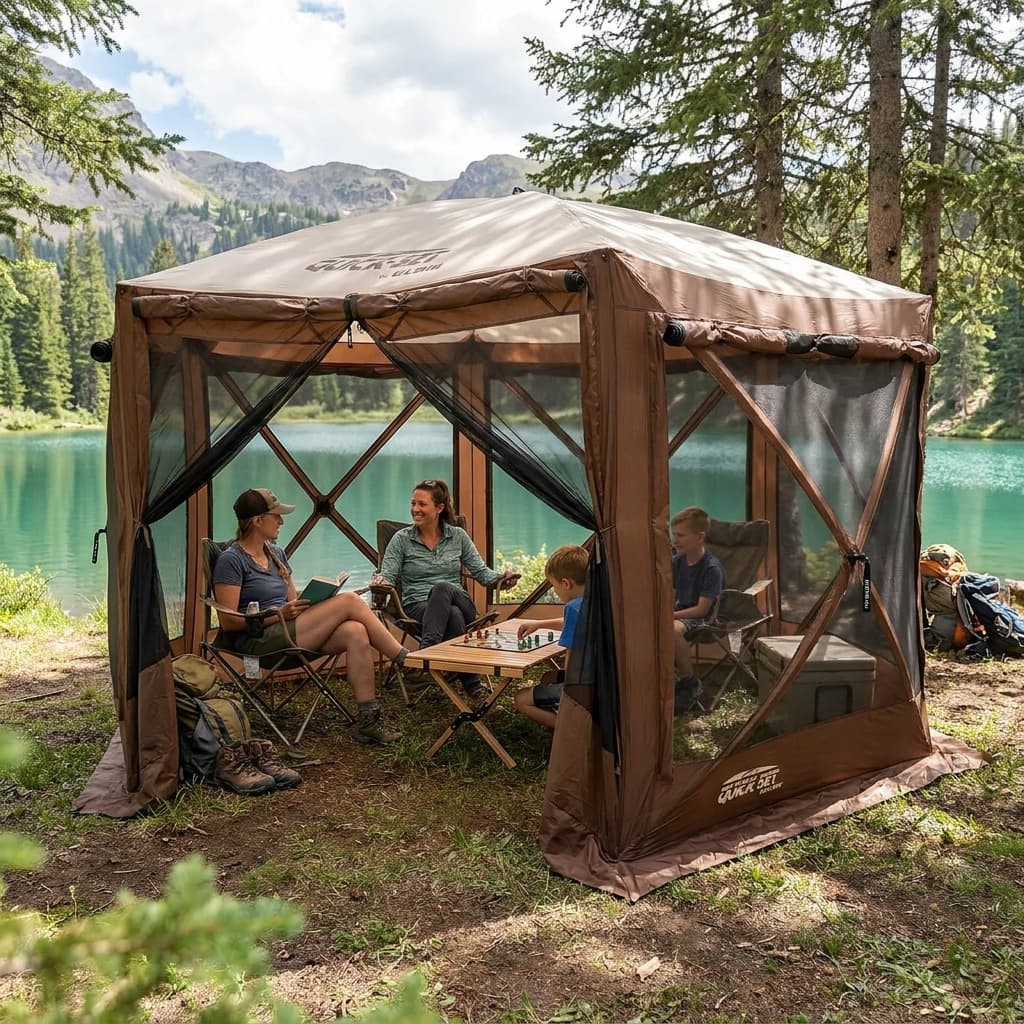
CLAM OUTDOORS
CLAM Quick-Set Pavilion 12.5
- Footprint
- 12.5 x 12.5 ft (approx. 110 sq ft, 6-sided)
- Center height
- 7 ft 10 in
- Packed weight
- 39 lbs
- Setup
- Pop-up hub, under 60 seconds
- Mesh
- No-see-um mesh throughout
- Frame material
- Fiberglass poles, flex-tested
CLAM's hub-and-spoke pop-up design unfolds in under a minute and stands up to bugs at the no-see-um mesh level, blocking the smallest gnats that standard mesh misses. Five integrated wind panels, a water-resistant roof, and fiberglass construction make it one of the most weatherable instant screen shelters available.
- No-see-um mesh blocks tiny biting insects that pass through standard mesh
- Instant hub deployment in under 60 seconds with no loose pole assembly
- At $480+ and 39 lbs, it is a significant investment in both money and cargo space
See all picks in Best screen houses for camping: bug-free shelter that sets up fast
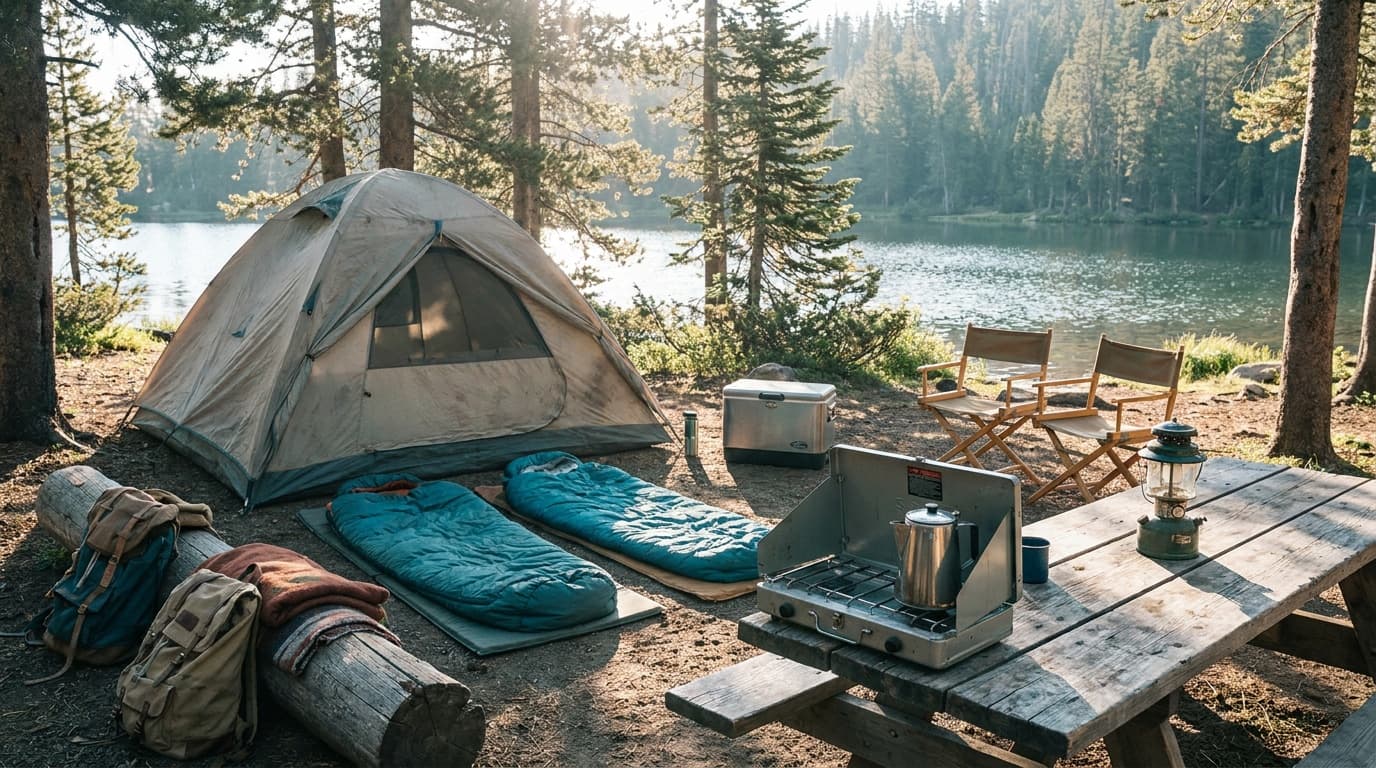
Complete camp loadout
Car-camping starter kit
The first-trip essentials across shelter, sleep, cooking, lighting, seating, and water, with the extras left out.
Build the complete kitRelated guides
Buying guide
Best screen houses for camping: bug-free shelter that sets up fast
The best screen houses for camping ranked on mesh quality, setup speed, rain resistance, and headroom, plus how to pick the right shelter for your site.
Read guide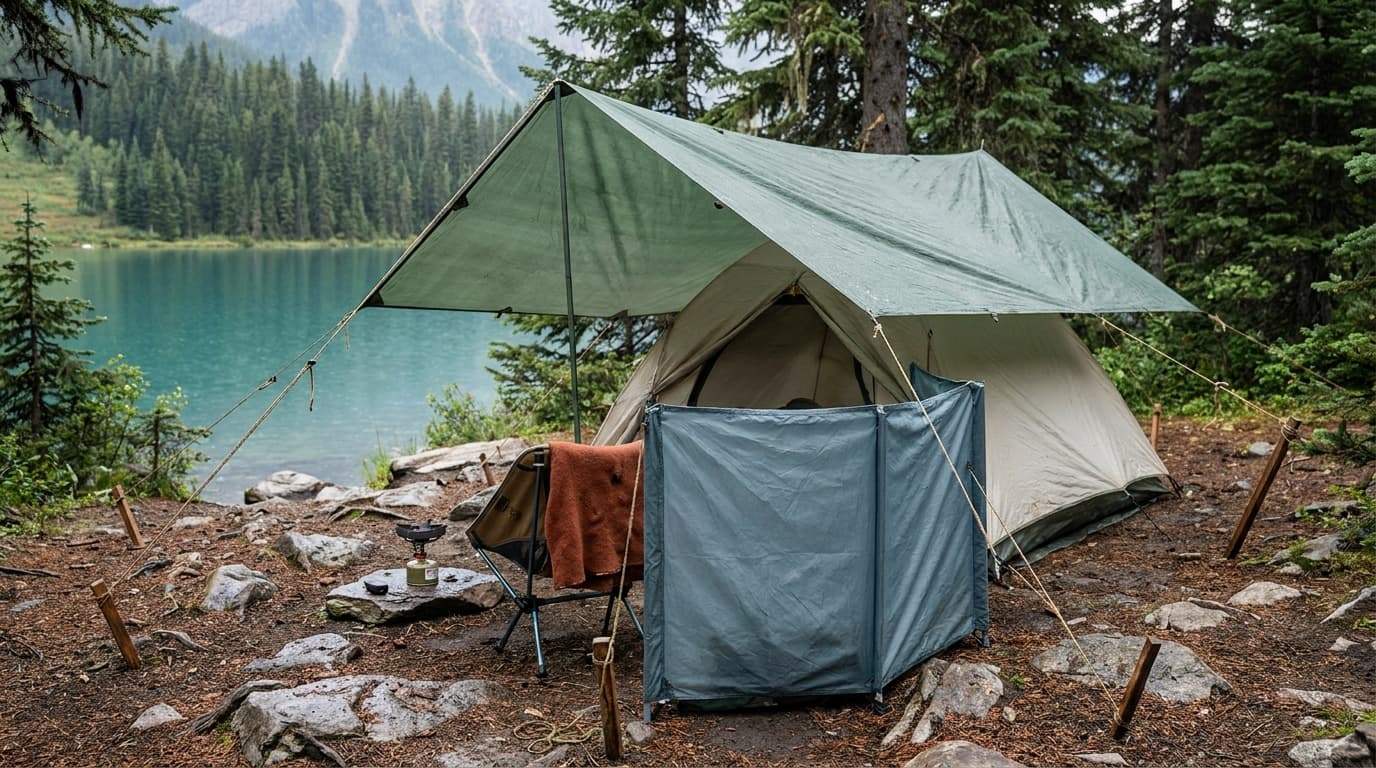
Field guide
Do you need a screen house for camping
A screen house earns its space at buggy lakeside sites during mosquito season. Here is when it is worth the weight and setup cost, and when you can leave it home.
Read guide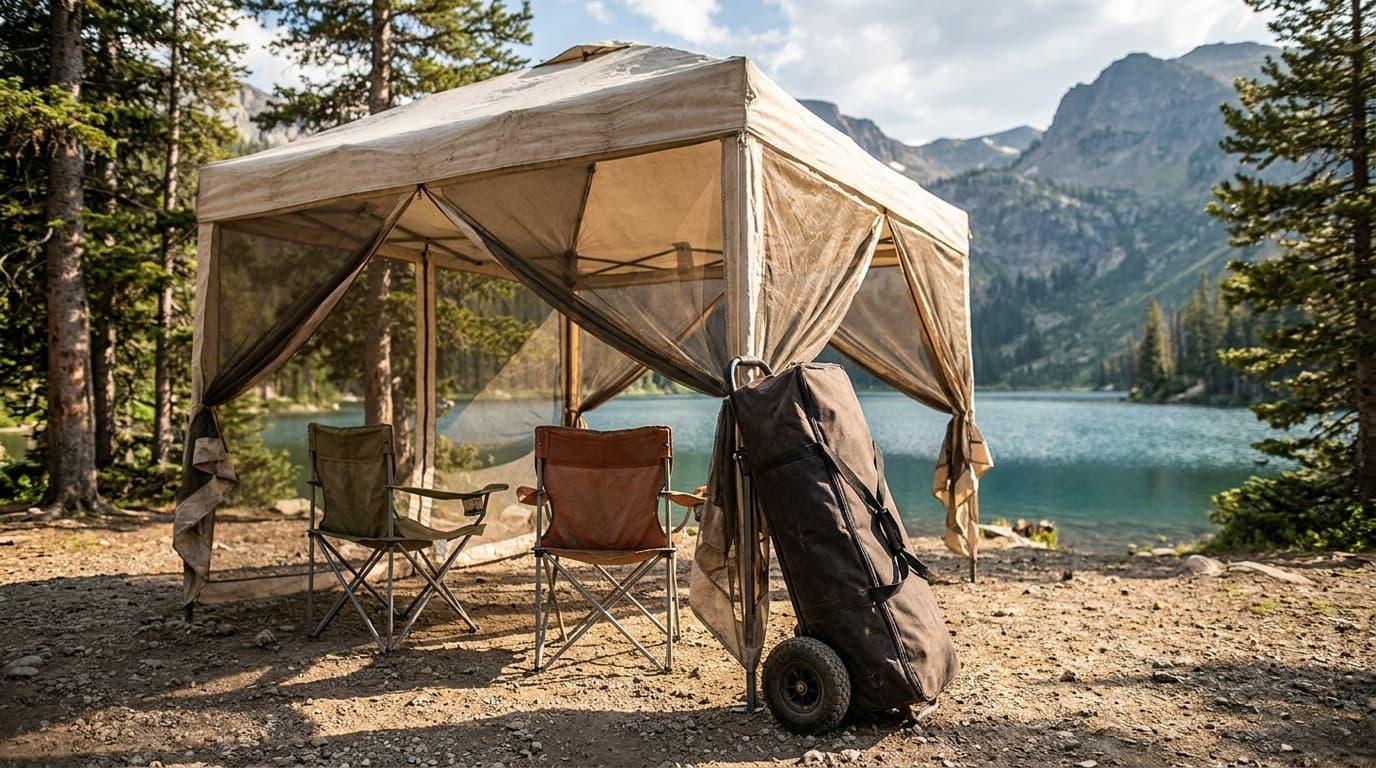
Buying guide
Best pop-up canopies for camping, tailgating, and markets
The best 10x10 pop-up canopies ranked on setup ease, UV protection, frame gauge, wind stability, and value, from budget one-push picks to sturdy market-day shelters.
Read guide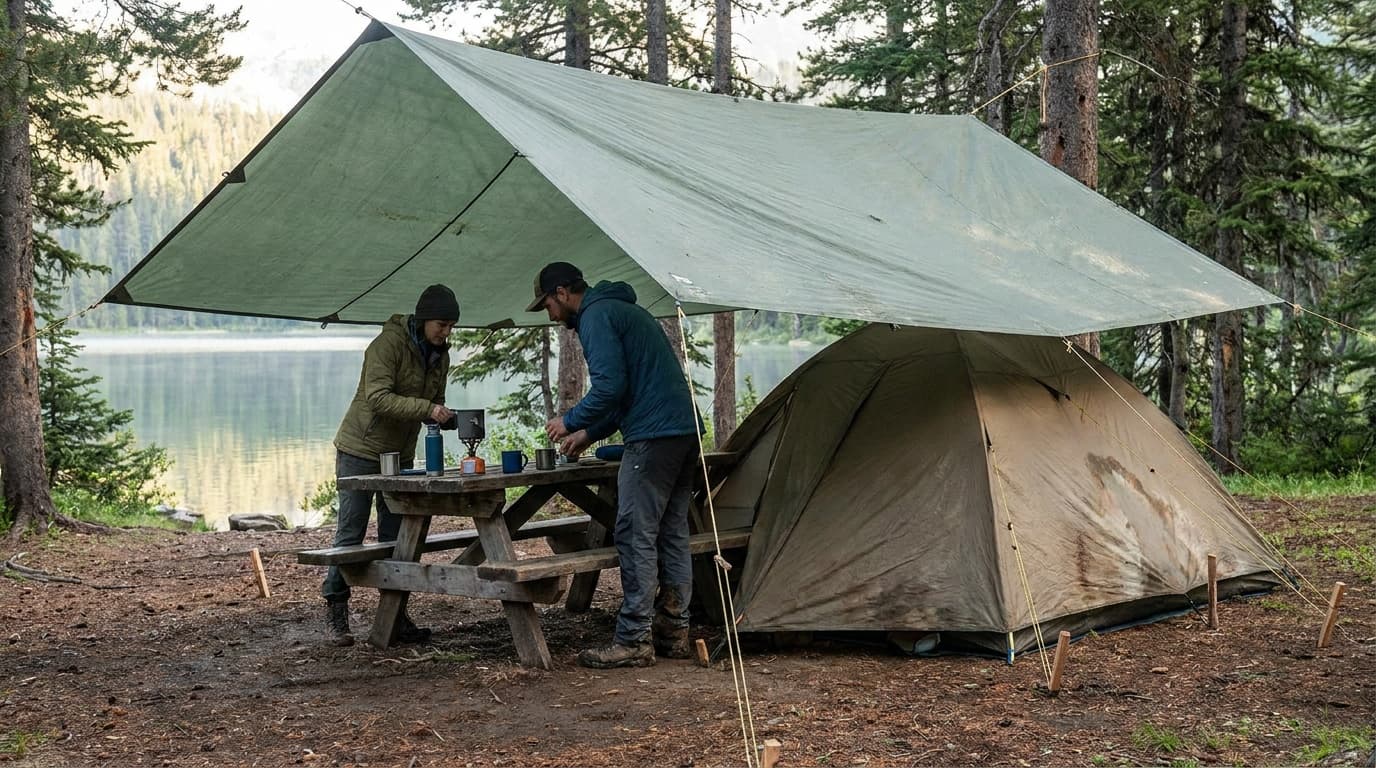
Field guide
How to set up a camping tarp: 3 pitches that work
Step-by-step guide to A-frame, lean-to, and diamond tarp pitches, with ridgeline and guyline tensioning, knot selection, site choice, and staking in wind.
Read guideResearched, not personally tested: picks come from specs, verified-owner reviews, and expert sources, scored into the Kit Score. As an Amazon Associate I earn from qualifying purchases. We may earn a commission from links here, at no extra cost to you. How we research →