We may earn a commission from links on this page, at no extra cost to you.
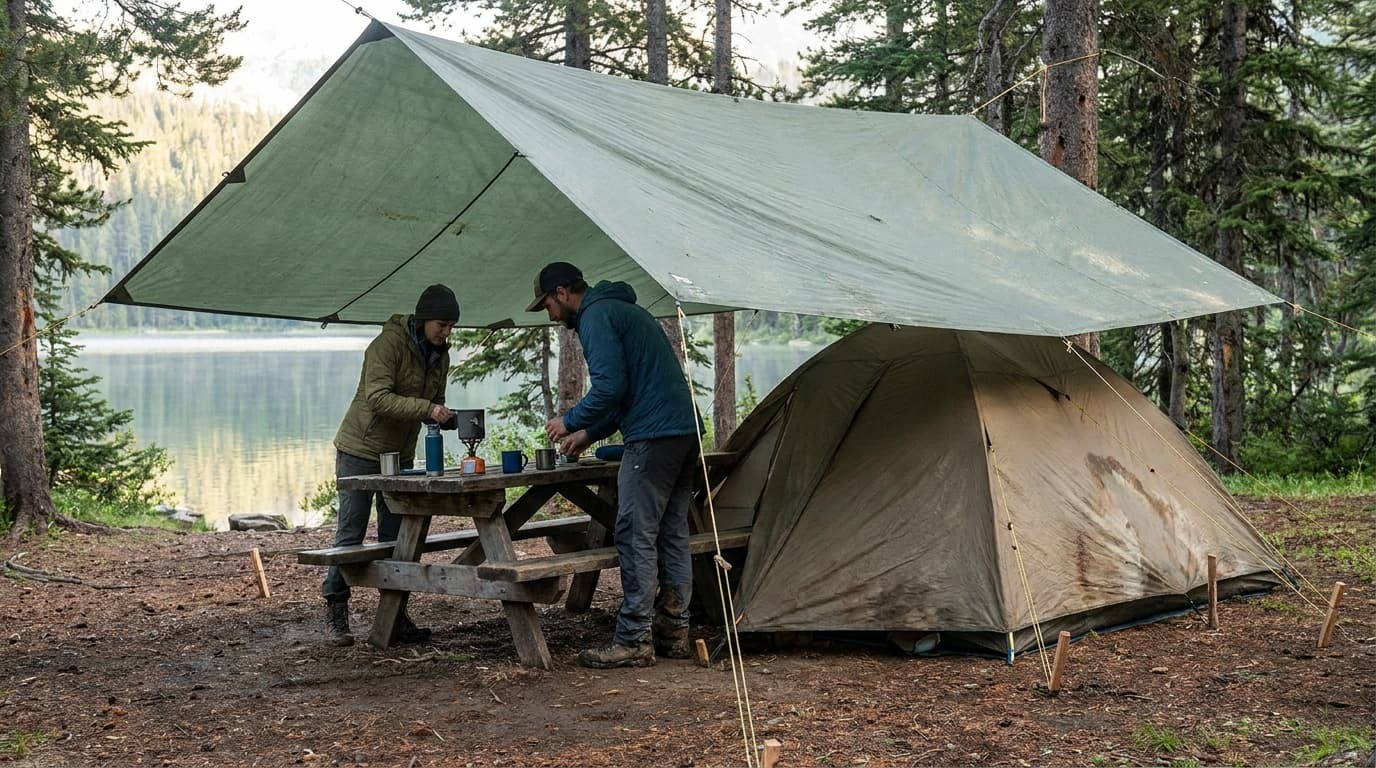
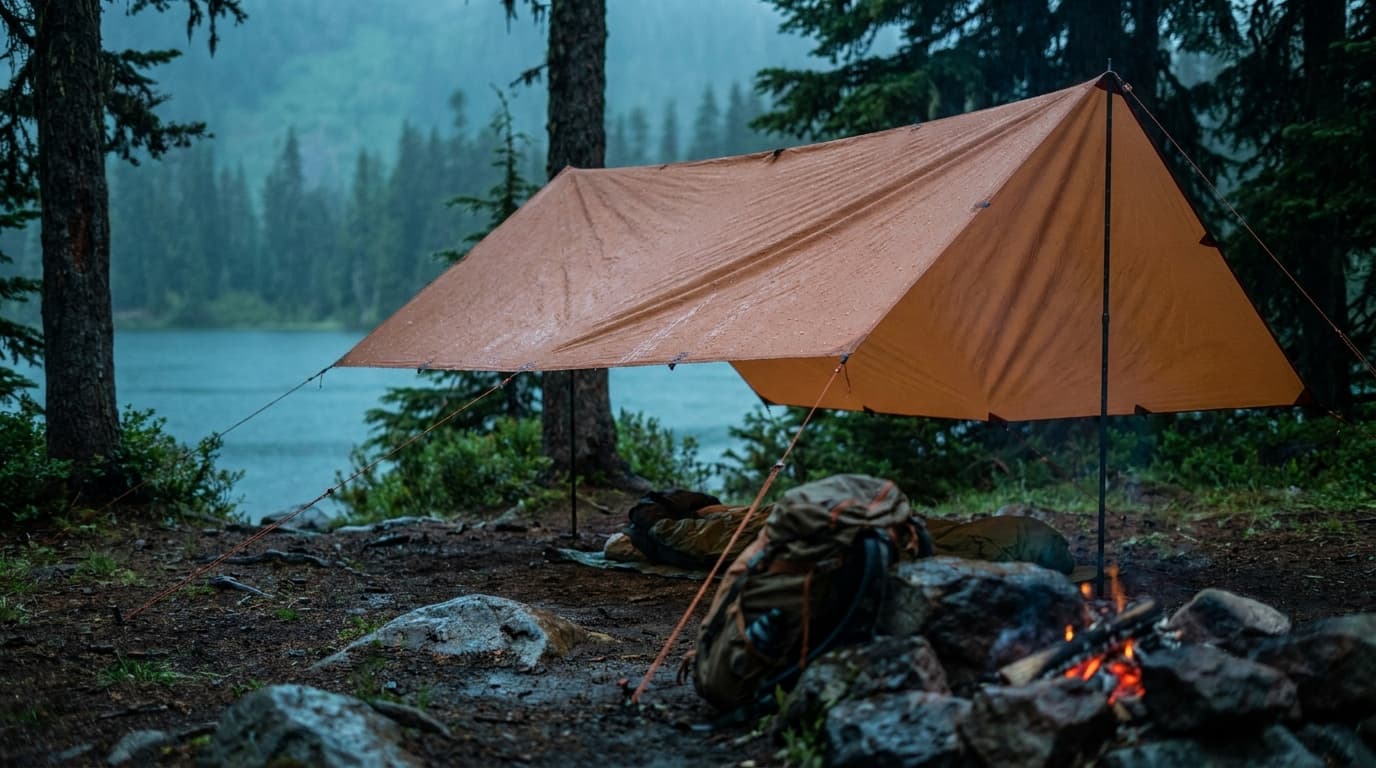
A tarp (a 10x10 like the AquaQuest Safari Tarp covers most setups) gives you flexible, lightweight shelter once you know three pitches and the handful of knots that hold them together. This guide covers everything from picking a site to burying a deadman anchor in sand.
Pick your site first
Everything else goes wrong if the site is wrong. Before you pull out a single cord, look for elevated, flat ground with a natural windbreak on the prevailing-wind side: a stand of trees, a boulder cluster, or a low ridge. Avoid depressions, dry riverbeds, and low pockets where cold air and water collect overnight.
Once you have a spot, orient the shelter so runoff drains downhill and away from where you sleep, not across it. A two-minute scouting lap saves an hour of wet-bag misery.
The three core pitches
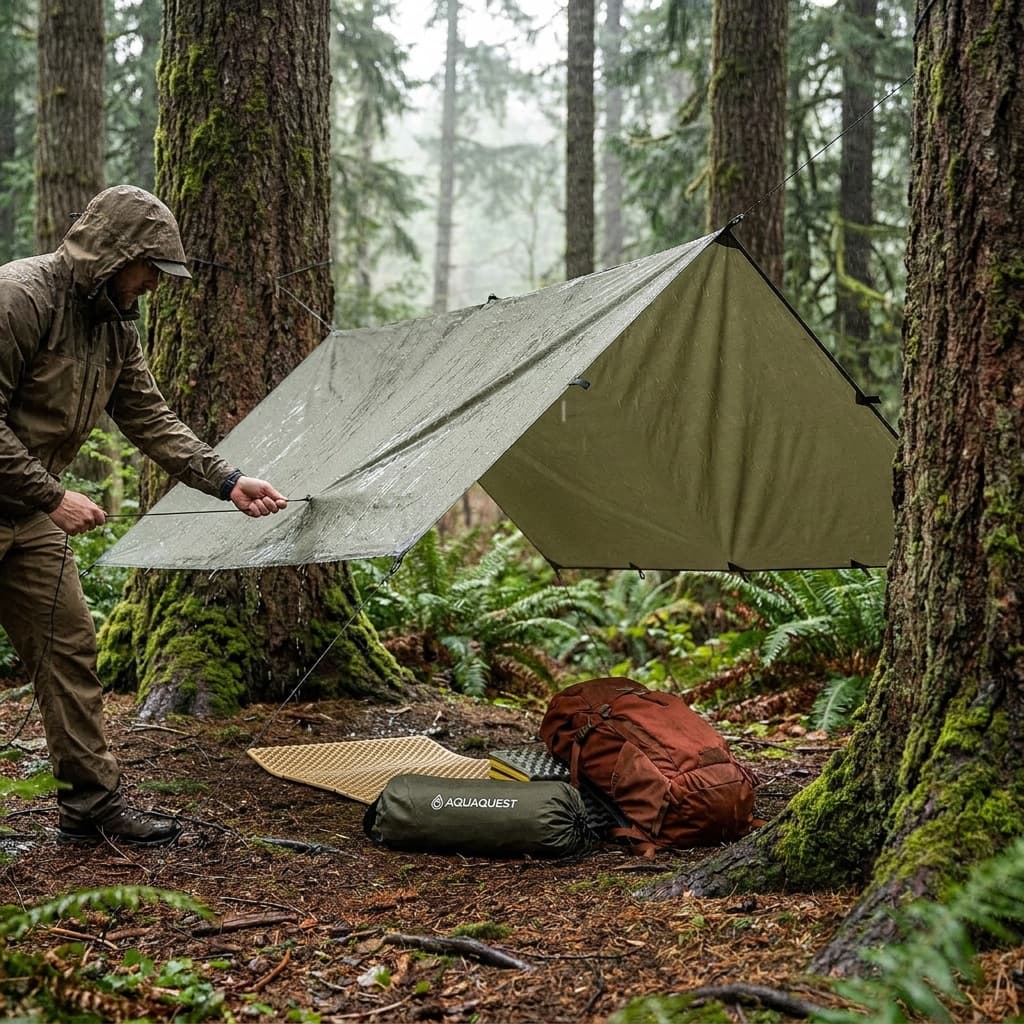
A-frame pitch
String the ridgeline
Run cord between two trees at chest height (roughly 4–5 feet) for calm weather. Drop it to 18–24 inches in wind or heavy rain to cut exposed surface.
Drape and center
Lay the tarp over the ridgeline so equal panels hang on each side. The ridge seam or center row of attachment points sits on the cord.
Stake the corners
Drive stakes at roughly 45-degree angles away from the ridgeline. For a 10x10-foot tarp, your anchor trees need at least 12 feet of clear space between trunks; add a couple of feet at each end for knot-tying room.
Tension and check pitch
Each panel should sit at 30 degrees or steeper. A 9x9-foot tarp hung at 60 degrees gives about 4.5 feet of width and 3.9 feet of headroom at the peak. Flatter than 30 degrees and rain pools.
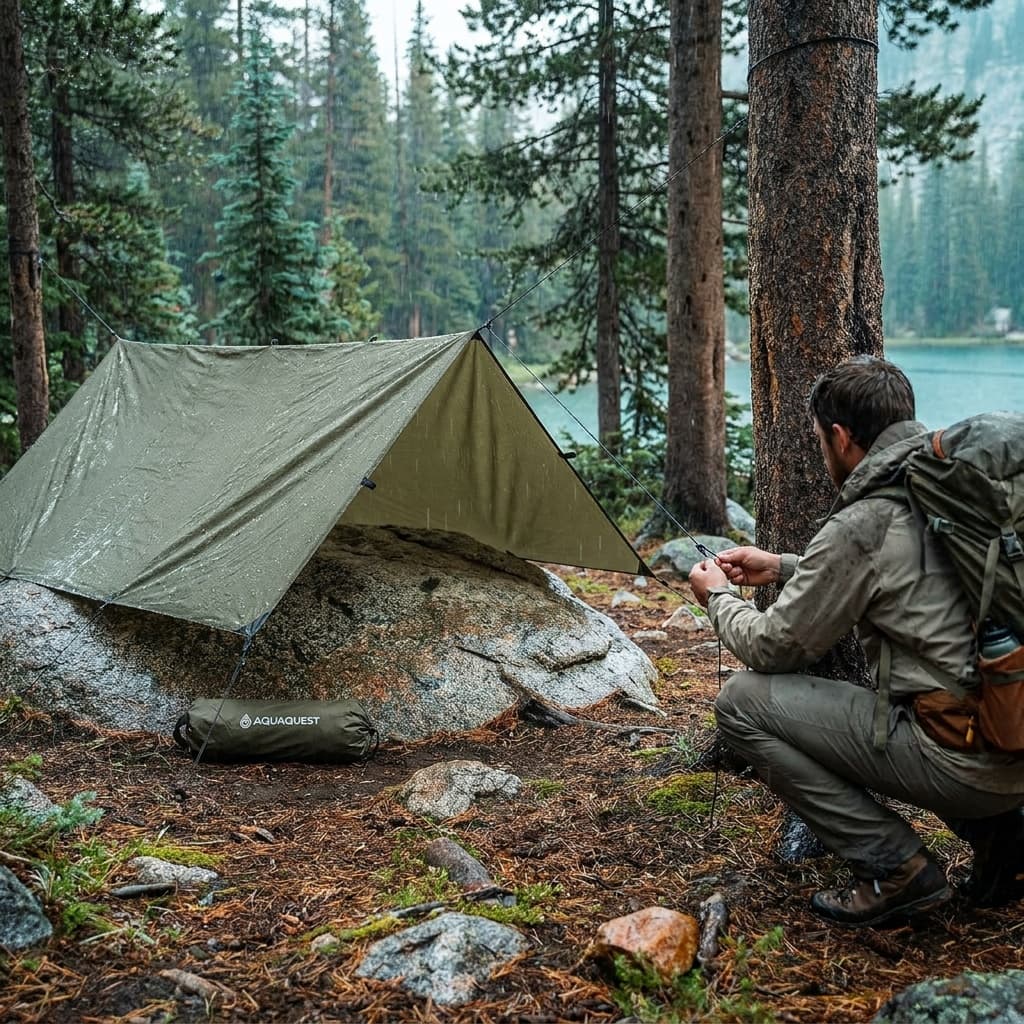
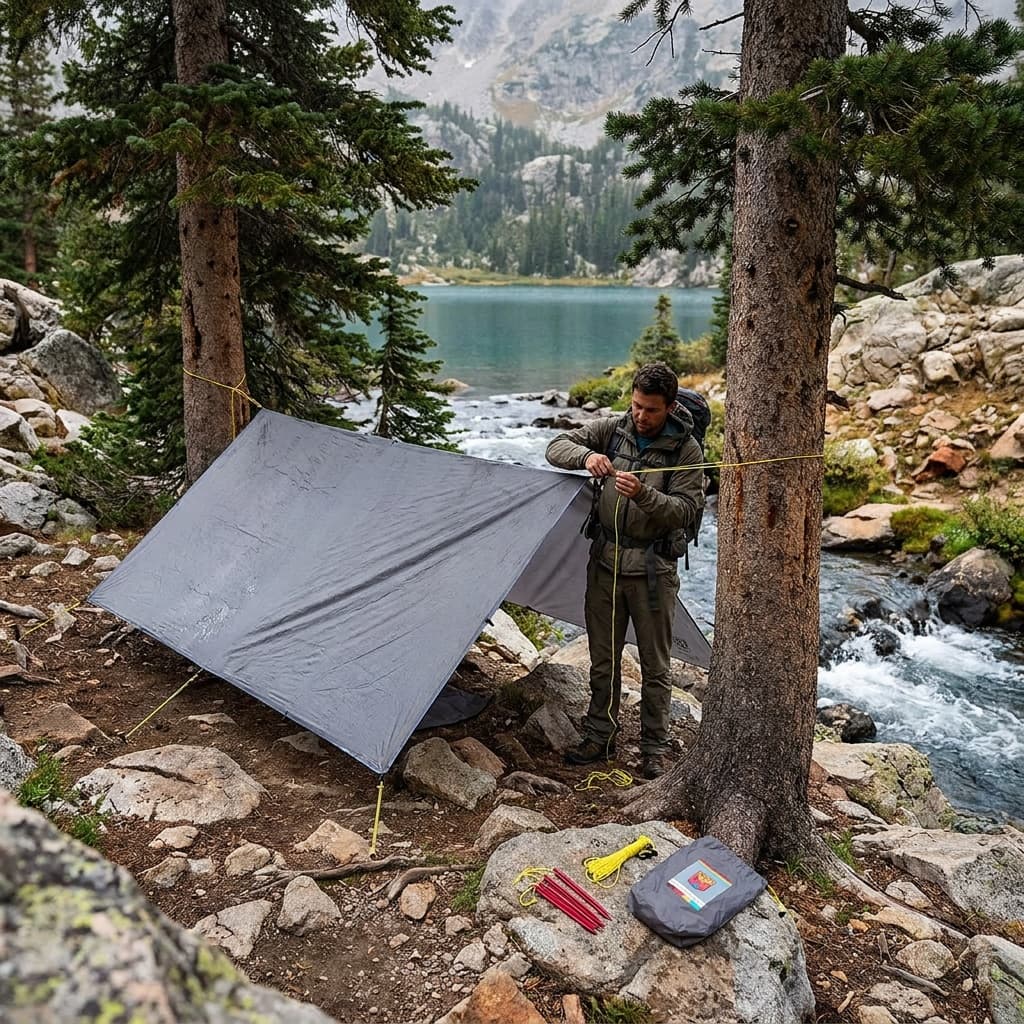
Lean-to pitch
Set the high edge
Attach the long windward edge at shoulder to head height. This is the edge that faces into the wind, not away from it.
Pull the tarp out
Angle it away from the high edge at roughly 30 degrees and stake the opposite (low) edge to the ground.
Add side guylines
If the tarp has side loops, pull them out and stake them to stiffen the panel in gusts.
Check orientation
The high edge always faces the wind. A lean-to pitched backward funnels rain straight under the shelter.
Diamond pitch
Rotate 45 degrees
Orient the tarp so it forms a diamond rather than a square, with a corner pointing forward and a corner pointing back.
Drape the center point
Hang the top corner over the ridgeline at chest height. The tarp now forms a low, peaked tent shape.
Stake front and rear points
Drive stakes at the fore and aft corners, pulling the fabric taut along the ridgeline.
Pull out the side points
Use the left and right corner loops as guylines, staking them out to the sides. This sheds rain on all four faces and gives the smallest footprint of the three pitches.
A nearly flat tarp pools and can collapse under water weight within minutes of heavy rain. Keep every face at 30 degrees or steeper, no exceptions.
Ridgeline and guyline tensioning
Andrew Skurka recommends 8-foot ridgelines and 4-to-6-foot side guylines for a 3-season A-frame; for winter deadman use, ground tie-outs need roughly 6 feet to reach buried anchors.
The cord spec matters: 1.5mm nylon-sheathed cord is the standard for lightweight guylines. Silicone-impregnated (silnylon) tarps like the Paria Outdoor Sanctuary SilTarp stretch when wet or loaded, which means a knot tied to a fixed position will go slack. Use adjustable knots, not fixed ones, and plan on retensioning after the first rain or the first 30 minutes under load.
Tying the ridgeline and guylines
Trucker's hitch on the ridgeline
Wrap the cord around the anchor tree, form a loop in the standing part, thread the working end through the loop, and pull down. The loop acts as a simple 2:1 pulley so you can cinch the line tight with one hand. Lock off with two half-hitches.
Prusik for mid-line attachment
Where a tarp ridge loop clips onto the ridgeline, a prusik knot slides freely when slack but locks under load. You can reposition it without re-tying, which matters when you adjust pitch after dark.
Taut-line hitch on every guyline
Tie the guyline to the stake loop with a taut-line hitch (also called the adjustable guyline hitch). Sliding the knot toward the anchor increases tension; sliding it away releases. This is the knot you reach for every time you need to retension after rain.
Two half-hitches to finish
Any terminal attachment at a tree, stake head, or anchor loop gets finished with two half-hitches to keep it from walking loose under repeated load.
Staking in wind
Drive stakes nearly vertical, not at 90 degrees to the ground. Angle the stake top slightly away from the direction of pull. This geometry keeps the stake from levering out under a sustained load.
For standard conditions, 7-inch Y-profile or V-profile aluminum stakes give good holding power without excessive weight. For soft or sandy soil, stakes alone are not enough.
Deadman anchors for soft or sandy ground
Find your anchor material
Use a stick at least as long as your fist, a flat rock, or a stuff sack you can fill with rocks or dense soil.
Tie the guyline
Attach the guyline to the center of the stick or through the stuff sack closure. Leave enough tail to reach the surface.
Dig the trench
Scrape out a slot 6 to 12 inches deep and slightly longer than your anchor. The slot should run perpendicular to the direction of pull.
Bury horizontally
Lay the anchor flat in the slot. The cord runs up and out toward the tarp. Pack the soil firmly above it. The weight of the earth above provides the holding force.
Test before you sleep
Give the guyline a firm tug. If the anchor shifts, dig deeper or add a second anchor in a T-configuration above the first.
Putting it together: which pitch for which conditions
| Condition | Best pitch | Why |
|---|---|---|
| Calm, 3-season | A-frame | Good headroom, balanced coverage |
| Strong wind from one direction | Lean-to | Low profile into the wind |
| Heavy rain, minimal footprint | Diamond | Rain sheds on all four faces |
| Unknown conditions | A-frame, lowered ridge | Versatile; easy to adjust in the field |
For gear pairings, see our guide to the best camping tarps for current options across silnylon, silpoly, and DCF fabrics.
FAQ
How far apart do my anchor trees need to be for a tarp?
For a 10x10-foot tarp in an A-frame, plan on at least 12 feet of clear space between trunks. Add a couple of extra feet for knot-tying room at each end. If your trees are farther apart, just run more cord: 30 feet of ridgeline is a reasonable starting point for most 10x10 setups.
What knot should I use to tension a tarp ridgeline?
Use a trucker's hitch at one end. It acts as a simple 2:1 pulley, letting you pull the line tight with one hand before locking it off with two half-hitches. For mid-line attachment points, such as tarp loops that clip onto the ridgeline, a prusik knot grips under load but slides when you need to reposition.
What do I do if I cannot stake into the ground because the soil is too hard or too soft?
Two options. Hard ground: use rocks to pin stakes or wrap guylines around heavy boulders. Soft or sandy ground: make deadman anchors. Tie your guyline to a stick, a flat rock, or a stuff sack filled with rocks, bury it 6 to 12 inches deep horizontally, and pack the soil. The weight of the earth above it provides the holding force.
Browse all camp gear or read about how we research and rate the products and techniques on this site.
Recommended gear
Our current top picks from the Best camping tarps: top picks for backpacking and camp guide, if you are ready to buy.
AQUAQUEST
AquaQuest Safari Tarp 10x10
- Material
- 70D ripstop silnylon, dual silicone/PU coating
- Waterproof rating
- 5,000 mm hydrostatic head, heat-taped seams
- Size
- 10 x 10 ft (finished 9'7" x 9'7"), 92 sq ft
- Weight
- 1 lb 11 oz (includes stuff sack)
- Tie-outs
- 19 reinforced grosgrain webbing loops
- Warranty
- Lifetime
The Safari is built on 70D silnylon, a step up from the 40D construction you find in most sub-$100 tarps, which pays off in abrasion resistance and long-term seam integrity. Nineteen webbing loop tie-outs and factory heat-taped seams give beginners real confidence in the rain without demanding cottage-gear money.
- 19 reinforced tie-outs and a ridgeline webbing brace make it one of the most configurable tarps at this price
- 70D dual-coated silnylon outperforms lighter-denier alternatives in abrasion and long-term seam durability
- Some early units carried a factory chemical odor that required several days of airing before use
AQUAQUEST
AquaQuest Guide Tarp 10x7
- Material
- 40D ripstop silnylon, dual silicone/PU coating
- Waterproof rating
- 5,000 mm hydrostatic head, seam-taped
- Size
- 10 x 7 ft (finished 9'7" x 6'7"), 64 sq ft
- Weight
- 0.9 lbs (tarp and stuff sack)
- Tie-outs
- 13 reinforced webbing loops including center hang point
- Packed size
- 11.5 x 4.5 x 3 in
The Guide's 40D silnylon fabric and dual waterproof coatings deliver the same 5,000 mm rating as AquaQuest's heavier models at a fraction of the weight, making the 0.9-lb 10x7 a capable backpacking shelter for solo trips in three-season conditions. Owner reports document it holding up through sustained 30 mph winds and multi-day rain without seam failure.
- Sub-1-lb weight with full silnylon construction and 5,000 mm rating is uncommon at this price point
- 13 webbing tie-outs including a center ridgeline hang point add versatility without adding bulk
- 64 sq ft covers one person comfortably but is snug for two with gear in heavy rain
PARIA OUTDOOR PRODUCTS
Paria Outdoor Sanctuary SilTarp 12x10
- Material
- 30D ripstop silnylon, dual silicone/PU coating
- Waterproof rating
- 5,000 mm hydrostatic head, factory-taped seams
- Size
- 12 x 10 ft flat cut, 120 sq ft
- Weight (full kit)
- 23.5 oz (tarp, 6 stakes, 60 ft Dyneema cordage, 6 LineLoc adjusters)
- Tie-outs
- 16 perimeter loops plus 1 center ridge loop
- Warranty
- Lifetime, 60-day returns
The Sanctuary SilTarp ships as a complete system: 30D silnylon tarp, 60 feet of reflective Dyneema cordage pre-cut into 10-foot sections, six aluminum LineLoc adjusters, and six aluminum Y-stakes. For campers who want a ready-to-use silnylon shelter at under $100, this kit removes the usual setup tax of sourcing stakes and guylines separately.
- Full kit included at launch (Dyneema guylines, aluminum Y-stakes, LineLoc adjusters) so the purchase price is the actual cost to set up
- 30D silnylon with factory-taped seams and a 5,000 mm rating for genuine weatherproofing at a budget price
- 30D fabric is on the thinner end of silnylon options and shows more wear in high-friction setups than 40D or 70D alternatives
See all picks in Best camping tarps: top picks for backpacking and camp
Complete camp loadout
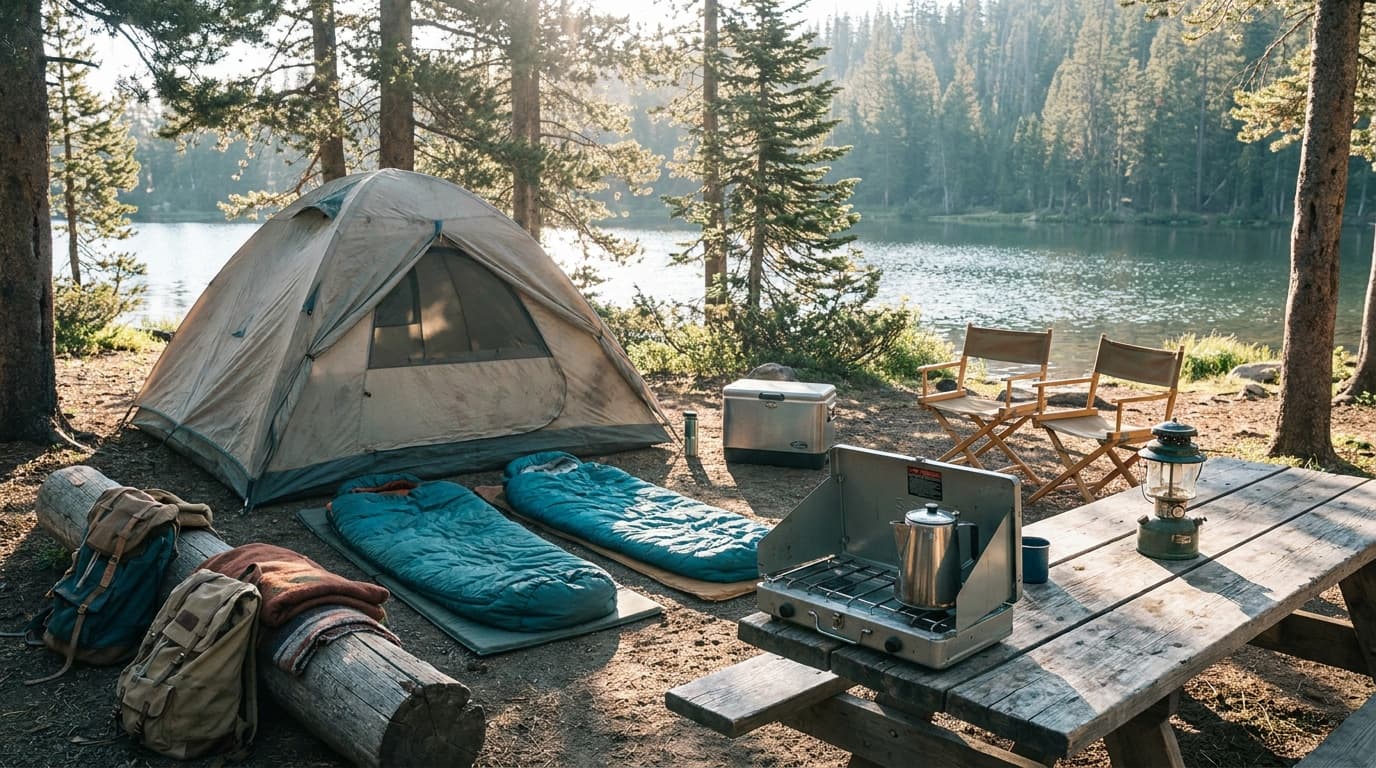
Car-camping starter kit
The first-trip essentials across shelter, sleep, cooking, lighting, seating, and water, with the extras left out.
Build the complete kitRelated guides
Buying guide
Best camping tarps: top picks for backpacking and camp
The best camping tarps for 2026, from ultralight silnylon options under 1 lb to bomber 12x10 group shelters. Picks for every budget and trip type.
Read guide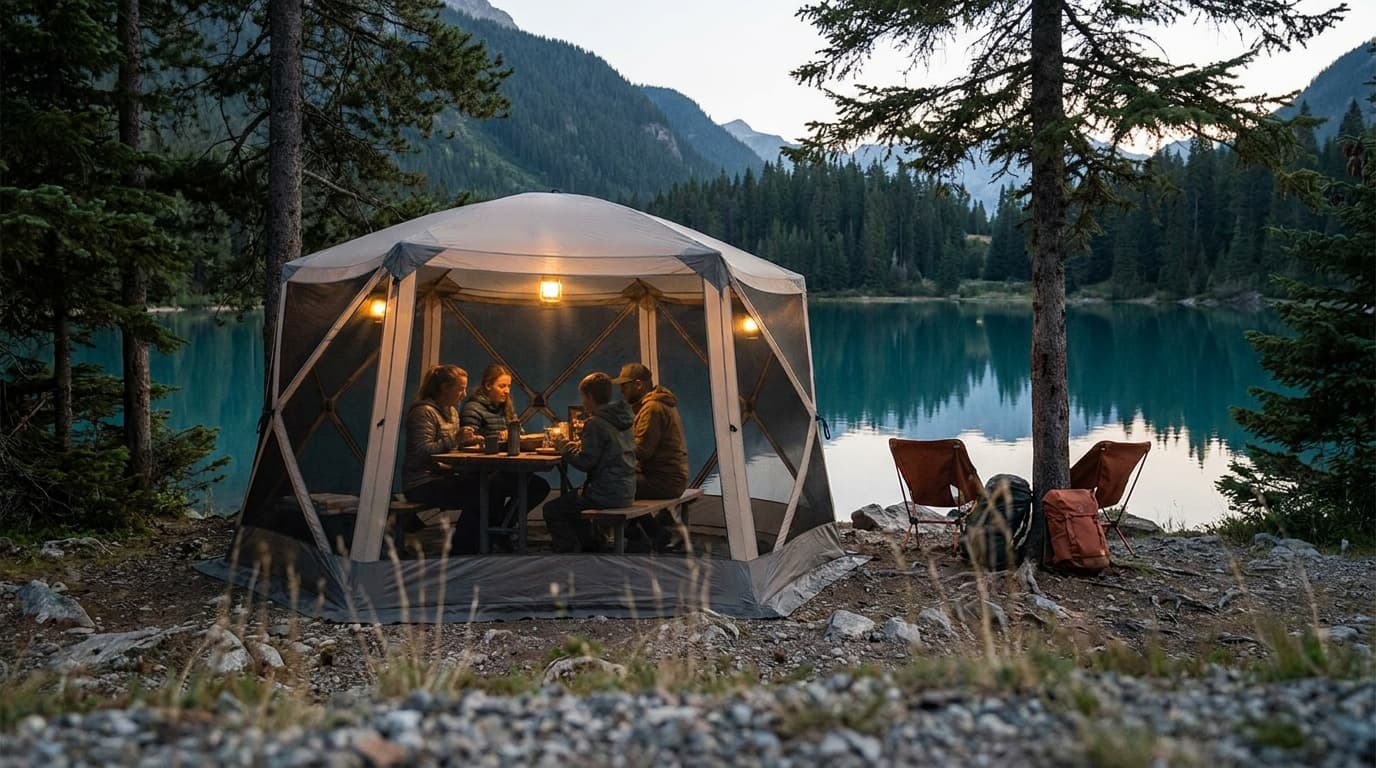
Buying guide
Best screen houses for camping: bug-free shelter that sets up fast
The best screen houses for camping ranked on mesh quality, setup speed, rain resistance, and headroom, plus how to pick the right shelter for your site.
Read guide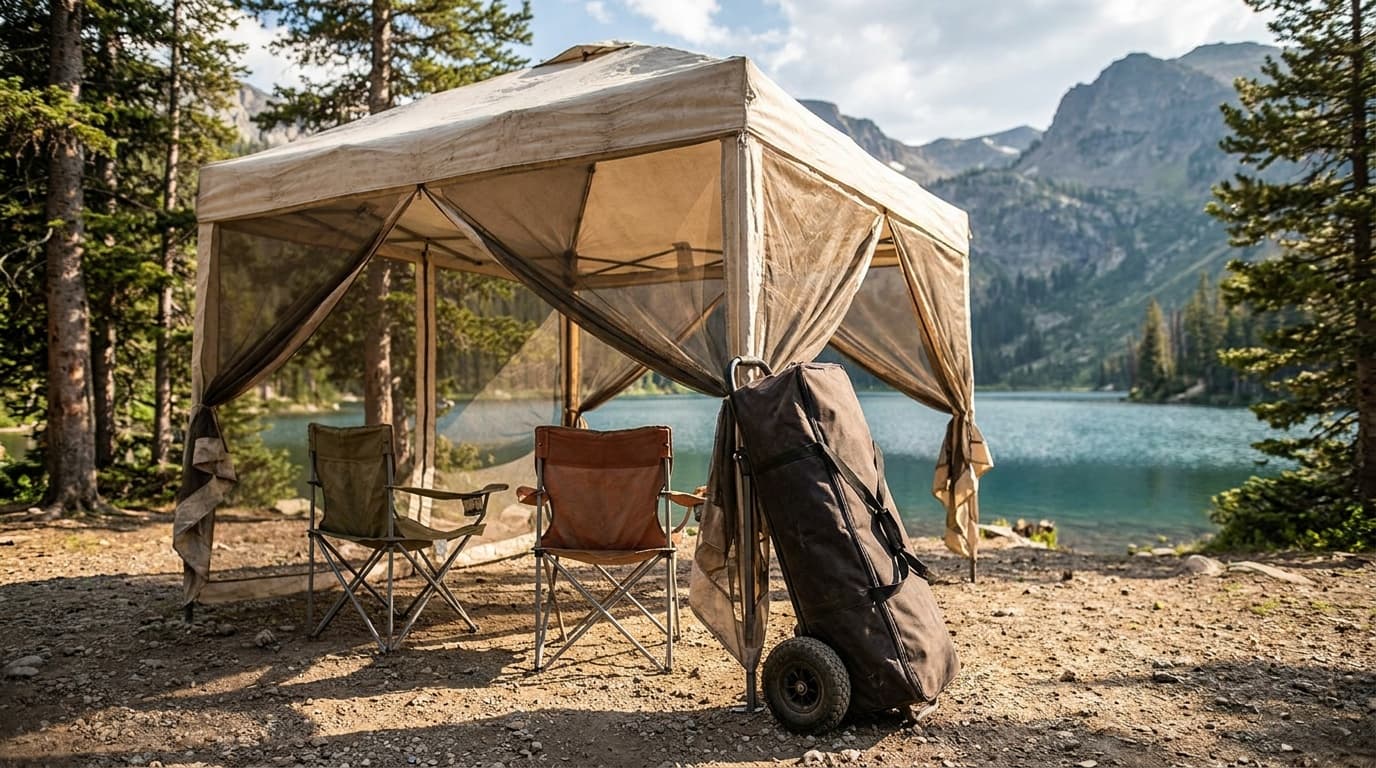
Buying guide
Best pop-up canopies for camping, tailgating, and markets
The best 10x10 pop-up canopies ranked on setup ease, UV protection, frame gauge, wind stability, and value, from budget one-push picks to sturdy market-day shelters.
Read guide
Buying guide
Best camping cookware sets for backpacking and car camp (2026)
Four camping cookware sets compared by packed weight, capacity, material, and group size, from a 6.2 oz titanium solo set to a four-person camp kitchen.
Read guideResearched, not personally tested: picks come from specs, verified-owner reviews, and expert sources, scored into the Kit Score. As an Amazon Associate I earn from qualifying purchases. We may earn a commission from links here, at no extra cost to you. How we research →