We may earn a commission from links on this page, at no extra cost to you.
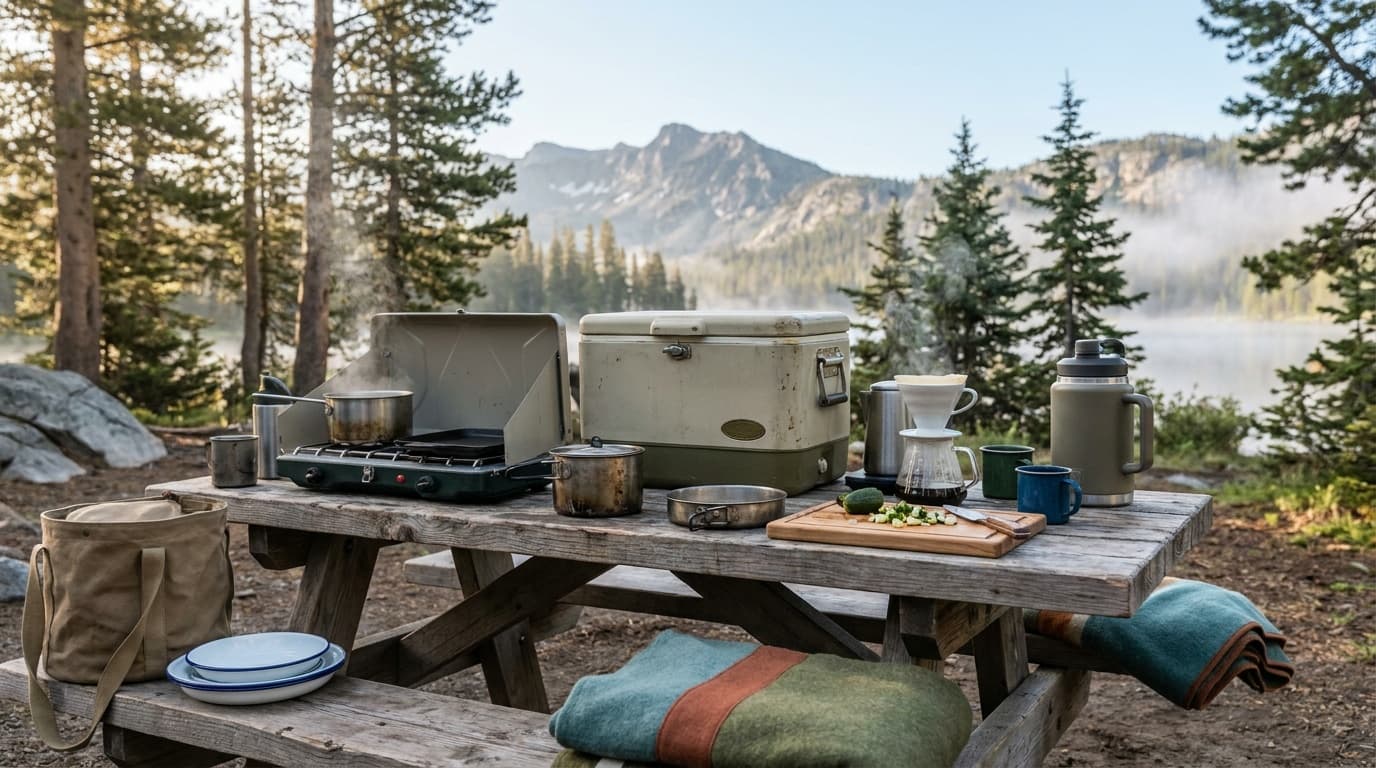
Good camp coffee is mostly a logistics problem. Pick the right method for your trip type, dial in grind size and ratio, and the actual brewing is straightforward anywhere you can boil water.
Which method fits which trip
The method you choose should match your trip's weight budget, group size, and how much the cup quality matters to you.
Ultralight backpacking: Instant packets or a collapsible pour-over dripper. Instant packets weigh under 0.11 oz each and produce zero equipment to clean. A pour-over dripper like the GSI Outdoors Ultralight Java Drip comes in at 0.4 oz and delivers a meaningfully better cup if you are willing to carry paper filters.
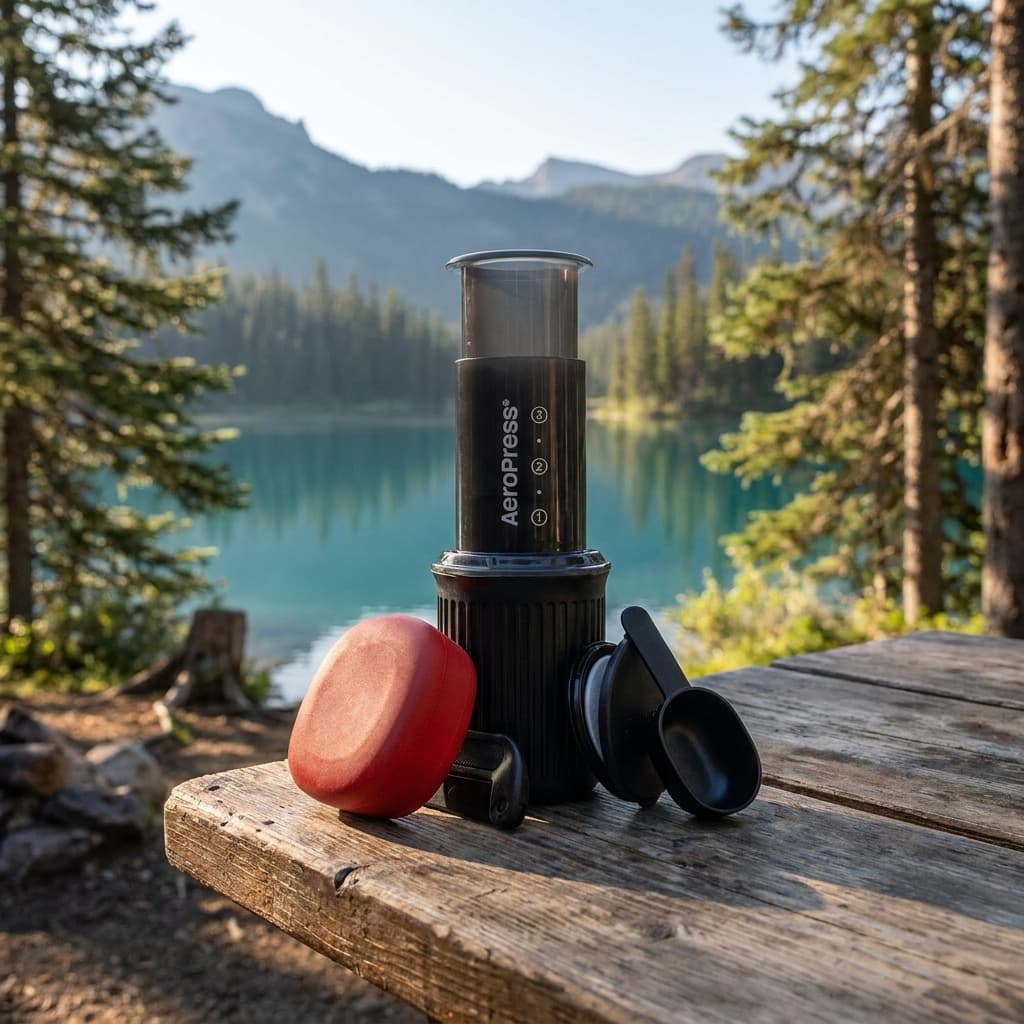
Weekend backpacking (solo or two): AeroPress. It weighs 8 to 11.5 oz depending on the model, brews in 1 to 2 minutes total, and the cleanup takes about 10 seconds. The AeroPress Go was designed for travel specifically.
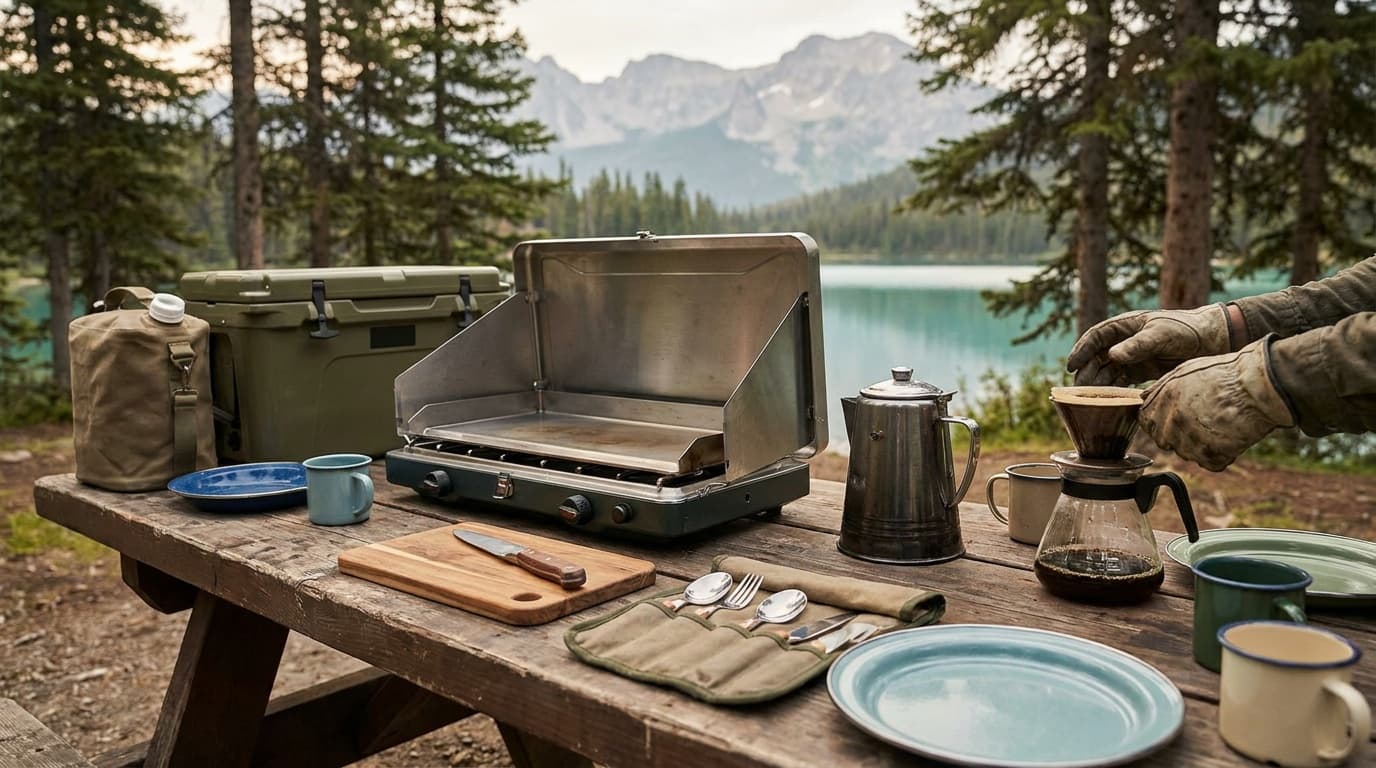
Canoe trip or car camping (solo or two): AeroPress or a small pour-over. Both are compact, easy to pack, and scale down cleanly for one or two people.
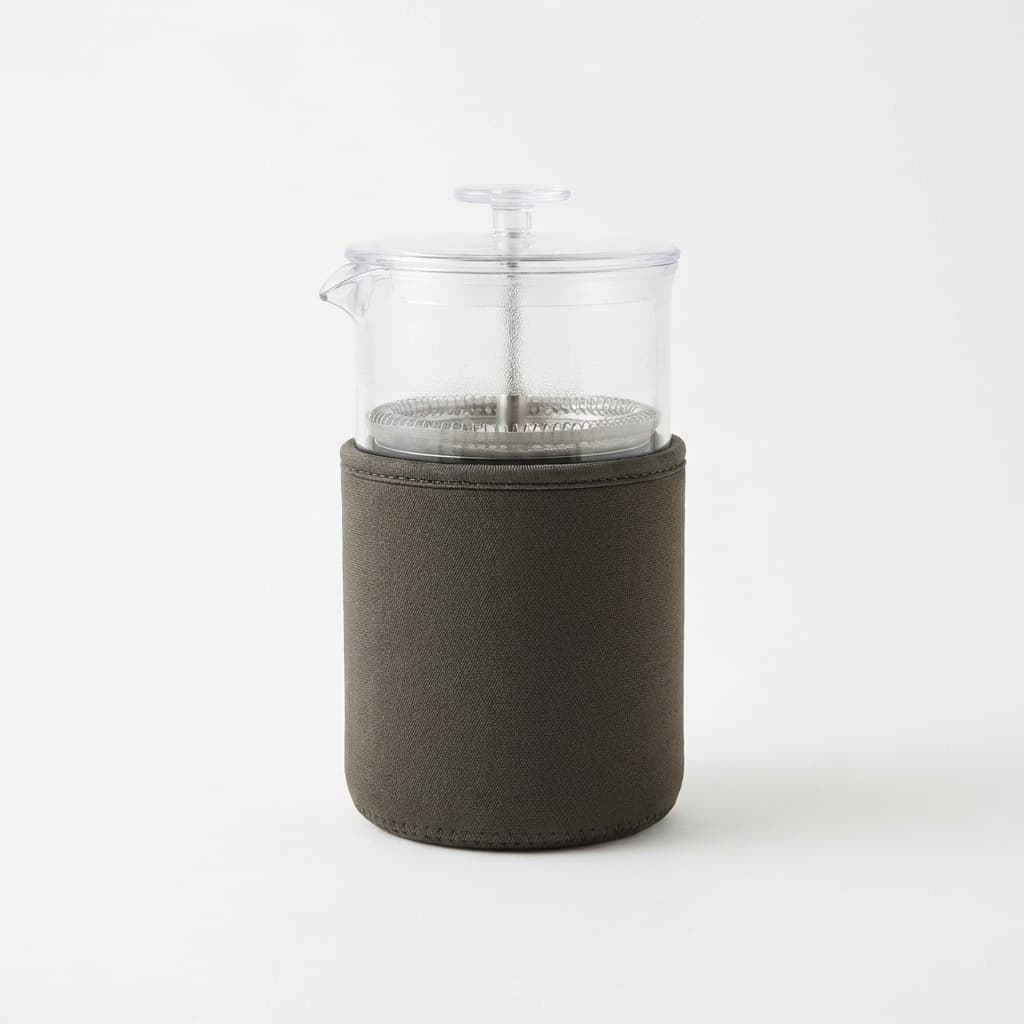
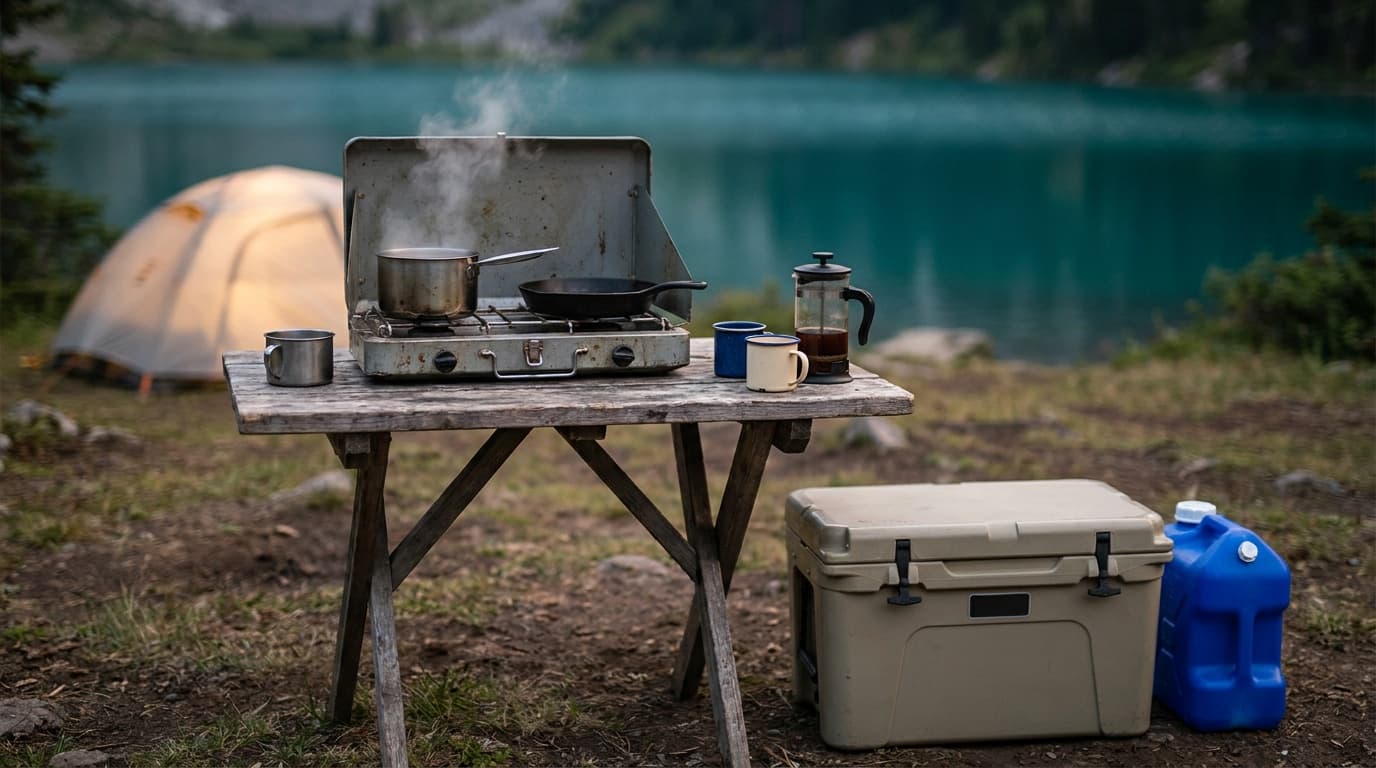
Car camping (group): French press or percolator. A group-size French press such as the Planetary Designs BaseCamp weighs 34.5 oz and brews 2 to 4 cups at once; the camp-specific GSI Outdoors JavaPress is a lighter alternative. A percolator over a camp stove or fire handles even larger batches.
Basecamp with a fire: Percolator. A big batch stays warm on the grate, and the flavor is secondary to volume.
For gear recommendations across all of these scenarios, see our guide to the best camp coffee makers.
Grind size: the one variable that breaks most camp coffee
Grind size determines how fast water extracts from the grounds. Get it wrong in either direction and the cup suffers: too fine means over-extraction and bitterness, too coarse means under-extraction and a weak, sour result.
Coarse (texture of coarse sea salt): French press, percolator. Both use long contact time, so a fine grind would over-extract badly.
Medium-fine (texture of table salt): AeroPress. The short steep and pressure of the press compensate for a finer grind and produce a concentrated, rich cup.
Medium (between the two): Pour-over. The dripper flow rate assumes medium particles. Too fine and the water backs up and stalls; too coarse and it channels straight through.
If you grind at home before a trip, grind fresh the morning you leave, seal the ground coffee in an airtight bag, and it will hold for three to four days without noticeable degradation.
Water temperature without a thermometer
Bring your water to a full boil, then take the pot off heat and wait 30 seconds. That drops the temperature from 212 F down to roughly 200 to 205 F, which sits squarely in the SCA-recommended brewing window of 195 to 205 F. This works for every method.
For dark-roast AeroPress coffee, wait a full minute off heat (landing closer to 185 to 190 F) to soften bitterness. For instant coffee, temperature precision does not matter at all.
Thirty seconds off the boil is all it takes to hit the SCA sweet spot of 195 to 205 F without carrying a thermometer.
Ratios by method
The Specialty Coffee Association Gold Cup Standard sets the ideal brewing ratio at 55 grams of coffee per liter of water, roughly 1:18, with a target extraction yield of 18 to 22%. In practice, each brewing method has a slightly different working ratio.
- French press: 1:15. Grounds steep in the water, so a more concentrated dose prevents the cup from tasting flat.
- AeroPress: 1:15 to 1:17, flexible by preference. The pressure of pressing concentrates flavor, so the range is wide.
- Pour-over: 1:17. Closest to the SCA drip standard; water passes through once, so the ratio matters more.
- Percolator: 1:17 to 1:20. Water cycles through the grounds repeatedly as it boils, so a lighter ratio prevents bitterness from compounding.
- Instant: Follow the packet instructions; no extraction math needed.
Without a scale, 2 level tablespoons of ground coffee per 6 oz of water is a reliable baseline for any method.
How to brew each method at camp
AeroPress (1–2 minutes)
Set up the filter
Insert a paper or metal filter into the cap, screw it onto the chamber, and set the AeroPress on your mug.
Add medium-fine grounds
Use roughly 17 to 20 grams (about 2.5 tablespoons) for a standard 6 oz serving.
Pour water at 185–205 F
Fill to the number-2 or number-3 mark on the chamber. For darker roasts, use cooler water closer to 185 F.
Steep 60 to 90 seconds
Give it a quick stir after pouring, then let it sit.
Press slowly for 20 to 30 seconds
Apply steady downward pressure. Stop when you hear a faint hiss.
Cleanup
Pop the puck of grounds out into your waste bag, rinse the rubber seal, done.
French press (about 5 minutes)
Add coarse grounds
Use a 1:15 ratio, about 20 grams per 300 ml of water (roughly 2.5 tablespoons per cup).
Bloom
Pour just enough water at 200 F (93 C) to wet the grounds. Wait 30 to 45 seconds.
Fill the press
Pour the rest of your water, stir gently, and put the lid on with the plunger pulled up.
Steep 4 minutes
Do not press early. Under-extraction is the most common French press mistake.
Press slowly
Push the plunger down over about 20 seconds. Pour immediately to stop extraction.
Cleanup
This is the hardest part of any camp brew method. Dump the wet grounds into your waste bag (do not dump them loose at camp), then rinse the mesh plunger with water. Plan for it.
Pour-over (3–4 minutes)
Set the dripper on your mug
A collapsible dripper weighs under 1 oz and nests into a mug.
Insert and rinse a paper filter
A quick pour of hot water rinses out paper taste and warms the cup.
Add medium grounds
Use a 1:17 ratio, about 17 grams per 290 ml of water.
Bloom
Pour about 30 ml of hot water over the grounds and wait 30 seconds.
Pour in steady circles
Add the remaining water in slow, concentric pours over 2 to 3 minutes.
Cleanup
Fold up the paper filter with the grounds inside, pack it out. The dripper needs only a rinse.
Percolator (under 2.5 minutes once boiling)
Add coarse grounds to the basket
Use a 1:17 to 1:20 ratio to account for water cycling through the grounds repeatedly.
Fill the pot with cold water
Set it on your stove or over the fire.
Watch for steady perking
The coffee will begin cycling through the stem and dome. A gentle, steady perk means it is brewing.
Pull it off heat as soon as perking slows
Leaving it on heat is how percolator coffee turns bitter. Err on the side of pulling early.
Cleanup
Dump the grounds into your waste bag, rinse the basket and pot.
Instant (under 2 minutes)
Boil water
Any temperature above about 165 F works. No need to wait off the boil.
Pour into your mug
6 to 8 oz per packet is standard.
Add the packet and stir
Modern specialty instant options dissolve cleanly and quickly.
Cleanup
Zero. Pack out the empty wrapper.
Cleanup and Leave No Trace
Instant coffee and paper-filter pour-over have the lightest waste footprint of any brew method. AeroPress pucks are compact and easy to seal in a small bag. French press and percolator grounds require the most management at camp.
FAQ
Do I need to pack out coffee grounds when camping?
Yes, in backcountry settings. Used grounds are food waste and fall under Leave No Trace Principle 3 (Dispose of Waste Properly). Pack them out in a sealed bag. At a developed car-camping site in forested terrain, scattering a thin layer over a wide area away from water and trails is generally acceptable. Never leave a clump in one spot: it attracts insects and wildlife and lingers visibly. Instant coffee and paper-filter pour-over eliminate the problem entirely.
What is the best coffee-to-water ratio for camping?
It depends on your brew method. French press: 1:15, because grounds steep in the water and need a stronger dose to avoid a flat cup. Pour-over: 1:17, closest to the SCA Gold Cup drip standard. AeroPress: 1:15 to 1:17, flexible by preference. Percolator: 1:17 to 1:20, slightly lighter since water passes through the grounds repeatedly. Without a scale, 2 level tablespoons of ground coffee per 6 oz of water is a reliable baseline for any method.
How do I get the water temperature right without a thermometer at camp?
Bring water to a full boil on your stove, then take it off heat and wait 30 seconds. That brings it from 212 F down to approximately 200 to 205 F, which sits squarely in the SCA-recommended brewing window of 195 to 205 F. For dark-roast AeroPress coffee you can wait a full minute (landing closer to 185 to 190 F) to reduce bitterness. For instant coffee, temperature precision does not matter.
Browse all camp gear reviews and picks, or read about how we research and rate the gear we cover.
Recommended gear
Our current top picks from the The best camp coffee makers for good coffee outside guide, if you are ready to buy.
AEROPRESS
AeroPress Go
- Brew style
- Immersion / press
- Packed weight
- 11.4 oz
- Capacity
- 1 large mug
- Filters
- Paper (reusable available)
A travel-sized version of the cult AeroPress, fast, forgiving, and nearly indestructible. The default answer for one or two campers who want good coffee with no fuss.
- Packs into its own 15 oz mug
- Very forgiving brew, hard to make a bad cup
- Brews one mug at a time
GSI OUTDOORS
GSI Outdoors JavaPress
- Brew style
- French press
- Capacity
- 30 fl oz
- Body
- Insulated, BPA-free
- Filter
- Built-in mesh, no paper
A near-unbreakable camp French press that makes enough for the whole tent and never needs a paper filter. The value pick for groups.
- Brews for 2–4 people
- No consumable filters
- Grounds in the cup if you pour to the bottom
WACACO
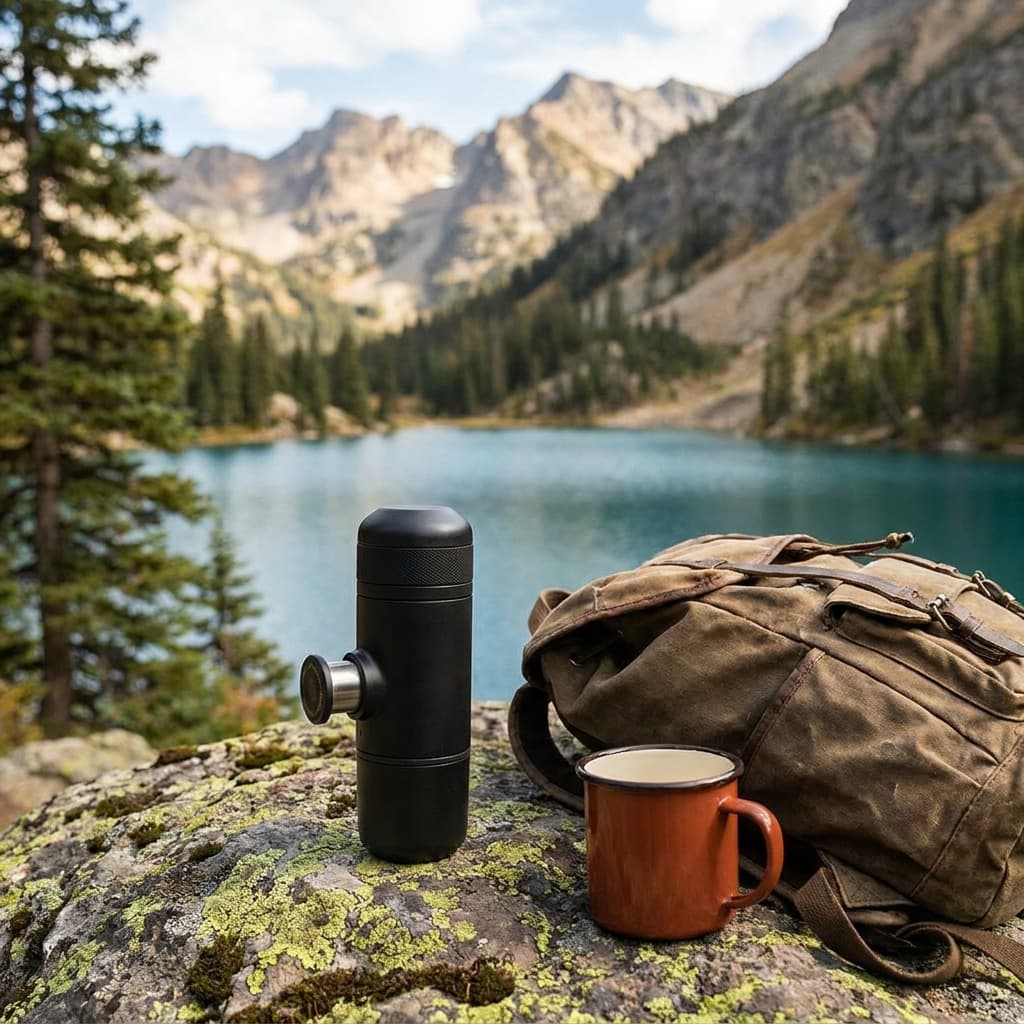
Wacaco Nanopresso
- Brew style
- Hand-pump espresso
- Pressure
- Up to 18 bar
- Packed weight
- 11.3 oz
- Water
- 80 ml reservoir
A hand-pumped espresso maker that pulls a genuinely respectable shot off-grid, no power, no cartridges. For campers who refuse to compromise on espresso.
- Real pressurized espresso with no power
- Self-contained and pocketable
- Single small shot at a time
See all picks in The best camp coffee makers for good coffee outside
Make the next decision
Complete camp loadout
Camp kitchen kit
A durable base-camp cooking setup built around heat, cookware, coffee, cold storage, workspace, and water.
Build the complete kitRelated guides
Buying guide
The best camp coffee makers for good coffee outside
The camp coffee makers worth packing, a forgiving all-rounder, a no-filter value press, and a real espresso maker for off-grid mornings.
Read guide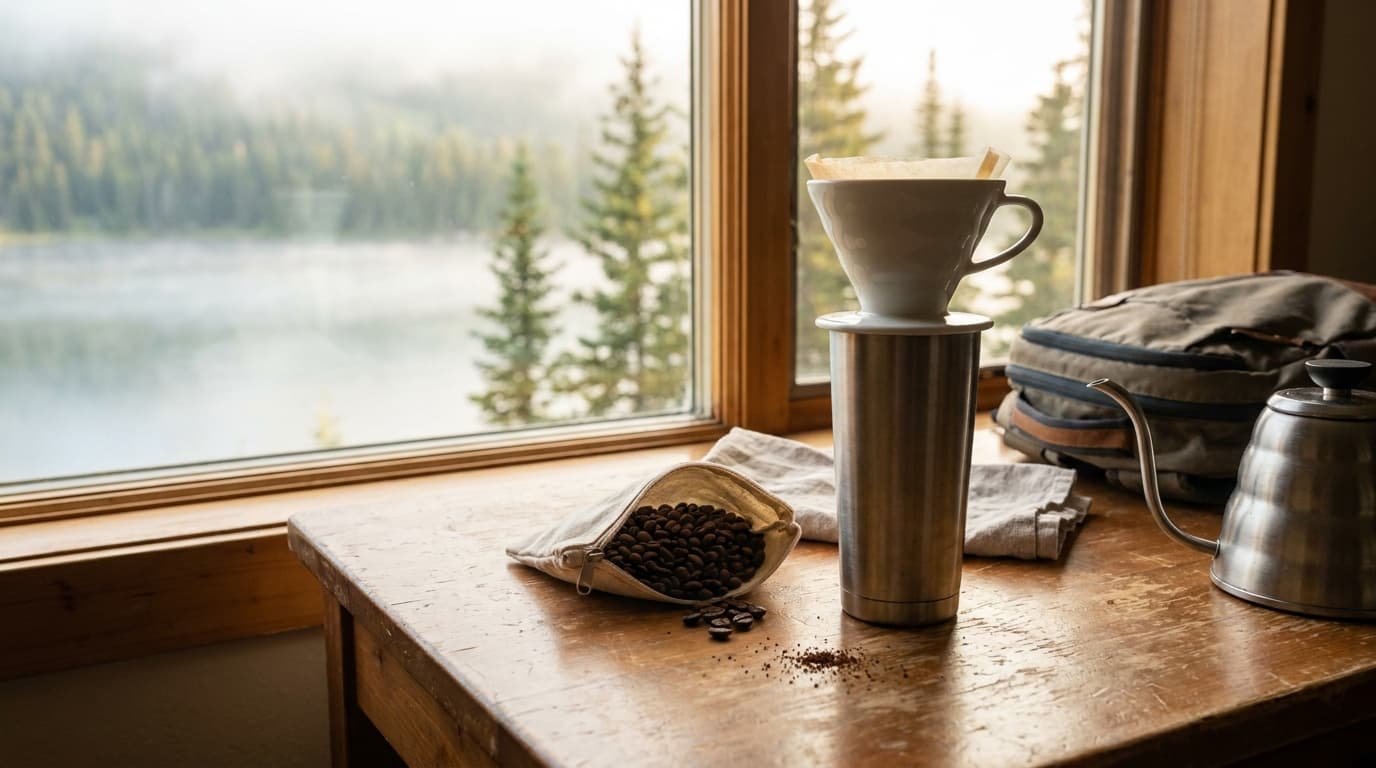
Field guide
How to make coffee while traveling: methods without a machine
AeroPress, pour-over, French press, instant, and immersion brewing all work without a coffee machine. Here is how to pick a method, heat water in a hotel room, pack your beans, and keep cleanup fast on the road.
Read guide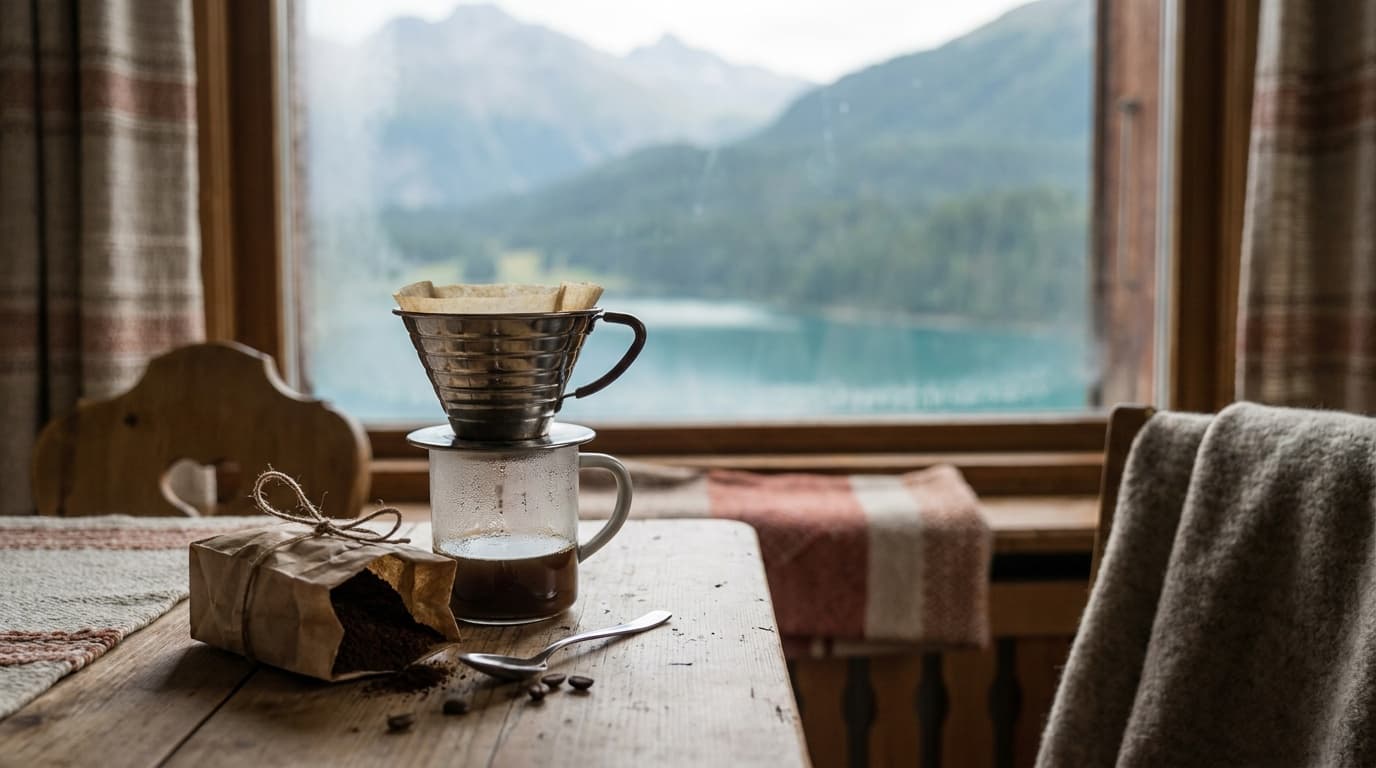
Buying guide
Best travel coffee makers: AeroPress, pour-over, and espresso
The best portable travel coffee makers for hotel rooms, road trips, and minimalist travel, ranked on brew quality, packed size, cleanup, and value.
Read guide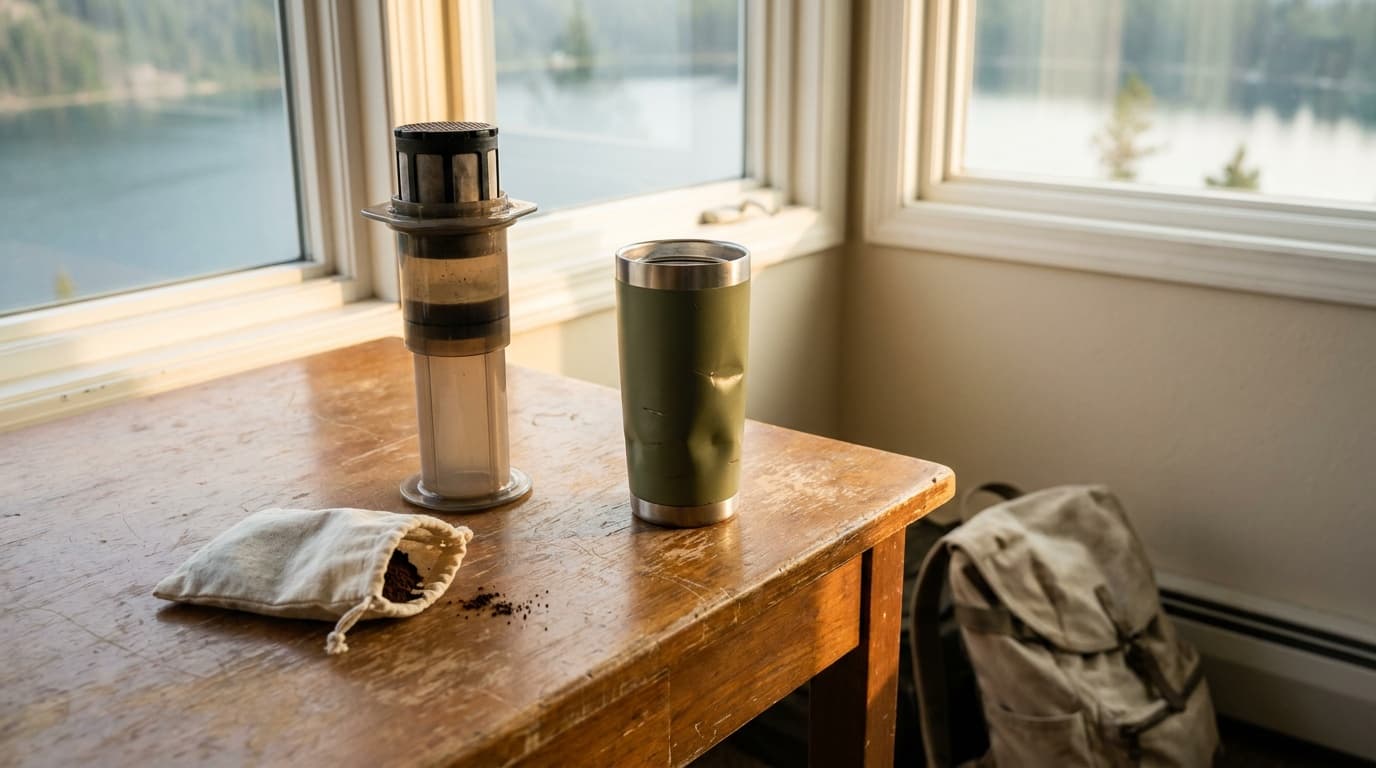
Comparison
AeroPress vs French press for travel
Packability, cleanup, brew quality, and clear verdicts for two popular travel coffee methods. Find out which one belongs in your bag.
Read guideResearched, not personally tested: picks come from specs, verified-owner reviews, and expert sources, scored into the Kit Score. As an Amazon Associate I earn from qualifying purchases. We may earn a commission from links here, at no extra cost to you. How we research →