We may earn a commission from links on this page, at no extra cost to you.
The biggest reason camp coolers fail early has nothing to do with the cooler itself. Packing habits, skipped prep steps, and a few common misconceptions account for most of the meltwater you pour out on day two. Fix those, and even a mid-range cooler will keep food cold for the length of most trips.
Start before you leave home
The two highest-impact steps happen the night before your trip, not at the campsite.
Pre-chill the cooler. Cooler walls absorb heat from the garage, the car, and ambient air. When you load fresh ice into a room-temperature cooler, the insulation itself pulls thermal energy from that ice until the walls equalize. Fill your cooler with an inexpensive bag of ice or very cold water at least a few hours before you pack, ideally 12 to 24 hours. Dump it just before you load the real thing. According to RTIC and Fresh Off The Grid, this is one of the single highest-impact steps because it means zero of your real ice is wasted conditioning walls.
Pre-chill food and drinks. The cooler maintains cold; it does not create it. Every warm can and room-temperature piece of food you put in is competing with the ice for thermal energy. Refrigerate or freeze everything you are packing the night before. Frozen meat in particular acts as an additional ice block for the first day.
Get the ice-to-content ratio right
The recommended ratio is 2:1 by volume: twice as much ice as food and drink. That is more ice than most people use, and the math matters. Dropping below this ratio does not cause a linear drop in cooling performance; it causes an exponential one. A cooler that is half ice stays cold. A cooler that is one-third ice loses the battle quickly, especially in hot weather.
Fill air gaps. Air pockets are where ice disappears fastest. Pack tightly, use cubed ice to fill voids between items, and choose a cooler that is close to the right size for your load rather than a large one that is only half full.
Block ice vs. cubed ice
Both have a role, and using only one is a common mistake.
Block ice melts slower because it exposes less surface area to the warm air inside the cooler. In a standard cooler it consistently lasts 0.5 to 1 full day longer than the same weight of cubed ice. In a premium rotomolded cooler that gap widens further. Canyon Coolers (maker of the Canyon Outfitter 55 V2) ran an 18-day test comparing packing methods and found that a cooler loaded with two 10-pound blocks plus cubed fill showed a measurably higher water level than a cubed-only cooler throughout the test, confirming that the block-plus-cubes approach retains ice longer over time.
Cubed ice, meanwhile, fills gaps that blocks cannot and chills individual items faster because of all that surface contact.
The practical approach: put one or two large blocks on the bottom for longevity, then fill gaps around and between items with cubed ice. Buy blocks at the camp store if you cannot make them at home; two-liter bottles frozen solid work well and are easy to refreeze.
Pack in the right order
Packing order matters because you want to minimize how often you dig to the bottom and how much warm air enters each time you open the lid.
How to load a camping cooler
Block ice on the bottom
Lay one or two large blocks across the floor of the pre-chilled cooler. These are your longest-lasting cold source and they anchor the load.
Frozen and raw food in the middle
Frozen meat, sealed raw proteins, and anything that needs to stay coldest goes directly on top of the blocks. These items benefit most from proximity to the blocks, and they are accessed least often.
Fill gaps with cubed ice
Pack cubed ice between items to eliminate air pockets and bring everything into contact with cold.
Beverages and daily-use items on top
Drinks and snacks you will grab throughout the day go in last so you can access them without digging. Add a final layer of cubed ice over everything.
Last day's food goes in first
Whatever you plan to eat on the final day of the trip should be deepest in the cooler, accessed least, and kept coldest longest.
Keep the cooler shaded and off hot surfaces
Where you put the cooler is nearly as important as what you put in it. Direct sunlight can cause ice to melt roughly twice as fast compared to a shaded cooler. The same logic applies to hot surfaces: concrete, asphalt, and metal truck beds conduct heat directly through the base. Set the cooler on grass, dirt, or a folded tarp.
When shade is not available, a light-colored towel or a reflective emergency blanket draped over the top of the cooler meaningfully reduces radiant heat gain. It is not a substitute for shade, but it buys time.
Keep the cooler away from the campfire, the camp stove, and the side of the tent that faces afternoon sun.
A cooler placed in full afternoon sun can burn through ice nearly twice as fast as the same cooler set in the shade of a tree ten feet away.
Open it less, and close it faster
Every time you open the lid, warm air floods in and cold air spills out. The cooler has to work to recover that lost temperature, and recovery costs ice.
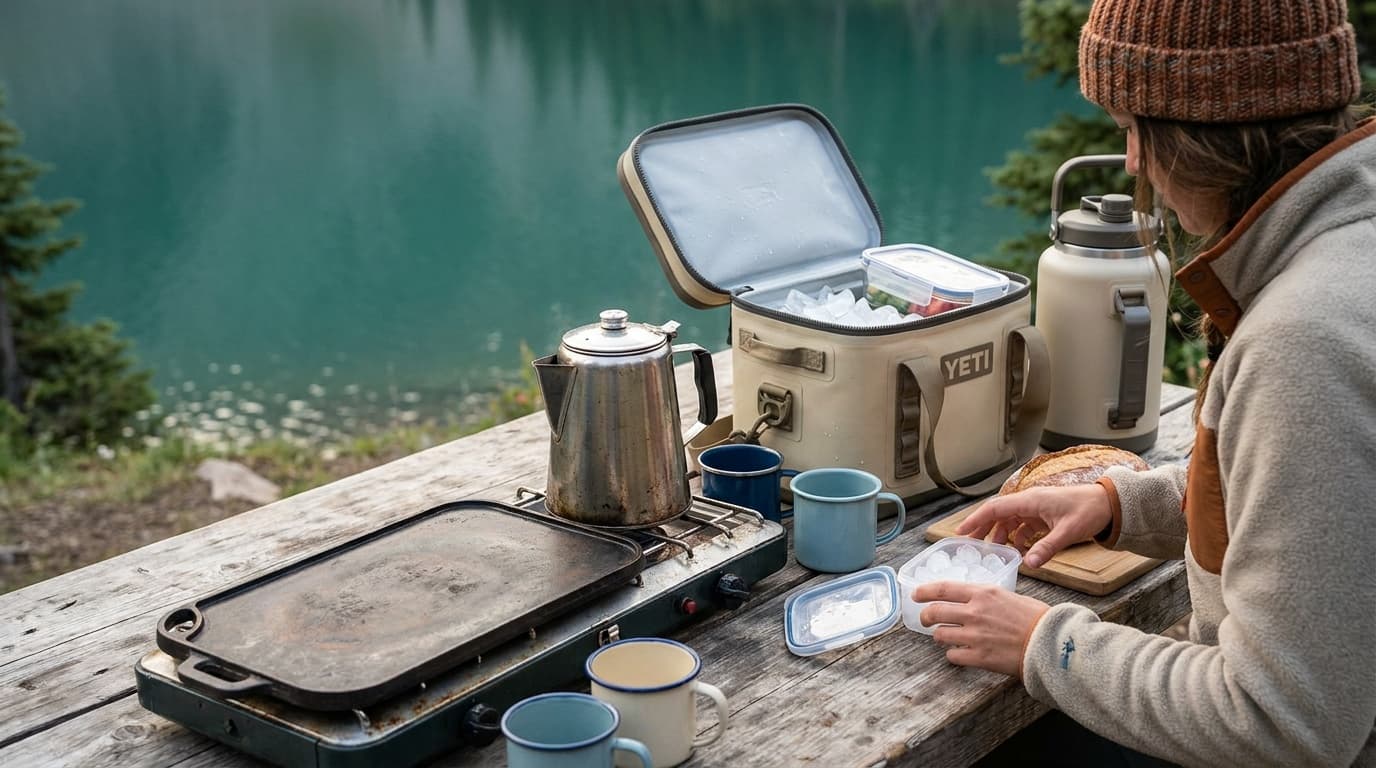
Organize contents so you know where things are before you lift the lid. Keep beverages in a separate small soft cooler like the Engel HD30 if your group opens the main cooler constantly for drinks. That one habit alone can dramatically extend the life of the ice in your food cooler.
On warm days, try to group your cooler access: open once in the morning, once at lunch, once at dinner, rather than lifting the lid every time someone wants a snack.
Do not drain the meltwater
This surprises a lot of campers: cold meltwater is nearly as effective as ice at keeping contents cold. It has much higher thermal density than air, so leaving it in the cooler insulates the remaining ice and keeps food cold through contact. Draining it and replacing that cold water layer with air actually accelerates melt.
Drain only in two situations: you are about to restock with fresh ice and need the space, or you are breaking camp and want to reduce carry weight for the walk out. Otherwise, leave it.
Should I drain the water from my cooler when the ice starts to melt?
No, leave it. Cold meltwater has much higher thermal density than air, so it keeps food cold almost as well as ice and slows further melting. Drain only when you are about to restock with fresh ice, or when you are breaking camp and want to reduce the carry weight.
Does it actually matter whether I use block ice or regular cubed ice?
Yes. Block ice melts slower because it exposes less surface area to the warm air inside the cooler. In a standard cooler it can last 0.5 to 1 day longer than the same weight of cubed ice. Over a 3 to 5 day trip that gap is meaningful. The practical approach: put one or two large blocks on the bottom for longevity, then fill gaps with cubed ice to chill contents quickly and eliminate air pockets.
How long should I pre-chill my cooler before a camping trip?
At least a few hours, ideally overnight or a full 24 hours. Fill it with inexpensive ice or cold water the evening before you pack. The cooler walls absorb heat and will burn through your real ice until the insulation is conditioned. Dump the sacrificial ice just before you pack with fresh ice. Pre-chill your food and drinks in the fridge or freezer at the same time.
These techniques apply to any hard-sided cooler, but they have a bigger payoff in a quality rotomolded box with thick insulation like the YETI Tundra 45. If you are in the market for a new cooler, see our guide to the best camping coolers to find the right size and price point for your trips.
For more gear guidance across all of camp, browse camp gear. Learn about how we evaluate products and sources at how we research and rate.
Recommended gear
Our current top picks from the The best camping coolers for car camping, budget to premium guide, if you are ready to buy.
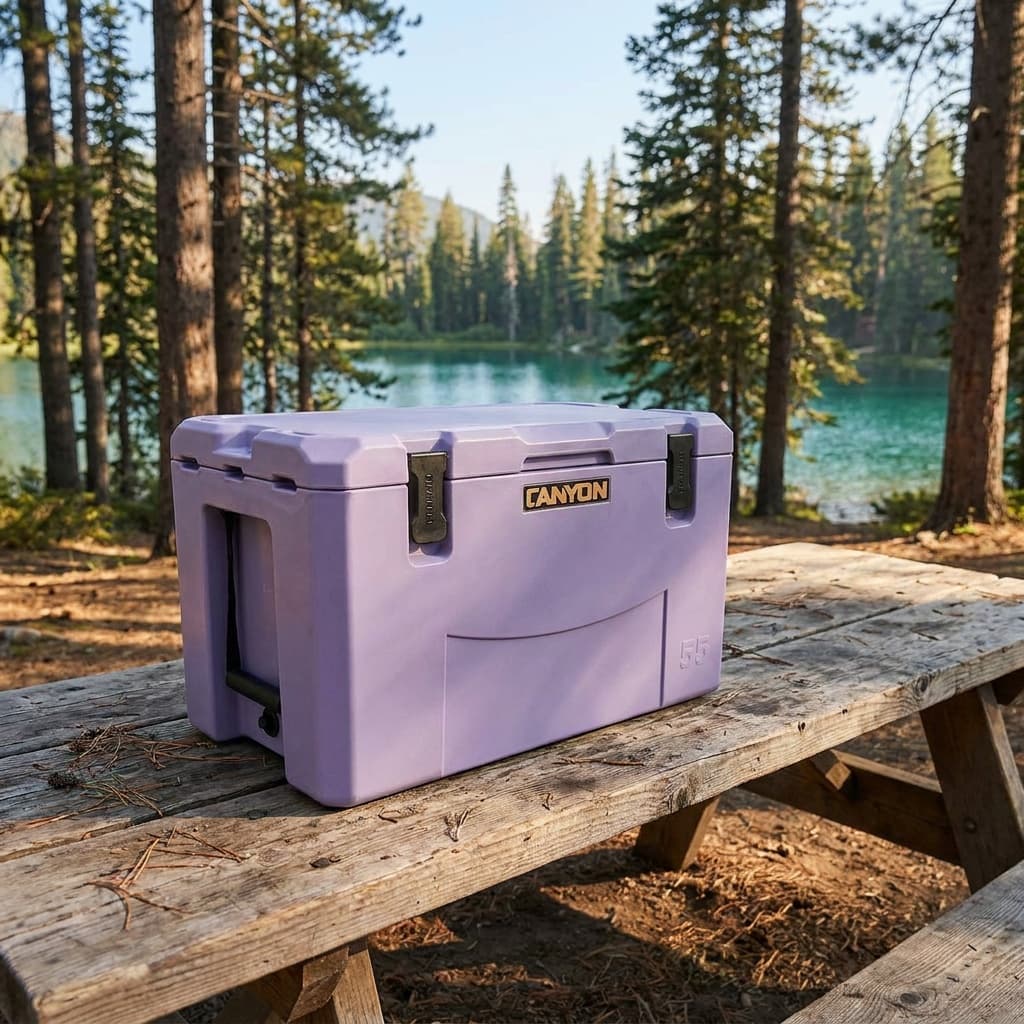
CANYON
Canyon Outfitter 55 V2
- Capacity
- 55 qt (fits ~89 cans)
- Ice retention (sub-40°F)
- 5.2 days
- Weight
- 27.4 lbs
- Exterior dimensions
- 28.6" x 15.4" x 16.8"
- Bear certification
- IGBC certified
- Warranty
- Lifetime
The Canyon Outfitter 55 V2 earns its Editors' Choice from OutdoorGearLab with an exceptional balance of build quality, usability, and price. Its grippy rotomolded construction, lifetime warranty, and 5+ day ice life deliver premium-tier performance in a mid-market package.
- Unique rotomolded kayak plastic feels noticeably grippy and rugged
- FAT CAM family-friendly latches are effortless for all ages
- Availability can be inconsistent, especially for specific colorways
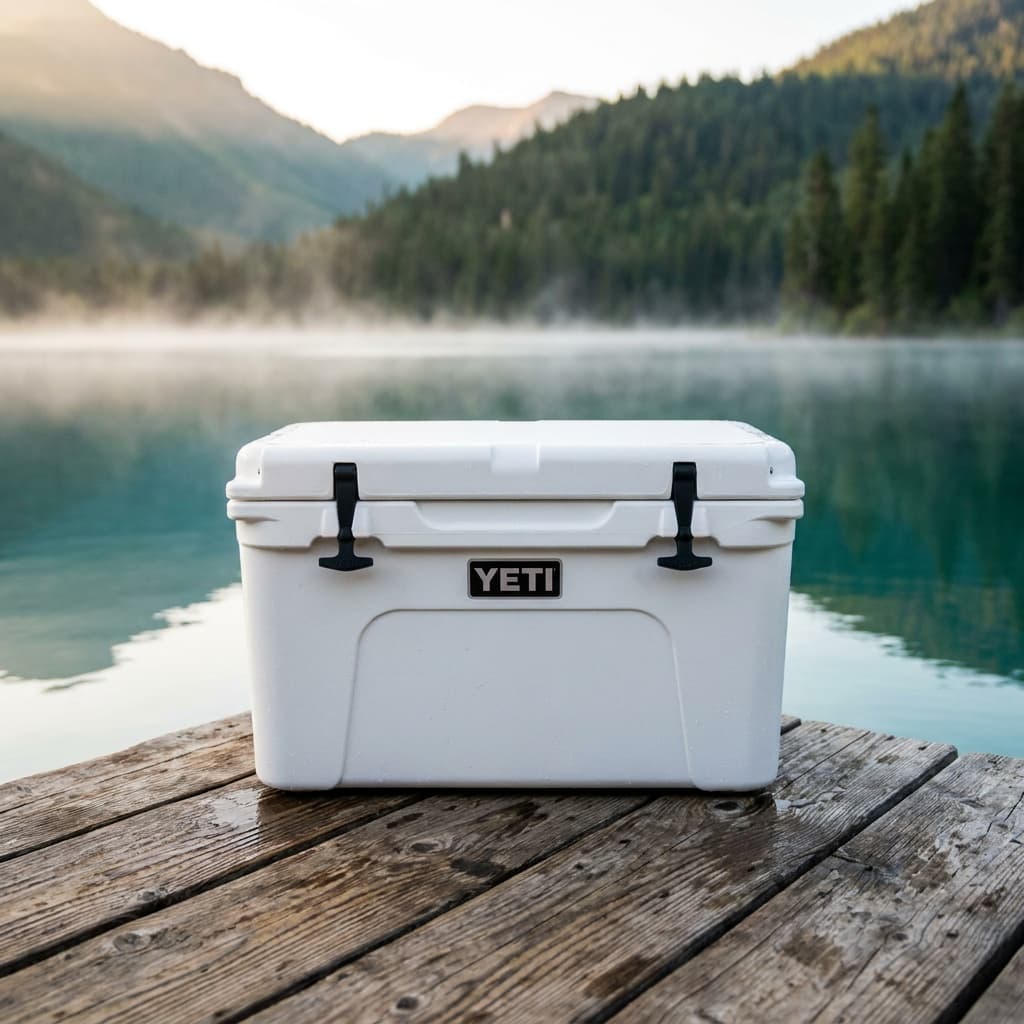
YETI
Tundra 45
- Capacity
- 45 qt (up to 26 cans at 2:1 ice ratio)
- Ice retention
- Up to 5 days (manufacturer rating)
- Construction
- Rotomolded polyethylene
- Bear certification
- IGBC certified
- Warranty
- 5-year
- Current Amazon price
- ~$325
The YETI Tundra 45 is the cooler that defined the premium hard-cooler category, rotomolded, IGBC-certified, and backed by thousands of verified long-term owners. It's the right pick when you want the last cooler you'll ever need to buy.
- Industry-benchmark rotomolded build, widely regarded as the standard all others are measured against
- IGBC bear-resistant certification, T-Rex lid latches, and freezer-grade gasket seal
- Most expensive hard cooler in this roundup by dollar per quart
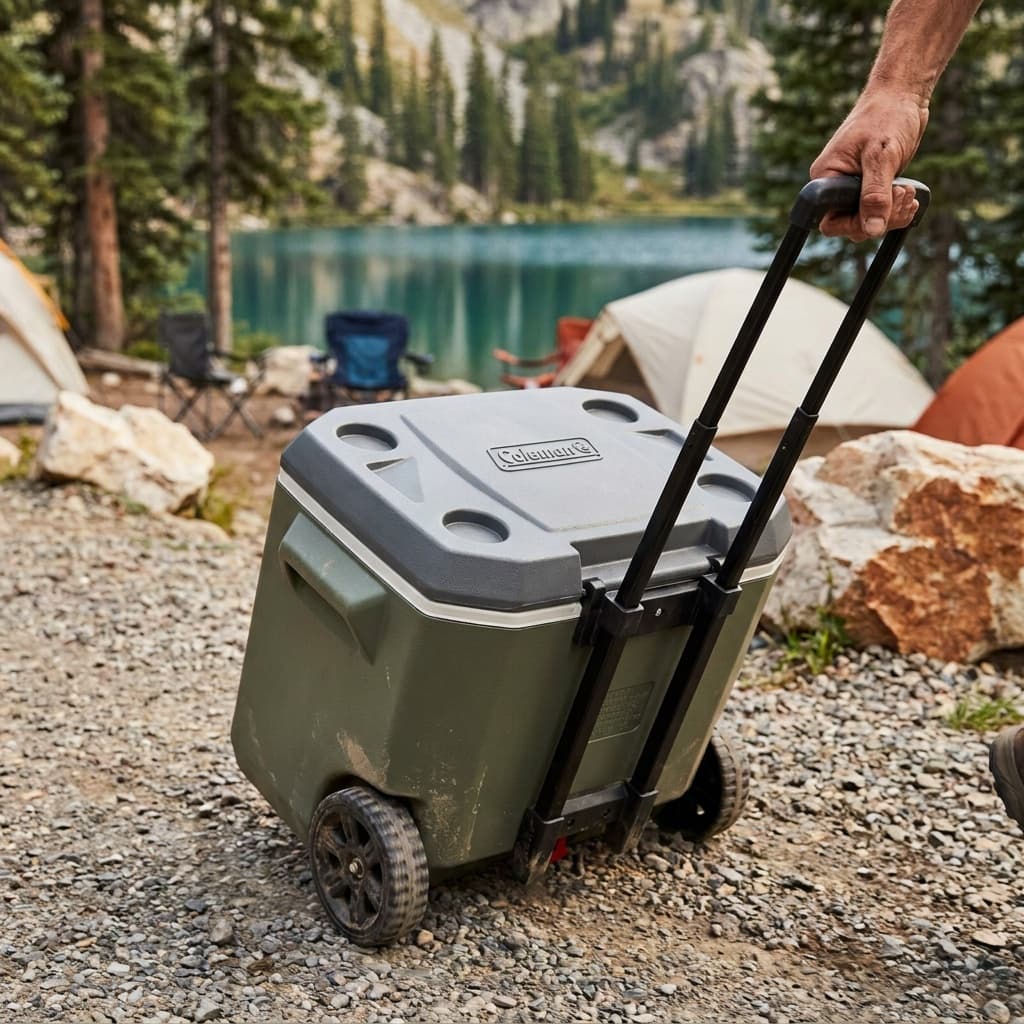
COLEMAN
Xtreme 5 50 Qt Wheeled Cooler
- Capacity
- 50 qt (fits ~90 cans)
- Ice retention (sub-40°F)
- ~4 days
- Weight
- 12.5 lbs empty
- Exterior dimensions
- 22.8" x 17.8" x 17.6"
- Wheels
- Yes, telescoping handle
- Warranty
- 3-year limited
The Coleman Xtreme 5 50 Qt Rolling Cooler is the undisputed value king at under $60 with wheels. It delivers adequate ice retention for weekend trips and outsizes premium coolers on portability-per-dollar, though it won't last as long or keep ice as reliably in heat.
- Lowest price of any wheeled cooler in this roundup by a wide margin
- Lightweight 12.5 lbs empty, far easier to lift than premium rotomolded options
- No lid gasket, water can slosh and leak, and insulation degrades faster than premium alternatives
See all picks in The best camping coolers for car camping, budget to premium
Make the next decision
Complete camp loadout
Car-camping starter kit
The first-trip essentials across shelter, sleep, cooking, lighting, seating, and water, with the extras left out.
Build the complete kitRelated guides

Buying guide
The best camping coolers for car camping, budget to premium
The best car camping coolers ranked on ice retention, build, size, and value, plus how to make a bag of ice last twice as long.
Read guide
Field guide
What size cooler do I need for camping?
How to size a camping cooler: the 2-quarts-per-person-per-day formula, the 2:1 ice ratio that actually eats your space, trip-length math, and the oversizing mistakes that kill ice retention.
Read guide
Comparison
Yeti vs RTIC coolers: which is worth it?
Ice retention test results, build quality differences, the real price gap, and a 5-year vs 1-year warranty breakdown to help you decide which hard cooler fits your camping budget.
Read guide
Complete kit
Camp kitchen kit: the complete setup for cooking outside
The complete camp kitchen loadout: stove, cookware, coffee, cooler, table, and water. What fills each slot, what it costs, and the one upgrade worth waiting on.
Read guideResearched, not personally tested: picks come from specs, verified-owner reviews, and expert sources, scored into the Kit Score. As an Amazon Associate I earn from qualifying purchases. We may earn a commission from links here, at no extra cost to you. How we research →