We may earn a commission from links on this page, at no extra cost to you.
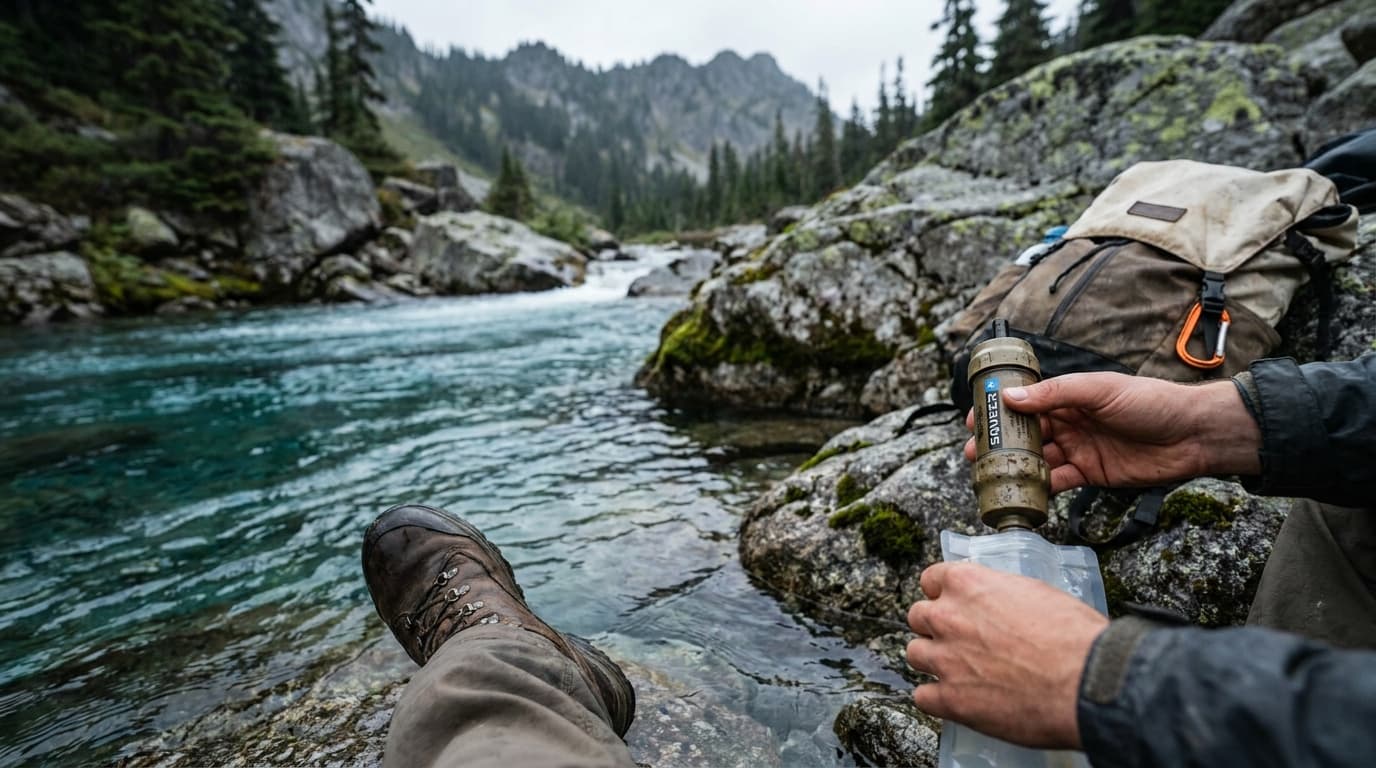
Drinking untreated backcountry water is the fastest way to lose two weeks of fitness to a stomach bug. The good news: modern filters and purifiers make safe water easy to get anywhere you can find a source.
Filter vs. purifier: what each one actually removes
These terms get used interchangeably, but they mean different things.
A microfilter like the Sawyer Squeeze is a hollow-fiber membrane with pores around 0.2 microns. That stops protozoa and bacteria comfortably:
- Giardia cysts: 8–14 microns
- Cryptosporidium oocysts: 4–6 microns
- Bacteria (E. coli): 1–2 microns
Viruses, however, measure just 0.02–0.1 microns. Norovirus and Hepatitis A pass straight through a 0.2-micron membrane. A microfilter gives you no protection against them.
A purifier closes that gap. Physical purifiers use finer membranes (down to 0.02 microns); chemical treatments like chlorine dioxide tablets and UV light devices kill viruses that mechanical filtration cannot reach.
For most backcountry travel in the U.S. and Canada, a microfilter is adequate. Viruses cause illness primarily through human fecal contamination, so risk drops sharply in low-traffic wilderness. If you are camping near heavily used sites, crossing international borders, or traveling anywhere with poor sanitation, add a purifier or chemical backup.
Source selection: start before you treat
No filter makes a bad source good. Where you collect water changes how hard your filter works and how safe the output is.
- Collect from moving water when possible. Still pools accumulate more organic load and sediment.
- Stay upstream of campsites, trails, and meadows where animals congregate. Even in wilderness, a cow crossing 200 meters upstream changes the risk profile.
- Clear water is not safe water. Giardia and Cryptosporidium are colorless and odorless. Crystal-clear water from a high alpine lake can still carry both.
- Pre-filter turbid water through a bandana, buff, or coffee filter before running it through your main filter. Sediment clogs hollow-fiber membranes quickly, and particles physically block UV light from reaching pathogens.
Clear water looks safe. It is not. Giardia and Cryptosporidium are invisible, odorless, and present in many wilderness sources. Filter every drop, every time.
How to use the main treatment methods
Treating water in the field
Collect carefully
Choose moving water upstream of any campsite, animal area, or trail crossing. Fill bottles at the surface, not the bottom, to minimize sediment.
Pre-filter if needed
For cloudy or silty water, pour through a bandana or coffee filter into a separate vessel before treatment. This protects your filter membrane and is required before UV treatment.
Run through your filter
Hollow-fiber squeeze and inline filters: force water through the membrane per manufacturer instructions. Flow is slower when the filter is cold or partially clogged.
Backflush if flow slows
Push clean treated water backward through the membrane to clear debris. Do this in the field whenever output slows noticeably, and again before storage at season end.
Add chemical or UV for viruses
If virus risk is a concern, follow with chlorine dioxide (per label timing, usually 30 minutes) or a UV pen (one pass in clear water, per device instructions). Never rely on UV in turbid water.
Boil as a universal backup
No filter, no chemicals, no power? Boil. A rolling boil for 1 minute handles all pathogens at normal elevation. At or above 6,500 feet (2,000 m), boil for 3 minutes.
Backflushing: the maintenance step most people skip
A hollow-fiber filter's flow rate, whether a squeeze unit or a gravity system like the Platypus GravityWorks 4L, drops as particles accumulate in the membrane. Backflushing pushes water backward through the filter, driving debris back out the intake end. It takes about 30 seconds and restores most of the lost flow.
When to backflush:
- Any time flow slows noticeably in the field
- After filtering in silty or high-sediment water
- Before packing the filter away at the end of a trip or season
Backflush with clean, already-treated water when possible. In the field, the filtered output side of your filter is the cleanest water available, so use that. After backflushing, run a small amount of water through in the normal direction before drinking from it.
Cold-weather care: the one mistake that breaks a filter invisibly
Freezing is the most dangerous thing that can happen to a hollow-fiber filter. When water inside the membrane freezes, it expands and cracks the fibers. The filter looks identical afterward. It may still pass water at roughly normal speed. But it is no longer filtering.
A cracked membrane can pass unfiltered water without any sign of damage. You will not taste it, smell it, or see it.
How to protect your filter in cold conditions:
- Filter all the water you need for the night before temperatures drop.
- Remove the filter element from any inline position in your hydration system.
- Store it in a sealed zip bag inside your sleeping bag overnight.
- In the morning, warm the element in a jacket pocket for several minutes before use. Cold, stiff membranes flow poorly and can give a false impression of clogging.
- If you suspect a filter has frozen, treat it as compromised. Boil or use chemical treatment until you can test or replace it.
When to combine methods
A filter plus a chemical or UV treatment is the standard approach for any source with elevated virus risk:
- Filter first to remove sediment, protozoa, and bacteria, and to clarify the water for UV treatment.
- Treat second with chlorine dioxide or UV to cover viruses and any residual bacteria.
This combination is the right choice for international travel, heavily trafficked campsites, and any source with visible evidence of heavy animal or human use. For typical North American backcountry, it is optional insurance. For international travel, it is the baseline.
Chlorine dioxide tablets are the lightest weight option and have a long shelf life. UV pens are faster (about 90 seconds per liter) but require battery power and fail in turbid water. Neither replaces filtration for removing protozoa, sediment, or improving taste.
For gear recommendations across all these categories, see our guide to the best water filters for backpacking.
Do I need a purifier or will a filter work for backpacking in the U.S.?
For most North American backcountry trips, a microfilter is sufficient. Viruses that cause human illness come primarily from human fecal contamination, so in low-traffic wilderness areas the risk is low. Use a purifier or add chlorine dioxide tablets if you are camping near heavily used sites, or traveling internationally where sanitation infrastructure is limited.
How do I keep my filter working in cold or freezing weather?
Never let a hollow-fiber filter freeze. Once a membrane cracks from ice expansion, it can pass unfiltered water without any visible sign of damage. If overnight temperatures may drop below freezing, filter your water for the night before it gets cold, then remove the filter element and sleep with it inside your sleeping bag in a sealed zip bag. In the morning, warm the element in a jacket pocket before using it.
Why does my filter slow down, and how do I fix it?
Flow rate drops as sediment and organic particles accumulate in the hollow fibers. Backflushing clears most blockages: force clean water backward through the filter to push debris out the intake end. Do this in the field whenever flow noticeably slows. Sourcing the clearest water available and pre-filtering through a bandana reduces how often you need to backflush.
Browse all camp gear guides, or read how we research and rate gear at Kit Authority.
Recommended gear
Our current top picks from the Best water filters for backpacking (2026): 4 top picks guide, if you are ready to buy.
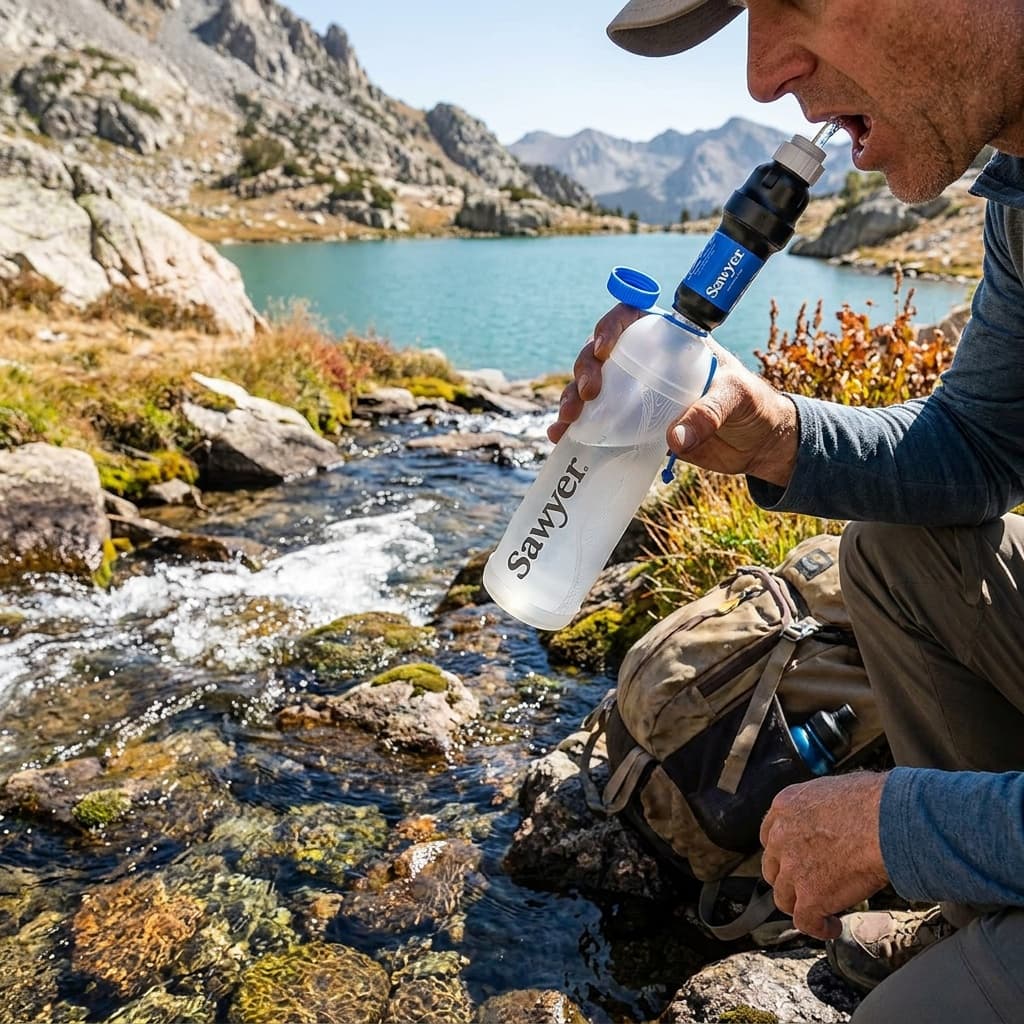
SAWYER
Sawyer Squeeze Water Filtration System
- Filter type
- Hollow fiber squeeze
- Pore size
- 0.1 micron absolute
- Weight (filter only)
- 3 oz
- Flow rate
- 1.7 L/min
- Lifespan
- 100,000 gallons
- Removes
- Bacteria, protozoa, microplastics
The Sawyer Squeeze is the most field-tested squeeze filter on the market, carried by a large share of PCT thru-hikers for its combination of fast flow, a practically unlimited lifespan, and three usable modes: squeeze, inline with a hydration bladder, or gravity-fed. It is the standard by which most other backpacking filters are measured.
- 100,000-gallon rated lifespan with backflush cleaning means a single filter can last a decade of regular use
- Versatile three-mode operation: squeeze direct, attach inline to a hydration reservoir, or rig as a gravity system at camp
- The new SP302 and SP303 bundle SKUs have limited review history; the original SP131 (the basis for the large review corpus) is no longer available as a standalone purchase
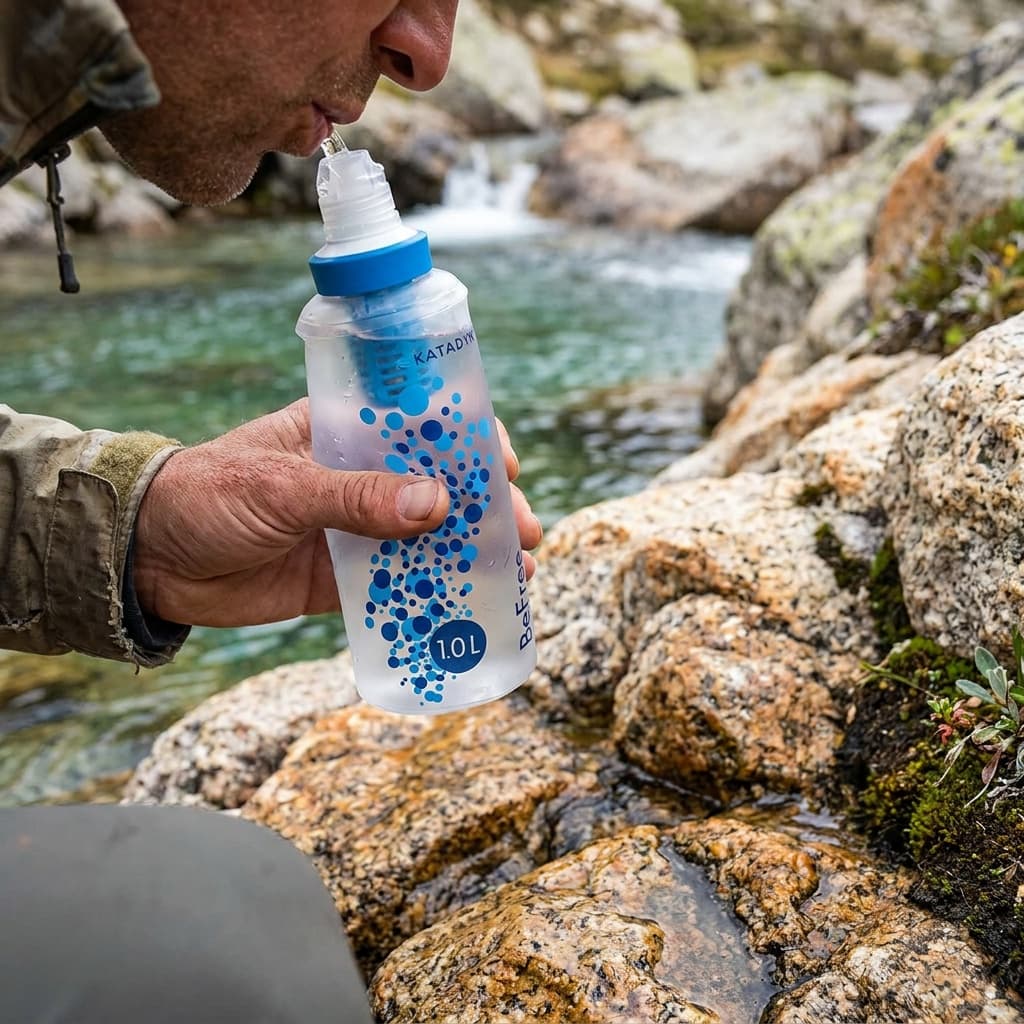
KATADYN
Katadyn BeFree 1.0L Collapsible Water Filter Bottle
- Filter type
- Hollow fiber squeeze (EZ-Clean membrane)
- Pore size
- 0.1 micron
- Weight (full kit)
- 2.3 oz
- Flow rate
- 2.0 L/min
- Lifespan
- 1,000 liters
- Removes
- Bacteria, protozoa, sediment
The Katadyn BeFree pairs a 0.1-micron hollow fiber membrane with a collapsible 1-liter soft flask and delivers the fastest out-of-the-box flow rate of any personal squeeze filter in this category. Cleaning requires nothing more than swishing or shaking the filter in clean water, with no syringe needed.
- 2 L/min flow rate is the fastest in the personal-filter class, noticeably quicker than a Sawyer Squeeze in direct comparison
- Field cleaning is genuinely simple: swish in clean water, no backflush syringe to carry or lose
- Rated to 1,000 liters only (versus 100,000 gallons for the Sawyer Squeeze), making long-term cost higher for heavy users
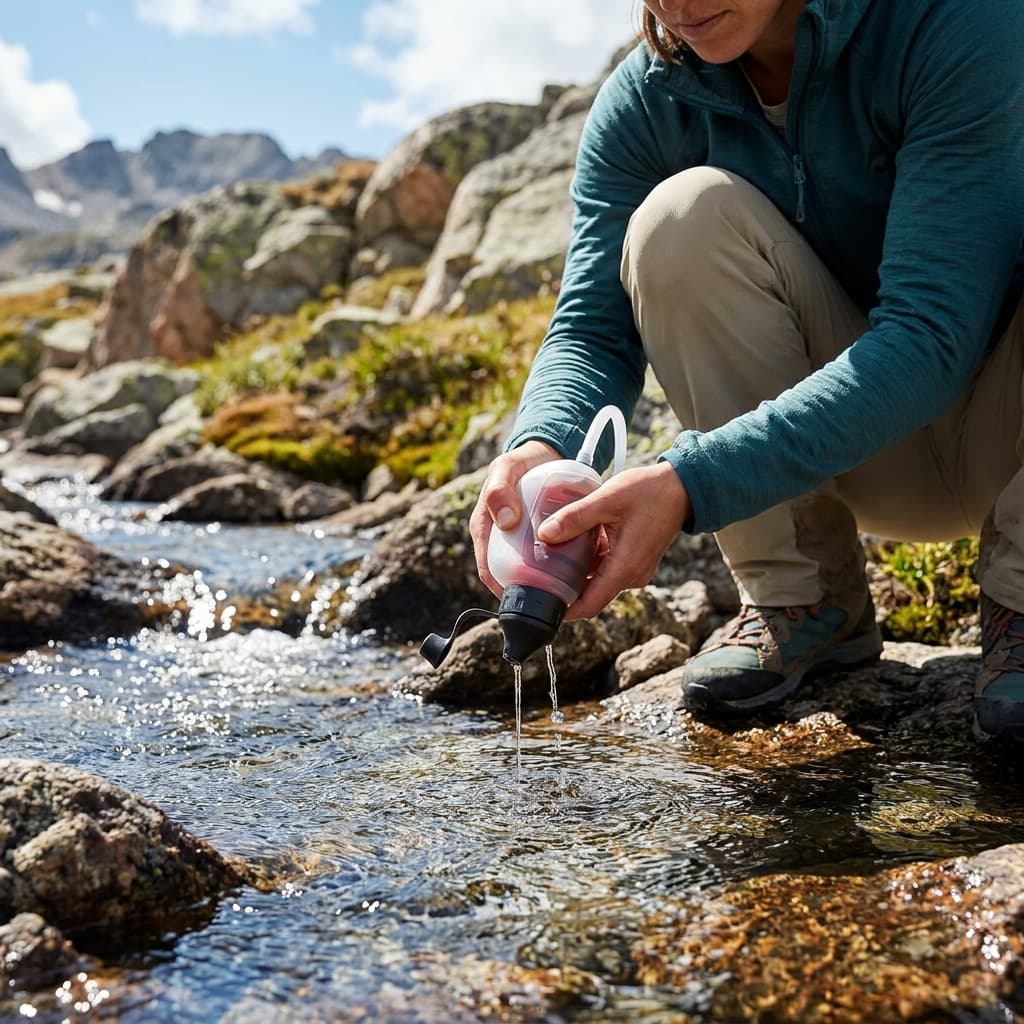
MSR
MSR TrailShot Pocket-Sized Water Filter
- Filter type
- Hollow fiber squeeze-pump with intake tube
- Pore size
- 0.2 micron
- Weight
- 5.2 oz
- Flow rate
- 1.0 L/min
- Lifespan
- 2,000 liters
- Removes
- Bacteria (99.9999%), protozoa (99.9%), particulates
The MSR TrailShot ditches the traditional pump handle in favor of a one-handed squeeze mechanism and an attached pickup tube, letting you drink directly from the source or fill any bottle without kneeling in the dirt or dismantling your pack. Its compact footprint fits a jacket pocket, and it requires no setup beyond uncapping.
- Pickup tube means you can pull water from shallow sources, potholes, or trickle streams that squeeze-bottle filters struggle to reach
- No dedicated dirty container required: draw directly from the source and fill any bottle, which simplifies the system for trail runners and day hikers
- Slower than squeeze filters (1 L/min) and the squeezing motion causes hand fatigue when filtering large volumes for groups or multi-day camps
See all picks in Best water filters for backpacking (2026): 4 top picks
Complete camp loadout
Car-camping starter kit
The first-trip essentials across shelter, sleep, cooking, lighting, seating, and water, with the extras left out.
Build the complete kitRelated guides
Buying guide
Best water filters for backpacking (2026): 4 top picks
The Sawyer Squeeze tops our research for most backpackers. Here are the four best backpacking water filters by weight, flow rate, and trip type.
Read guide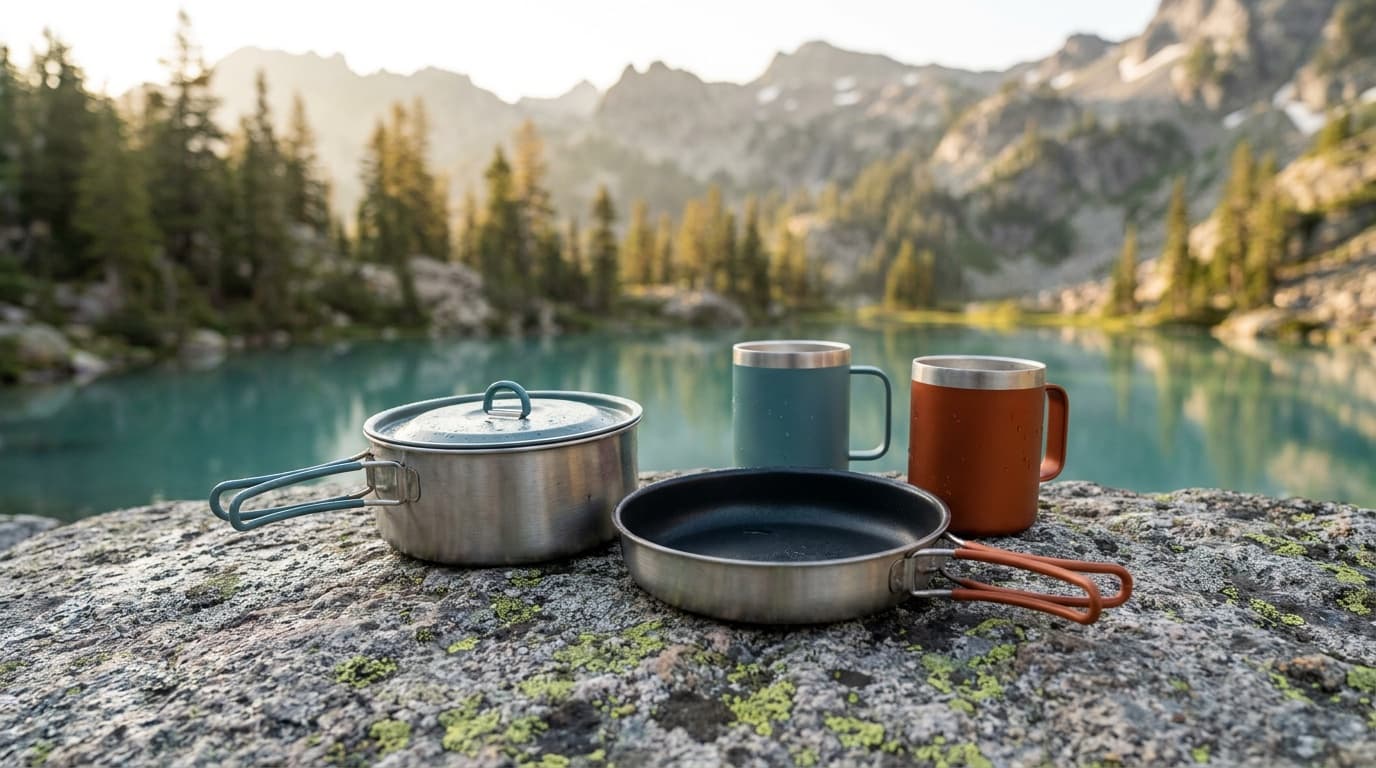
Buying guide
Best camping cookware sets for backpacking and car camp (2026)
Four camping cookware sets compared by packed weight, capacity, material, and group size, from a 6.2 oz titanium solo set to a four-person camp kitchen.
Read guide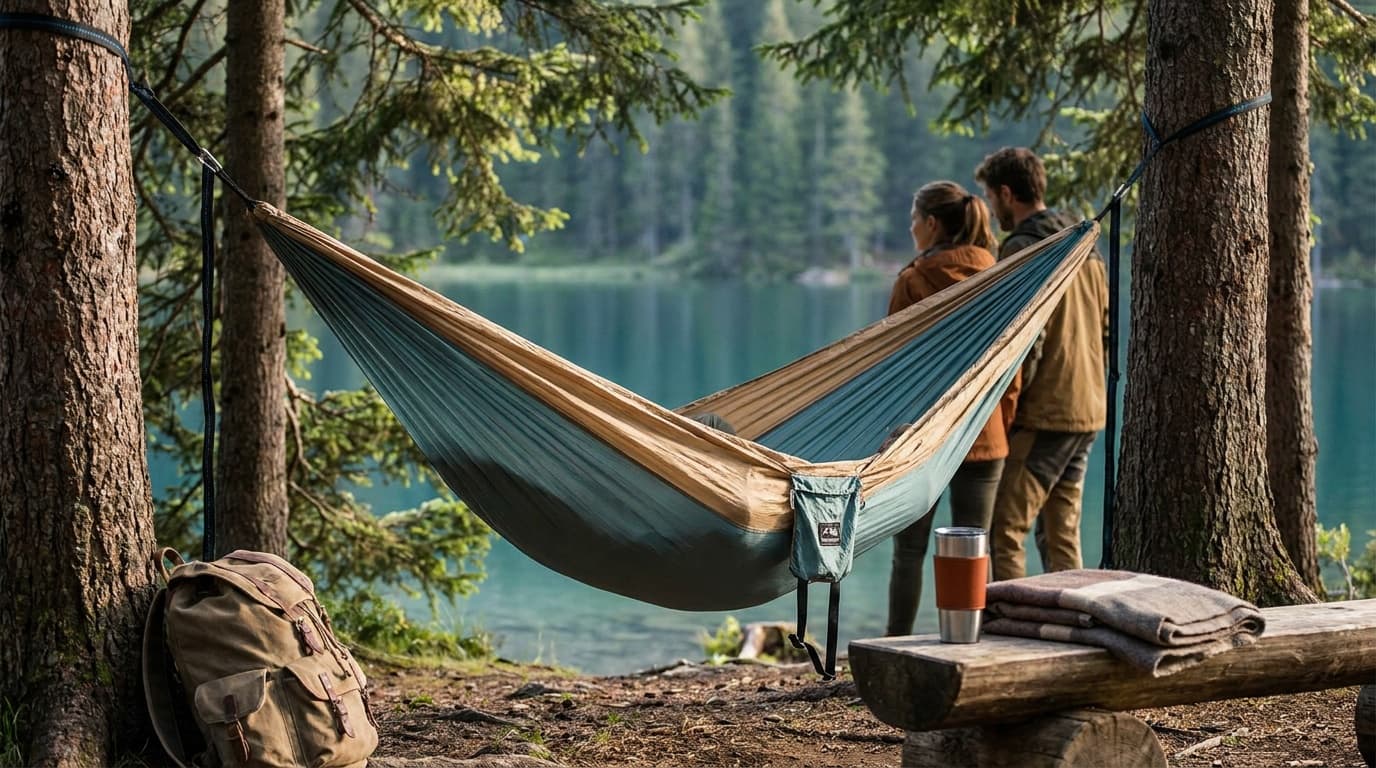
Buying guide
Best camping hammocks: 4 picks for backpacking and car camping
The best camping hammocks ranked on weight, capacity, strap inclusion, and bug protection, plus how to hang and size one before you buy.
Read guide
Buying guide
Best camping water containers for car camping in 2026
The four best camping water containers for car camping and base camp, compared on spigot quality, capacity, durability, and packed size. Rigid and collapsible options included.
Read guideResearched, not personally tested: picks come from specs, verified-owner reviews, and expert sources, scored into the Kit Score. As an Amazon Associate I earn from qualifying purchases. We may earn a commission from links here, at no extra cost to you. How we research →